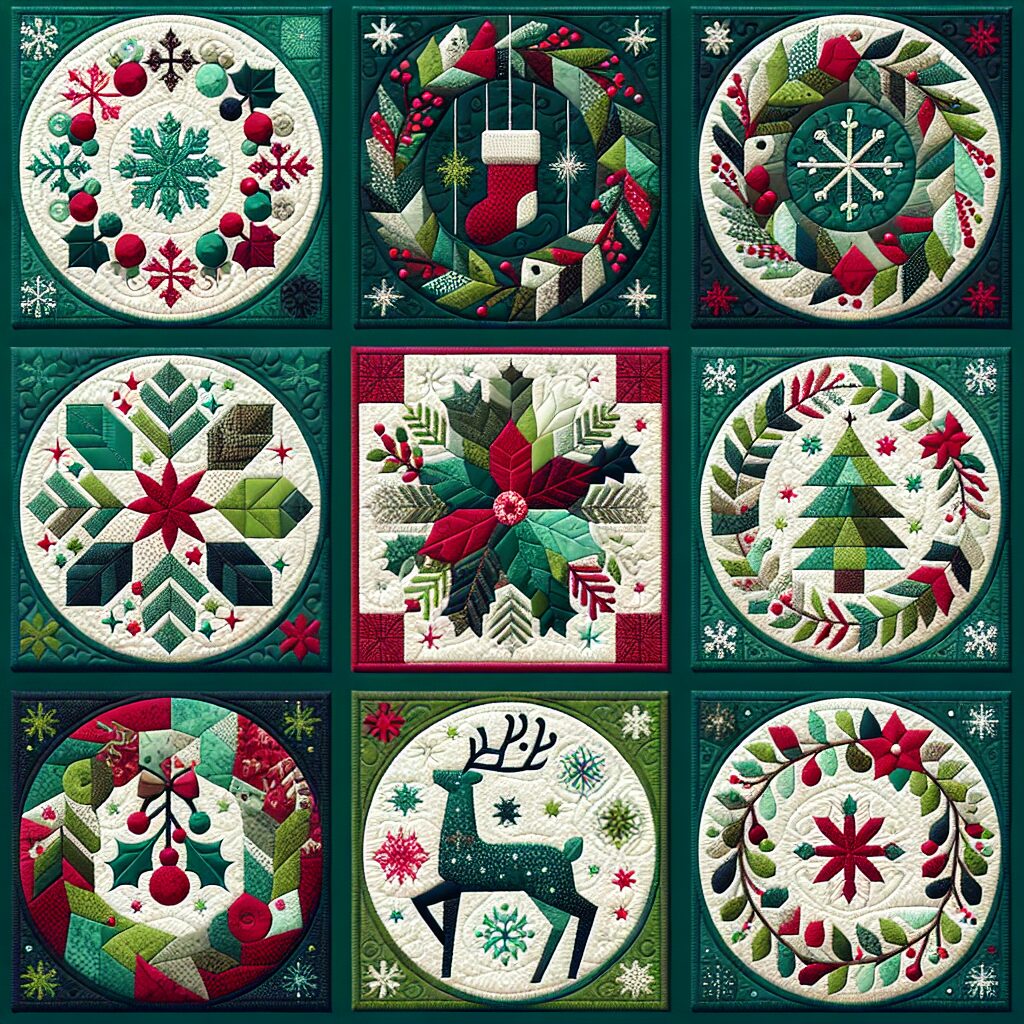
Christmas Quilted Wall Hangings: Create Beautiful Holiday Decorations
Are you looking to add a touch of festive cheer to your home this holiday season? Why not try your hand at creating Christmas quilted wall hangings? These beautiful decorations can be customized with Christmas scenes or patterns, and they are sure to bring joy and warmth to any room. In this article, we will guide you through the step-by-step process of making your own quilted wall hangings, from gathering materials to adding the finishing touches. Let’s get started!
Materials You Will Need
- Fabric for the front of the wall hanging
- Fabric for the backing
- Batting
- Thread
- Quilting ruler
- Rotary cutter
- Pins
- Needle
- Scissors
- Iron
- Christmas-themed fabric or appliques (optional)
- Embroidery floss (optional)
Step 1: Choose Your Design
The first step in creating your Christmas quilted wall hanging is to choose a design. You can find patterns online or create your own. Consider festive scenes like snowflakes, Christmas trees, or Santa Claus. Once you have your design in mind, gather the necessary materials.
Step 2: Prepare Your Fabrics
Before you start quilting, it’s important to prepare your fabrics. Wash and iron them to remove any wrinkles or dirt. This will ensure that your wall hanging looks clean and professional.
Step 3: Cut Your Fabrics
Using a quilting ruler and rotary cutter, carefully cut your fabric into the desired size for your wall hanging. Remember to leave a seam allowance of at least ¼ inch on all sides.
Step 4: Layer Your Fabrics
Now it’s time to layer your fabrics. Start with the backing fabric, placing it right side down. Next, add the batting, followed by the front fabric, right side up. Make sure all the layers are smooth and aligned.
Step 5: Pin and Baste
Use pins to secure the layers together, making sure to place them at regular intervals. This will prevent the fabrics from shifting while you quilt. Once you have pinned everything in place, baste the layers together using long, straight stitches.
Step 6: Quilt Your Wall Hanging
Now comes the fun part – quilting! You can choose to hand quilt or machine quilt your wall hanging. If you’re new to quilting, a simple straight stitch or diagonal lines can create a beautiful effect. If you’re feeling more adventurous, try experimenting with different quilting patterns.
Step 7: Add Embellishments (Optional)
If you want to add some extra flair to your wall hanging, consider adding Christmas-themed fabric or appliques. You can also use embroidery floss to add decorative stitches or accents. Get creative and make your wall hanging truly unique!
Step 8: Trim and Bind
Once you have finished quilting and embellishing your wall hanging, it’s time to trim the excess fabric and bind the edges. Use a quilting ruler and rotary cutter to trim the edges, making sure they are straight and even. Then, bind the edges with a coordinating fabric or bias tape.
Step 9: Finishing Touches
Finally, give your wall hanging a final press with an iron to remove any wrinkles. Attach a hanging sleeve or loops to the back of the wall hanging so you can easily display it on your wall. And voila! Your Christmas quilted wall hanging is complete.
Conclusion
Creating your own Christmas quilted wall hangings is a rewarding and enjoyable DIY project. With a little creativity and some basic quilting skills, you can make beautiful decorations that will add a festive touch to your home. Remember to choose a design, gather your materials, and follow the step-by-step instructions provided in this article. Happy quilting and happy holidays!


