Knitted Christmas Stockings: Knit Personalized Stockings for a Cozy Touch
Christmas is a time of joy, love, and giving. And what better way to celebrate the holiday season than by adding a personal touch to your decorations? Knitted Christmas stockings are not only a beautiful addition to your festive decor, but they also make heartfelt gifts for your loved ones. In this article, we will guide you through the process of knitting your own personalized Christmas stockings, step by step. So grab your knitting needles and let’s get started!
Materials You’ll Need
Before we dive into the knitting process, let’s gather all the materials you’ll need to complete this project:
- Knitting needles (size 8 or as per your preference)
- Worsted weight yarn in various colors
- Tapestry needle
- Scissors
- Stitch markers
- Measuring tape
- Optional: embellishments like buttons, ribbons, or bells
Step 1: Choose Your Pattern
The first step in knitting your own Christmas stockings is to choose a pattern that suits your style and skill level. There are countless patterns available online, ranging from simple designs to intricate fair isle patterns. Take your time to browse through different options and select the one that speaks to you.
Once you’ve chosen your pattern, make sure to read through it carefully and familiarize yourself with the instructions. This will help you understand the techniques involved and ensure a smooth knitting process.
Step 2: Gather Your Yarn
Now that you have your pattern, it’s time to gather the yarn colors you’ll need for your Christmas stockings. Traditional colors like red, green, and white are always a safe choice, but feel free to get creative and choose colors that reflect your personal style.
Make sure to check the yarn requirements mentioned in your chosen pattern and purchase the appropriate amount of yarn. It’s always a good idea to buy a little extra, just in case.
Step 3: Cast On
With your pattern and yarn ready, it’s time to cast on and start knitting! Follow the instructions in your pattern to cast on the required number of stitches. This will form the top edge of your Christmas stocking.
Remember to use stitch markers to mark the beginning and end of your rounds if you’re knitting in the round. This will help you keep track of your progress and ensure that your stitches are aligned correctly.
Step 4: Knit the Body
Once you’ve cast on, it’s time to knit the body of your Christmas stocking. This is where you can get creative and add your personal touch. You can choose to knit stripes, cables, or even incorporate fair isle patterns.
Follow the instructions in your pattern to knit the desired length for your stocking. Keep in mind that you’ll need to leave enough room for gifts to fit inside. A length of around 18-20 inches is usually a good starting point.
Step 5: Shape the Toe
After knitting the body, it’s time to shape the toe of your Christmas stocking. This is done by decreasing stitches gradually to create a tapered shape.
Follow the instructions in your pattern to shape the toe. This may involve knitting two stitches together, slipping stitches, or other techniques. Take your time and follow the instructions carefully to achieve the desired shape.
Step 6: Finishing Touches
Once you’ve shaped the toe, it’s time to finish off your Christmas stocking. Cut the yarn, leaving a long tail for sewing. Thread the tail through a tapestry needle and weave it through the remaining stitches to close the toe.
Next, fold your stocking in half with the wrong sides facing each other. Use the tail of yarn to sew the sides together, leaving the top edge open. Make sure to sew securely to ensure your stocking can hold all those wonderful gifts!
Step 7: Personalize Your Stocking
Now that your Christmas stocking is complete, it’s time to add a personal touch. You can embroider your name or initials on the stocking using a contrasting color yarn. Alternatively, you can sew on buttons, ribbons, or bells for a festive touch.
Get creative and make each stocking unique. You can even knit mini stockings for your pets or little ones in the family. The possibilities are endless!
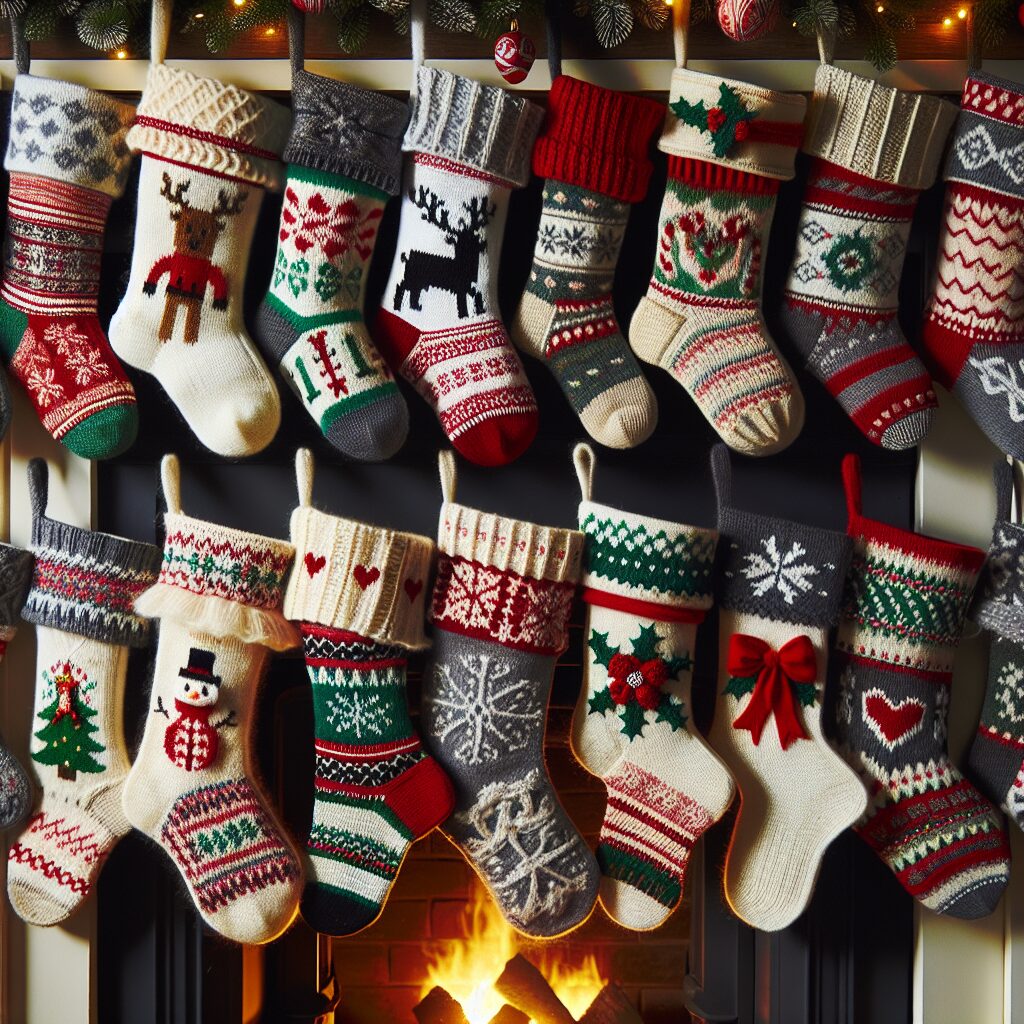
Step 8: Display and Enjoy!
Once you’ve finished knitting and personalizing your Christmas stockings, it’s time to display them with pride. Hang them by the fireplace, on a staircase, or even on a decorative stocking holder.
Imagine the joy on your loved ones’ faces when they see their personalized stockings filled with gifts on Christmas morning. These knitted treasures will become cherished heirlooms that can be passed down through generations.
Conclusion
Knitting your own Christmas stockings is not only a fun and rewarding project, but it also adds a cozy and personal touch to your holiday decor. By following the step-by-step instructions in this article, you’ll be able to create beautiful and personalized stockings that will become a cherished part of your Christmas traditions.
So gather your materials, choose your pattern, and let your creativity shine through your knitting needles. Happy knitting and Merry Christmas!


