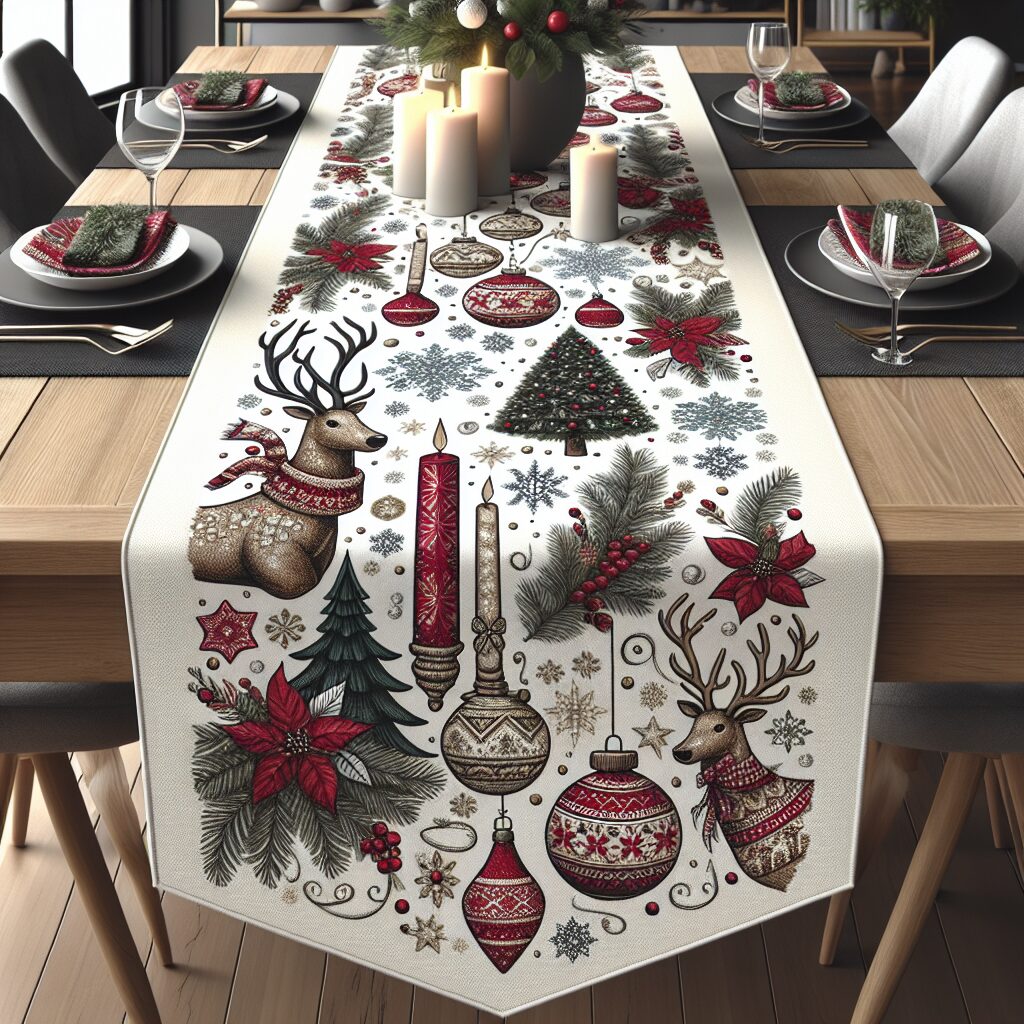
Christmas Table Runner Sewing Project: Create a Festive Table Runner to Enhance Your Holiday Dining Experience
Are you looking to add a touch of festive cheer to your holiday dining experience? Look no further! In this step-by-step instructional article, we will guide you through the process of creating a beautiful Christmas table runner. With just a few materials and some basic sewing skills, you can transform your dining table into a winter wonderland. Let’s get started!
Materials Needed
- Fabric (preferably a festive pattern or color)
- Scissors
- Measuring tape
- Sewing machine or needle and thread
- Pins
- Iron
- Optional: Embellishments such as ribbons, buttons, or appliques
Step 1: Measure and Cut the Fabric
The first step in creating your Christmas table runner is to measure and cut the fabric. Start by measuring the length of your dining table. Add a few extra inches to each end for a nice overhang. This will ensure that your table runner fits perfectly.
Once you have your measurements, use a pair of scissors to cut the fabric to the desired length. Remember to cut the fabric in a straight line to ensure a professional-looking finish.
Step 2: Iron the Fabric
Before you start sewing, it’s important to iron the fabric to remove any wrinkles or creases. This will make it easier to work with and ensure a smooth finish.
Set your iron to the appropriate temperature for your fabric type and gently press the iron over the fabric, smoothing out any wrinkles as you go. Take your time with this step to ensure a professional-looking result.
Step 3: Fold and Pin the Fabric
Now it’s time to fold and pin the fabric to create a neat edge. Start by folding each side of the fabric in about half an inch and ironing it down to create a crease. This will serve as a guide for sewing.
Once you have created the creases, use pins to secure the folded edges in place. Make sure to place the pins perpendicular to the edge to prevent them from interfering with the sewing process.
Step 4: Sew the Edges
With the fabric folded and pinned, it’s time to sew the edges together. If you have a sewing machine, set it to a straight stitch and carefully sew along the folded edges, removing the pins as you go.
If you don’t have a sewing machine, don’t worry! You can achieve the same result by hand sewing. Thread a needle with a thread that matches your fabric and use a simple running stitch to sew along the folded edges.
Step 5: Add Embellishments (Optional)
If you want to add some extra flair to your Christmas table runner, now is the time to do it! Consider adding embellishments such as ribbons, buttons, or appliques to enhance the festive look.
Get creative and experiment with different designs and placements. You can sew the embellishments directly onto the fabric or use fabric glue for a temporary option. The choice is yours!
Step 6: Finishing Touches
Once you have completed the sewing and added any desired embellishments, it’s time for the finishing touches. Give your table runner a final press with the iron to ensure a crisp and polished look.
Now, lay your beautiful Christmas table runner on your dining table and step back to admire your handiwork. The festive colors and patterns will instantly enhance your holiday dining experience and create a warm and inviting atmosphere for your guests.
Estimated Time
The time required to complete this Christmas table runner sewing project will vary depending on your sewing skills and the complexity of the design. On average, it should take approximately 1-2 hours to measure, cut, sew, and add embellishments.
Summary
In this instructional article, we have provided you with a detailed guide on how to create a festive Christmas table runner. By following the step-by-step instructions, you can easily transform your dining table into a winter wonderland. Remember to gather all the necessary materials, measure and cut the fabric, iron the fabric, fold and pin the edges, sew the edges together, add embellishments if desired, and give your table runner a final press. The estimated time for this project is 1-2 hours. Now, get ready to impress your guests with your DIY skills and enjoy a truly magical holiday dining experience!


