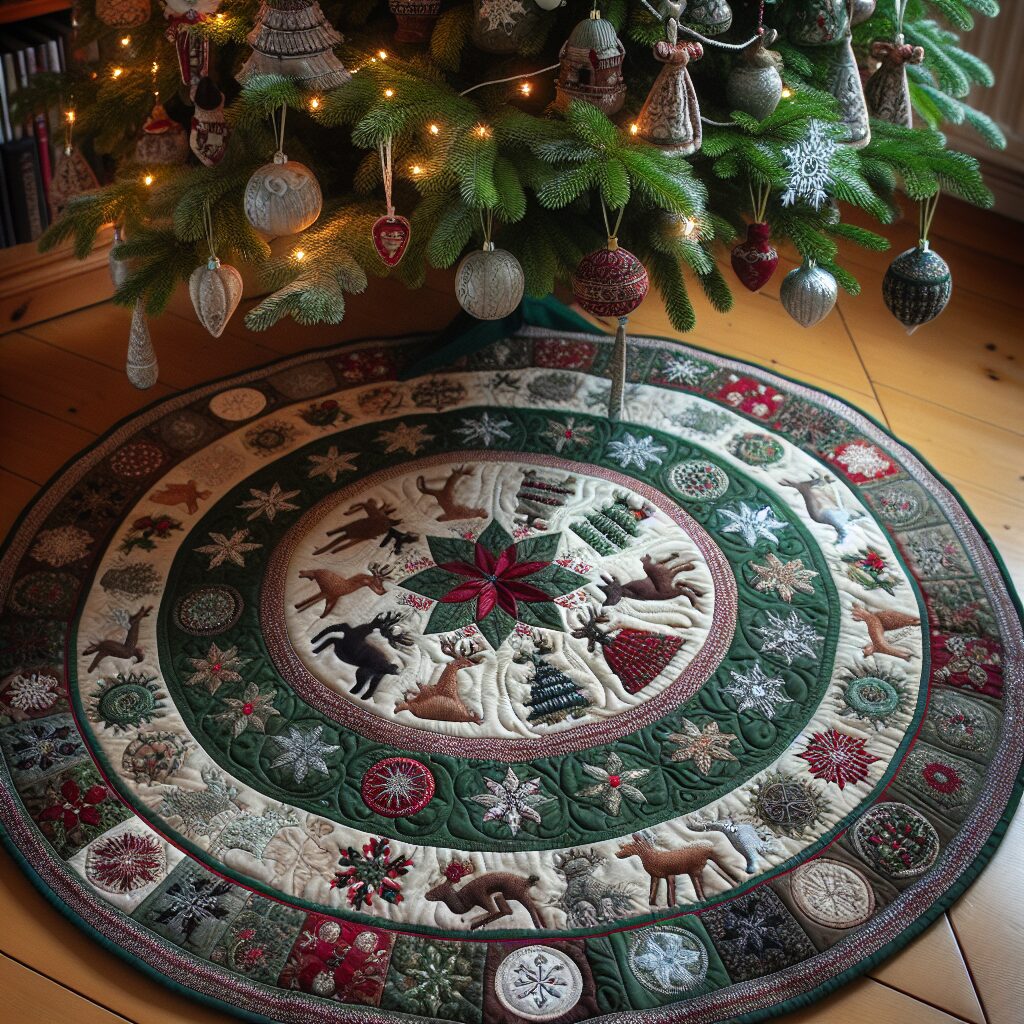
Handcrafted Christmas Tree Skirt: Sew or Quilt a Decorative Skirt for Your Christmas Tree
Are you looking to add a personal touch to your Christmas decorations this year? Why not create a beautiful handcrafted Christmas tree skirt? Not only will it add a festive touch to your tree, but it will also showcase your creativity and sewing skills. In this step-by-step guide, we will walk you through the process of sewing or quilting a decorative skirt for your Christmas tree. Get ready to impress your family and friends with your DIY skills!
Materials You Will Need
Before we dive into the instructions, let’s gather all the materials you will need for this project:
- Fabric (choose a fabric that matches your Christmas theme)
- Lining fabric
- Batting (if quilting)
- Thread (matching or contrasting, depending on your preference)
- Scissors
- Pins
- Sewing machine (or needle and thread if hand sewing)
- Measuring tape
- Iron
- Decorative trim (optional)
Step-by-Step Instructions
Step 1: Measure Your Tree
The first step in creating your handcrafted Christmas tree skirt is to measure the diameter of your tree’s base. This will determine the size of your skirt. Add a few extra inches to the measurement to allow for gathering or pleating.
Step 2: Choose Your Fabric
Now it’s time to choose the fabric for your tree skirt. Consider the overall theme and color scheme of your Christmas decorations. You can opt for traditional red and green, or go for a more modern and unique look. Make sure to select a fabric that is durable and easy to work with.
Step 3: Cut the Fabric
Using your measurements from Step 1, cut a circle out of your fabric. You can use a large compass or trace around a circular object to create a perfect circle. If you prefer a more intricate design, you can cut a scalloped edge or add other decorative elements.
Step 4: Cut the Lining Fabric
Repeat Step 3 with your lining fabric. The lining fabric should be slightly smaller than the outer fabric to create a neat finish. Cut the lining fabric using the same measurements as the outer fabric, but reduce the diameter by a few inches.
Step 5: Prepare the Batting (If Quilting)
If you choose to quilt your tree skirt, cut a piece of batting to the same size as your outer fabric. Place the batting between the outer fabric and the lining fabric. This will add thickness and texture to your tree skirt.
Step 6: Pin and Sew the Layers
Place the lining fabric on top of the outer fabric (with batting in between, if quilting). Pin the layers together to secure them in place. Starting from the center, sew around the edge of the circle, leaving a small opening for turning the skirt right side out.
Step 7: Trim and Clip the Seam Allowance
Once you have sewn around the edge, trim the seam allowance to reduce bulk. Make small snips around the curved edge, being careful not to cut through the stitching. This will help the skirt lay flat when turned right side out.
Step 8: Turn the Skirt Right Side Out
Gently pull the skirt through the opening you left in the stitching. Use a pencil or a chopstick to push out the edges and create a smooth circle. Press the skirt with an iron to remove any wrinkles.
Step 9: Close the Opening
Using a needle and thread, hand stitch the opening closed. Make small, discreet stitches to ensure a neat finish. Alternatively, you can use a sewing machine to close the opening if you prefer.
Step 10: Add Decorative Trim (Optional)
If you want to add an extra touch of elegance to your tree skirt, consider adding decorative trim. You can sew lace, ribbon, or sequins around the edge of the skirt. Get creative and experiment with different trims to achieve the desired look.
Step 11: Place the Skirt Around Your Tree
Now that your handcrafted Christmas tree skirt is complete, it’s time to showcase it! Carefully place the skirt around the base of your Christmas tree. Adjust the gathers or pleats to ensure a perfect fit.
Estimated Time and Final Thoughts
The time required to complete this project will vary depending on your sewing skills and the complexity of your design. On average, it should take a few hours to sew or quilt a decorative Christmas tree skirt.
Creating a handcrafted Christmas tree skirt is a rewarding and enjoyable DIY project. Not only will you have a unique and personalized decoration for your tree, but you will also have the satisfaction of knowing that you made it yourself. Follow the step-by-step instructions in this guide, and let your creativity shine through. Happy sewing and happy holidays!


