Mailbox Makeover: Personalizing Your Mailbox Area
Are you tired of your plain and boring mailbox? Do you want to add a touch of personality to your mailbox area? Look no further! In this article, we will guide you through the process of giving your mailbox a makeover and transforming your mailbox area into a beautiful and personalized space. Follow our step-by-step instructions and let your creativity shine!
Materials You Will Need
- A mailbox
- Paint (choose a color that complements your home’s exterior)
- Paintbrushes
- Sandpaper
- Masking tape
- Stencils or stickers (optional)
- Outdoor sealant
- Decorative accessories (such as house numbers, plants, or a flag)
Step 1: Prepare Your Mailbox
The first step in your mailbox makeover journey is to prepare your mailbox for painting. Start by cleaning the surface of your mailbox using a mild detergent and water. Remove any dirt, dust, or grime that may be present. Once your mailbox is clean, use sandpaper to roughen up the surface slightly. This will help the paint adhere better.
Step 2: Choose Your Paint
Now it’s time to choose the perfect paint color for your mailbox. Consider the color scheme of your home’s exterior and select a paint color that complements it. You can also opt for a bold and vibrant color to make your mailbox stand out. Remember to choose a paint that is suitable for outdoor use and can withstand different weather conditions.
Step 3: Paint Your Mailbox
Once you have chosen your paint color, it’s time to start painting your mailbox. Use a paintbrush to apply an even coat of paint to the entire surface of your mailbox. Make sure to cover all sides, including the front, back, and sides. Allow the first coat to dry completely before applying a second coat if necessary. This will ensure a smooth and even finish.
Step 4: Add Personalized Touches
Now that your mailbox is painted, it’s time to add some personalized touches. You can use stencils or stickers to create designs or patterns on your mailbox. Alternatively, you can hand-paint your house numbers or add decorative accents such as flowers or a flag. Let your creativity guide you and make your mailbox truly unique.
Step 5: Seal and Protect
After you have finished painting and adding personalized touches to your mailbox, it’s important to seal and protect it. Apply an outdoor sealant to the painted surface of your mailbox to protect it from the elements. This will help prevent the paint from chipping or fading over time and ensure that your mailbox looks great for years to come.
Step 6: Enhance Your Mailbox Area
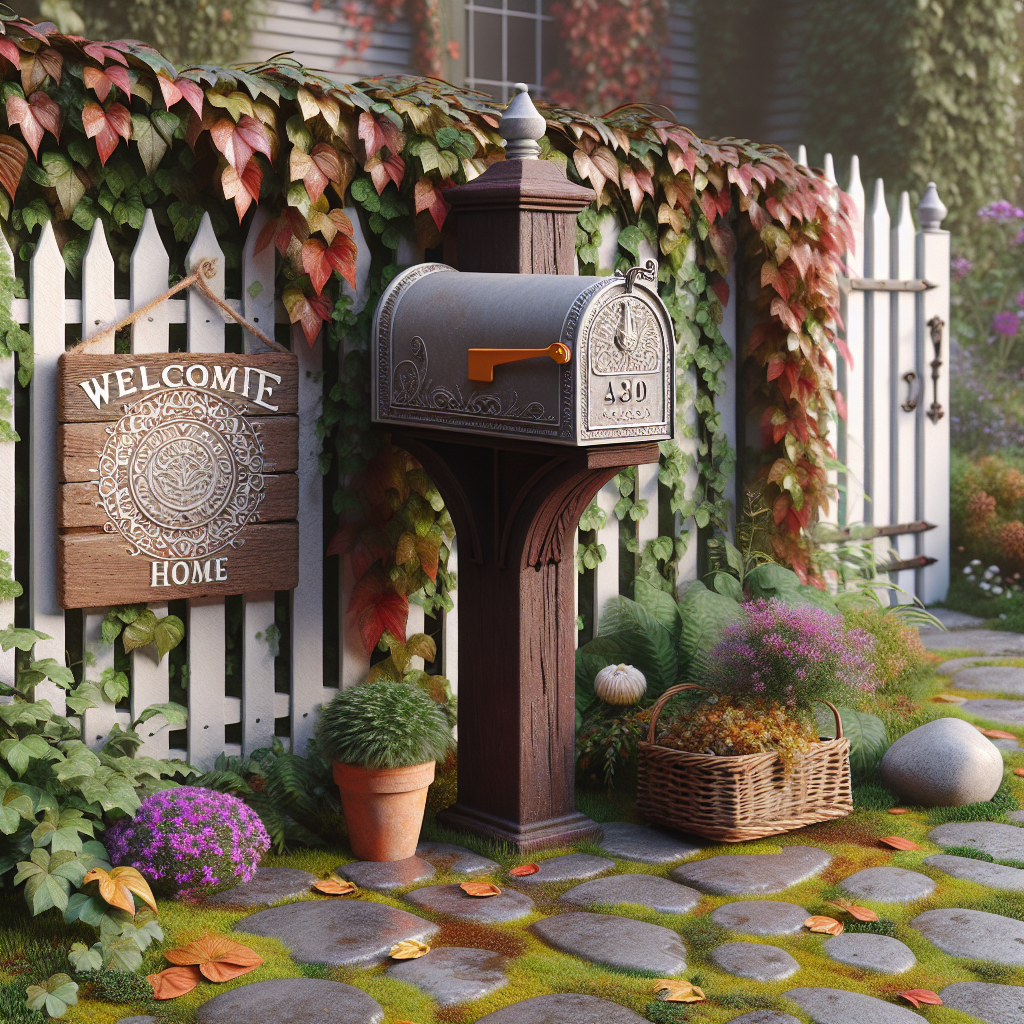
Now that your mailbox is looking fabulous, it’s time to enhance your mailbox area. Consider adding some decorative accessories to complete the look. You can install house numbers that match the style of your mailbox, add potted plants or flowers around your mailbox, or even hang a flag to show your patriotism. These small additions will make your mailbox area truly inviting.
Step 7: Maintenance Tips
To keep your mailbox looking its best, it’s important to perform regular maintenance. Clean your mailbox periodically using a mild detergent and water to remove any dirt or grime. Touch up any chipped or faded paint as needed. Additionally, check the condition of your mailbox and its accessories regularly and replace any damaged or worn-out parts.
Conclusion
By following these step-by-step instructions, you can easily transform your mailbox area into a personalized and inviting space. From choosing the perfect paint color to adding personalized touches, you have the power to make your mailbox truly unique. Remember to regularly maintain your mailbox to ensure it stays in great condition. Now, go ahead and give your mailbox the makeover it deserves!