Shutter Chic: Styling Your Home with Decorative Shutters
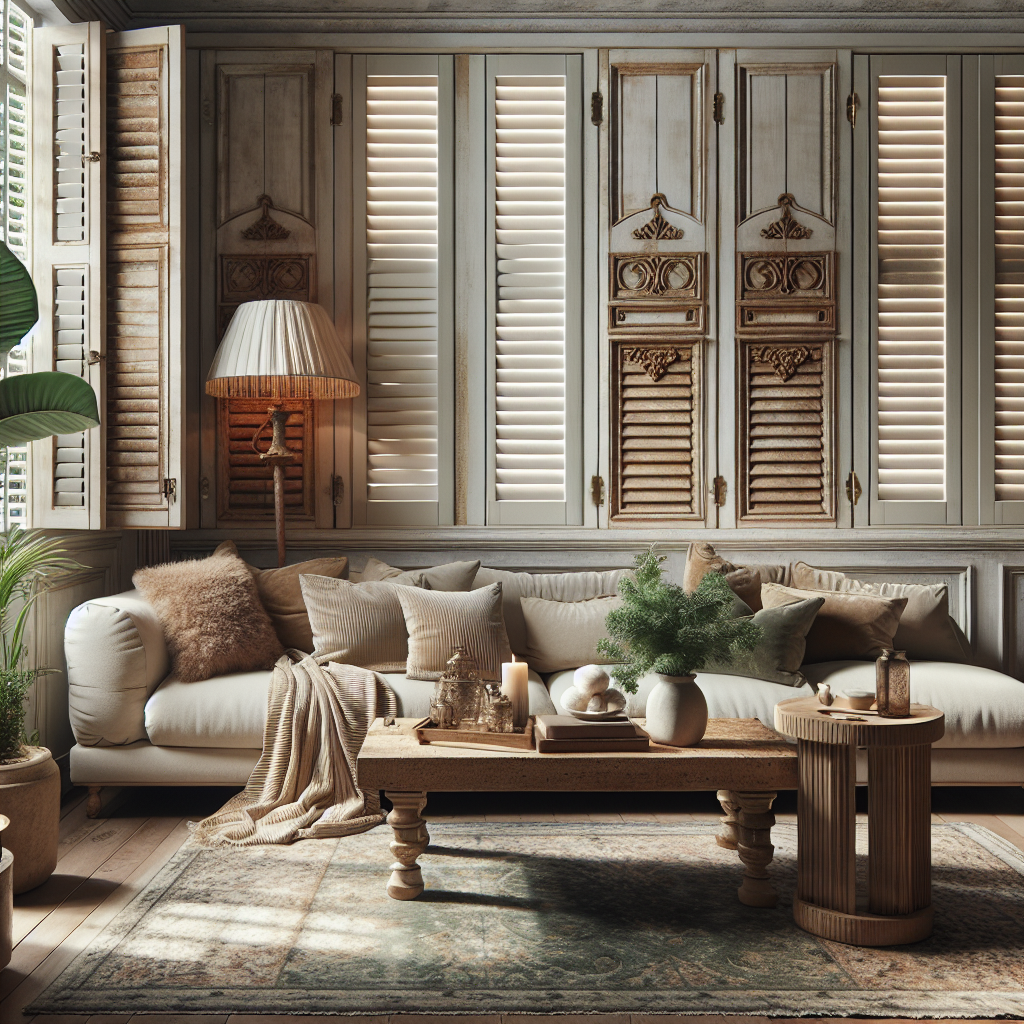
Decorative shutters can add a touch of elegance and charm to any home. Whether you have a modern or traditional style, shutters can enhance the overall aesthetic and create a focal point in your space. In this comprehensive guide, we will walk you through the step-by-step process of creating your own decorative shutters. From choosing the right materials to installation, we’ve got you covered. So, let’s dive in and transform your home with shutter chic!
Materials You’ll Need
- Wooden boards
- Saw
- Sandpaper
- Measuring tape
- Pencil
- Drill
- Screws
- Hinges
- Paint or stain
- Paintbrush
- Decorative hardware (optional)
Step 1: Measure and Cut the Boards
Start by measuring the height and width of your windows. Use these measurements to determine the size of your shutters. Remember to account for any desired overlap or spacing between the shutters.
Once you have your measurements, use a saw to cut the wooden boards to the desired length. Sand the edges to ensure a smooth finish.
Step 2: Design and Mark the Louvers
Decide on the number and spacing of the louvers on your shutters. Use a measuring tape and pencil to mark the positions of the louvers on each board. Make sure the marks are evenly spaced and aligned.
Step 3: Cut the Louvers
Using a saw, carefully cut along the marked lines to create the louvers. Take your time and make precise cuts to achieve clean and professional-looking shutters.
Step 4: Sand and Finish the Shutters
Before assembling the shutters, sand all surfaces to remove any rough edges or imperfections. This will ensure a smooth and polished final product.
Next, choose a paint or stain color that complements your home’s interior or exterior. Apply the paint or stain evenly using a paintbrush, following the manufacturer’s instructions. Allow the shutters to dry completely before moving on to the next step.
Step 5: Assemble the Shutters
Place the boards on a flat surface, aligning the louvers. Use a drill to create pilot holes at the marked locations. This will prevent the wood from splitting when you attach the screws.
Once the pilot holes are ready, attach the boards together using screws. Make sure the shutters are securely fastened and aligned properly.
Step 6: Install the Hinges
Position the shutters next to the window frame to determine the placement of the hinges. Mark the locations and use a drill to create pilot holes for the hinge screws.
Attach the hinges to the shutters and then to the window frame. Ensure that the shutters open and close smoothly without any obstructions.
Step 7: Add Decorative Hardware (Optional)
If desired, you can enhance the look of your shutters by adding decorative hardware such as handles or hooks. Choose hardware that complements the style of your shutters and install them according to the manufacturer’s instructions.
Step 8: Final Touches
Once the shutters are installed, step back and admire your handiwork. Take a moment to appreciate how they transform the overall look and feel of your home.
If you’d like, you can further personalize your shutters by adding a coat of protective sealant. This will help prolong their lifespan and keep them looking beautiful for years to come.
Conclusion
By following these step-by-step instructions, you can create stunning decorative shutters that will elevate the style of your home. Remember to measure carefully, choose high-quality materials, and take your time during each step of the process. With a little creativity and effort, you can achieve shutter chic and enjoy the beauty of your handmade shutters for years to come.