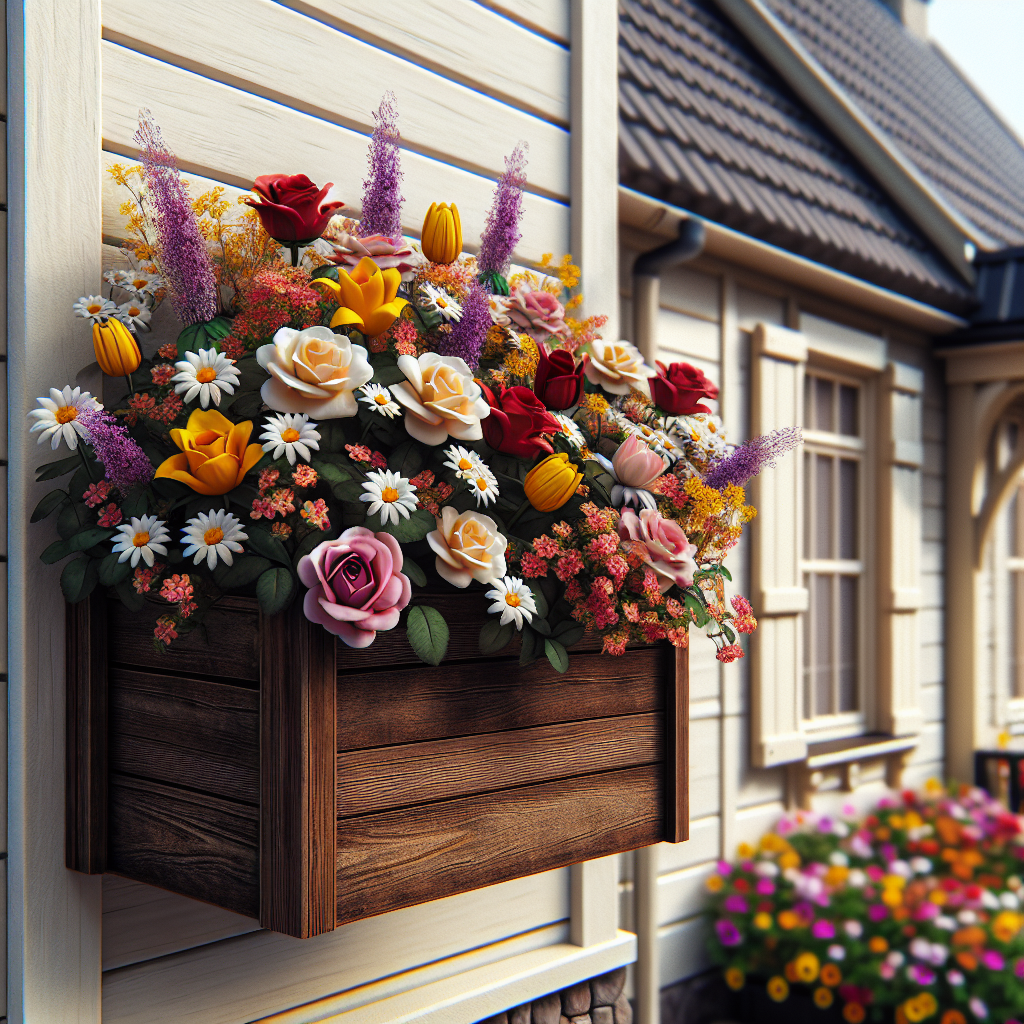
Flower Box Flair: Adding Color and Life to Your Home’s Exterior
Are you looking to add a touch of beauty and charm to your home’s exterior? One simple and effective way to achieve this is by creating a flower box. Flower boxes not only add color and life to your home, but they also provide a creative outlet for your gardening skills. In this article, we will guide you through the step-by-step process of creating a flower box that will enhance the overall aesthetic appeal of your home. So, let’s get started!
Materials You Will Need
- Wooden plank (preferably cedar or redwood) – 1 inch thick, 6 inches wide, and the desired length of your flower box
- Galvanized screws
- Drill
- Saw
- Measuring tape
- Sandpaper
- Wood glue
- Paint or stain (optional)
- Plastic liner or landscaping fabric
- Flower potting soil
- Flowers or plants of your choice
- Watering can or hose
Step 1: Measure and Cut the Wood
Start by measuring the desired length of your flower box. Use a saw to cut the wooden plank to the appropriate length. Remember to wear safety goggles and gloves while using the saw.
Step 2: Sand the Wood
After cutting the wood, use sandpaper to smooth out any rough edges or splinters. This will ensure a clean and polished look for your flower box.
Step 3: Assemble the Flower Box
Take the cut wooden plank and lay it flat on a work surface. Apply wood glue along the edges of the plank and join the corners to form a rectangular shape. Secure the corners with galvanized screws using a drill. Make sure the box is sturdy and well-constructed.
Step 4: Paint or Stain (Optional)
If you prefer a more personalized look for your flower box, you can paint or stain it. Choose a color that complements your home’s exterior. Apply the paint or stain evenly, following the manufacturer’s instructions. Allow it to dry completely before proceeding to the next step.
Step 5: Line the Flower Box
To prevent water from leaking out of the flower box, line the inside with a plastic liner or landscaping fabric. Cut the liner or fabric to fit the dimensions of the box and secure it in place using staples or adhesive.
Step 6: Add Potting Soil
Fill the flower box with potting soil, leaving about an inch of space at the top. This will allow room for watering without overflowing.
Step 7: Choose and Plant Your Flowers
Now comes the fun part – choosing and planting your flowers! Select a variety of flowers or plants that thrive in your climate and complement each other in terms of color and height. Arrange them in the flower box, starting with taller plants in the back and cascading or trailing plants towards the front. Gently press the roots into the soil and water thoroughly.
Step 8: Water and Maintain
Regularly water your flower box to keep the soil moist. Check the moisture level by inserting your finger into the soil – if it feels dry, it’s time to water. Avoid overwatering, as it can lead to root rot. Additionally, remove any dead or wilted flowers to promote healthy growth.
Step 9: Enjoy the Beauty
Once your flower box is complete, step back and admire the beauty you have created. The vibrant colors and fragrant blooms will undoubtedly enhance the curb appeal of your home. Sit back, relax, and enjoy the natural beauty that your flower box brings to your home’s exterior.
Conclusion
Creating a flower box is a rewarding and enjoyable DIY project that adds color and life to your home’s exterior. By following the step-by-step instructions provided in this article, you can easily create a beautiful flower box that complements your home’s aesthetic. Remember to choose the right materials, measure accurately, and select flowers that thrive in your climate. With a little time and effort, you can transform your home’s exterior into a vibrant and inviting space that will be the envy of your neighbors. So, go ahead and add some flower box flair to your home today!