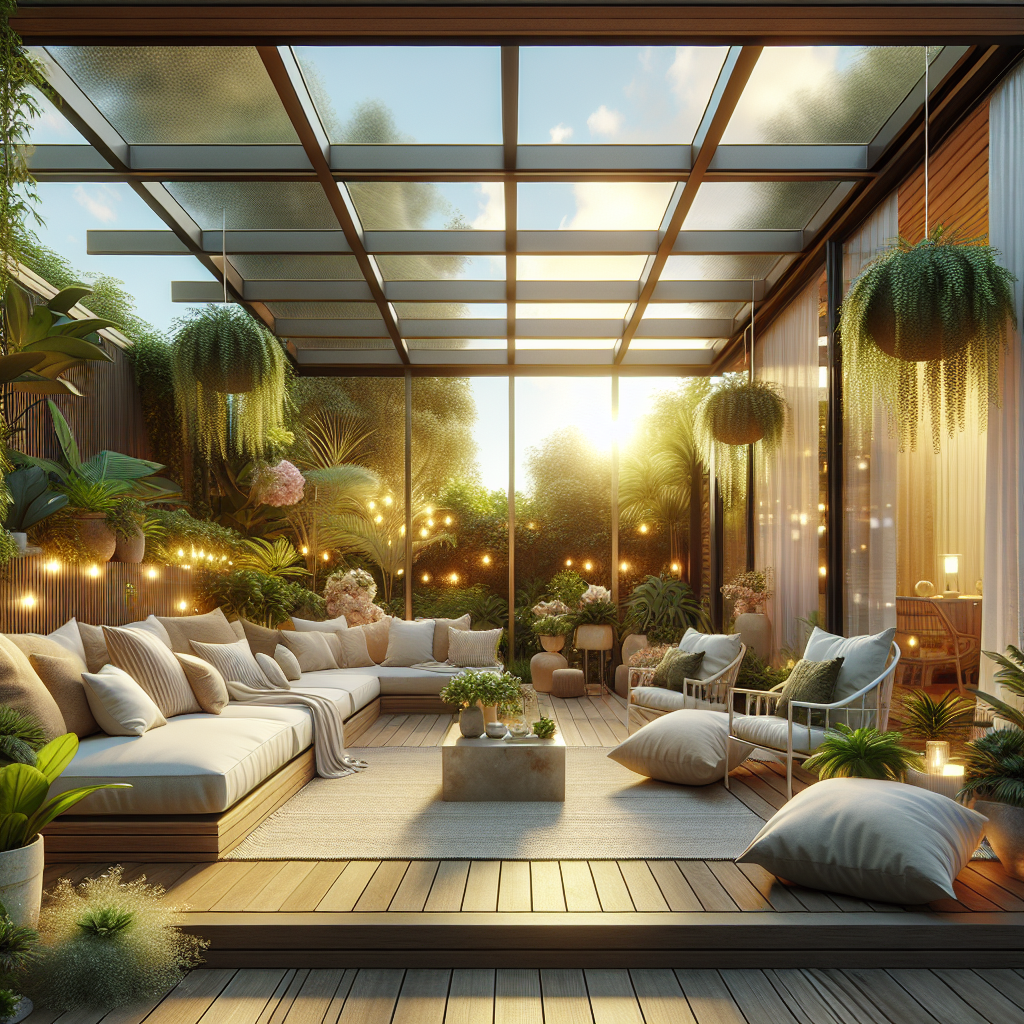
Sunroom Sanctuary: Designing a Relaxing Outdoor Extension
Creating a sunroom sanctuary is a wonderful way to bring the beauty of the outdoors into your home. Whether you want a cozy reading nook, a space for entertaining guests, or simply a place to relax and unwind, a sunroom can provide the perfect solution. In this article, we will guide you through the process of designing and building your own sunroom sanctuary, step by step. By the end, you will have all the knowledge and inspiration you need to create a stunning outdoor extension that will become your favorite spot in the house.
Step 1: Planning and Preparation
Before you begin building your sunroom sanctuary, it is important to carefully plan and prepare for the project. Start by considering the purpose of your sunroom and how you envision using the space. This will help you determine the size, layout, and design elements that will best suit your needs.
Next, assess the available space in your home and choose a location for your sunroom. Ideally, you want a spot that receives ample sunlight throughout the day and has easy access to the outdoors. Consider the orientation of your home and any existing structures that may impact the placement of your sunroom.
Once you have a clear vision and location in mind, it’s time to gather the necessary materials and tools for the project. Here is a list of items you will need:
- Building permits (if required by your local regulations)
- Measuring tape
- Pencil and paper for sketching out your design
- Building materials (such as lumber, glass, and insulation)
- Power tools (such as a circular saw, drill, and screwdriver)
- Safety equipment (such as goggles and gloves)
- Decorative elements (such as furniture, plants, and lighting)
Depending on the complexity of your design and the size of your sunroom, the project can take anywhere from a few days to a few weeks to complete. Make sure to allocate enough time and resources to ensure a successful outcome.
Step 2: Designing Your Sunroom Sanctuary
Now that you have all the necessary materials and tools, it’s time to start designing your sunroom sanctuary. Begin by sketching out your ideas on paper, taking into account the dimensions of the space and any existing architectural features.
Consider the overall style and aesthetic you want to achieve. Do you prefer a modern and minimalist look, or a cozy and rustic atmosphere? Think about the colors, textures, and materials that will best complement your existing home decor.
When it comes to the layout, think about how you will use the space. Will you need a seating area for entertaining guests, a table for dining, or a desk for working? Plan the placement of furniture and other elements accordingly, ensuring there is enough room to move around comfortably.
Don’t forget to incorporate plenty of windows and skylights to maximize natural light and provide a seamless connection to the outdoors. Consider adding curtains or blinds for privacy and shade when needed.
Step 3: Building Your Sunroom Sanctuary
With your design finalized, it’s time to start building your sunroom sanctuary. Follow these step-by-step instructions to ensure a smooth construction process:
1. Prepare the foundation:
Start by preparing the foundation for your sunroom. This may involve pouring a concrete slab or building a raised deck, depending on your design and local building codes. Make sure the foundation is level and sturdy before proceeding.
2. Frame the walls:
Using the lumber and power tools, frame the walls of your sunroom according to your design. Make sure to leave space for windows and doors, and reinforce the structure as needed. Double-check all measurements to ensure accuracy.
3. Install windows and doors:
Once the walls are framed, it’s time to install the windows and doors. Carefully measure and cut the openings, then secure the glass panels in place. Make sure everything is properly sealed to prevent drafts and water leakage.
4. Insulate the space:
To ensure year-round comfort in your sunroom, it’s important to properly insulate the space. Install insulation between the wall studs and ceiling joists, paying special attention to areas where air may leak in or out.
5. Finish the interior:
With the structure in place, it’s time to finish the interior of your sunroom. Paint the walls, install flooring, and add any additional decorative elements you desire. Consider using materials that are durable and easy to clean, as your sunroom will be exposed to the elements.
6. Furnish and decorate:
Finally, furnish and decorate your sunroom sanctuary to create a cozy and inviting space. Choose furniture that is comfortable and weather-resistant, and add personal touches such as cushions, rugs, and artwork. Don’t forget to incorporate plants and greenery to bring the outdoors inside.
Step 4: Enjoying Your Sunroom Sanctuary
Once your sunroom sanctuary is complete, it’s time to sit back, relax, and enjoy your new outdoor extension. Use it as a peaceful retreat for reading, meditating, or simply soaking up the sun. Invite friends and family over for gatherings and celebrations, or use it as a versatile space for hobbies and creative pursuits.
Remember to maintain your sunroom regularly by cleaning the windows, dusting furniture, and tending to any plants or greenery. This will ensure that your sunroom remains a beautiful and inviting space for years to come.
In conclusion, designing and building a sunroom sanctuary is a rewarding DIY project that can transform your home and enhance your quality of life. By following the steps outlined in this article, you will be well on your way to creating a relaxing outdoor extension that brings joy and tranquility to your everyday life. So gather your materials, unleash your creativity, and get ready to enjoy the beauty of nature from the comfort of your own home.