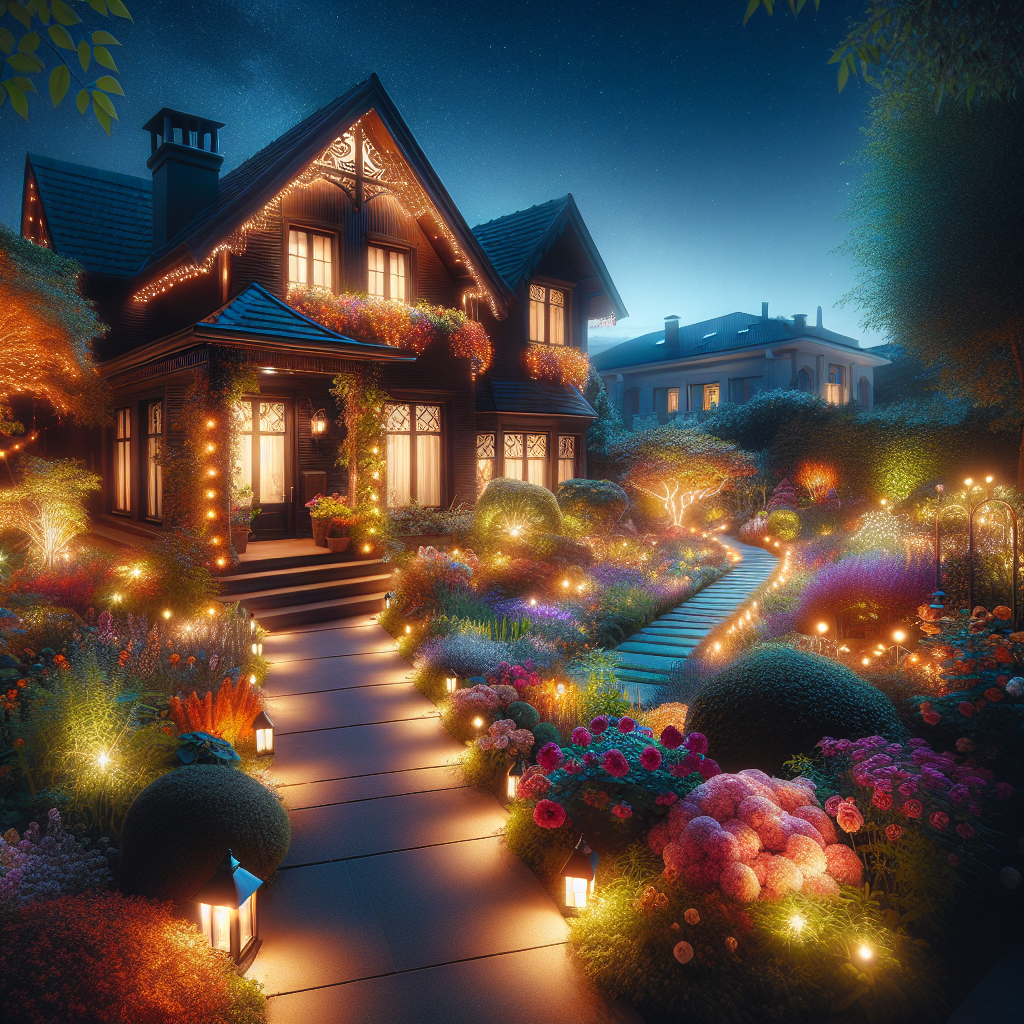
Outdoor Lighting Magic: Illuminating Your Home’s Exterior Beautifully
Outdoor lighting can transform the look and feel of your home’s exterior, creating a magical ambiance that enhances its beauty and functionality. Whether you want to highlight architectural features, illuminate pathways, or create a cozy outdoor living space, the right lighting can make all the difference. In this comprehensive guide, we will walk you through the step-by-step process of creating stunning outdoor lighting for your home. Get ready to bring your outdoor spaces to life with our expert tips and tricks!
Step 1: Planning Your Outdoor Lighting Design
Before you dive into the world of outdoor lighting, it’s essential to have a clear plan in mind. Start by assessing your outdoor space and identifying the areas you want to illuminate. Consider the architectural features, pathways, gardens, and any other elements you want to highlight. This will help you determine the type and placement of lights you’ll need.
Next, think about the mood and atmosphere you want to create. Do you prefer a soft and romantic glow or a bright and vibrant ambiance? This will guide your choice of light fixtures and bulbs. Additionally, consider the practical aspects, such as safety and security. Outdoor lighting can also deter intruders and make your home safer at night.
Once you have a clear vision of your outdoor lighting design, it’s time to gather the necessary materials and tools. Here’s a list of items you’ll need:
- Outdoor light fixtures
- Light bulbs (LED bulbs are energy-efficient and long-lasting)
- Transformers (if using low-voltage lighting)
- Wiring and connectors
- Timer or smart lighting system
- Drill and drill bits
- Screwdriver
- Wire strippers
- Tape measure
- Outdoor extension cords (if needed)
Depending on the complexity of your outdoor lighting project, you may also need additional tools and materials. Make sure to read the instructions provided with your chosen light fixtures and consult with a professional if needed.
Step 2: Choosing the Right Outdoor Light Fixtures
The type of outdoor light fixtures you choose will greatly impact the overall look and functionality of your lighting design. Here are some popular options to consider:
1. Wall-mounted Lights
Wall-mounted lights are a versatile choice for illuminating your home’s exterior. They can be installed on walls, pillars, or posts, adding both style and functionality. Choose fixtures that complement your home’s architectural style and provide the desired amount of light.
2. Path Lights
Path lights are perfect for illuminating walkways, driveways, and garden paths. They not only enhance safety but also add a touch of elegance to your outdoor space. Opt for low-voltage path lights that are easy to install and energy-efficient.
3. Spotlights
Spotlights are ideal for highlighting specific features of your home, such as trees, statues, or architectural details. They create a dramatic effect and draw attention to the focal points of your outdoor space. Adjustable spotlights allow you to direct the light precisely where you want it.
4. String Lights
String lights are a popular choice for creating a cozy and inviting atmosphere in outdoor living areas. They can be hung across patios, pergolas, or trees, adding a warm and festive glow. Choose weather-resistant string lights that are suitable for outdoor use.
Step 3: Installing Your Outdoor Lighting
Now that you have your plan and materials ready, it’s time to install your outdoor lighting. Follow these step-by-step instructions for a successful installation:
1. Prepare the Wiring
Start by turning off the power to the area where you’ll be working. Use a voltage tester to ensure that the power is indeed off. Then, measure and cut the wiring to the appropriate length, leaving some extra length for connections.
2. Connect the Wiring
Strip the ends of the wiring using wire strippers, exposing about half an inch of bare wire. Connect the wires to the corresponding terminals on the light fixtures, following the manufacturer’s instructions. Use wire connectors to secure the connections.
3. Mount the Light Fixtures
Using a drill and appropriate drill bits, mount the light fixtures in their designated locations. Make sure they are securely attached and level. If necessary, use anchors or screws provided with the fixtures.
4. Install Transformers (if applicable)
If you’re using low-voltage lighting, you’ll need to install transformers to convert the standard household voltage to a lower voltage suitable for the lights. Follow the manufacturer’s instructions for proper installation.
5. Test the Lighting
Once all the fixtures are installed and the wiring is connected, turn the power back on and test the lighting. Make sure all the lights are working correctly and adjust their positions if needed.
Step 4: Enhancing Your Outdoor Lighting Design
Now that your outdoor lighting is installed, it’s time to add some finishing touches to enhance its beauty and functionality. Here are a few ideas:
1. Use Timers or Smart Lighting Systems
Set timers or invest in a smart lighting system to automate your outdoor lighting. This will allow you to program the lights to turn on and off at specific times, saving energy and ensuring your home always looks welcoming.
2. Incorporate Solar Lights
Solar lights are an eco-friendly and cost-effective option for illuminating your outdoor space. They harness the power of the sun during the day and automatically turn on at night. Place them strategically to create a magical effect.
3. Add Dimmers
Consider installing dimmers for your outdoor lights to create different moods and adjust the brightness as needed. Dimmers allow you to control the intensity of the light and create a cozy ambiance for outdoor gatherings.
4. Experiment with Colors
For a unique and eye-catching outdoor lighting design, experiment with colored light bulbs or filters. This can add a playful and festive touch to your outdoor space, especially during holidays or special occasions.
Step 5: Maintenance and Safety Tips
To ensure the longevity and safety of your outdoor lighting, follow these maintenance tips:
1. Regularly Clean the Fixtures
Remove any dirt, dust, or debris from the light fixtures to maintain their brightness and functionality. Use a soft cloth or a mild cleaning solution, and


