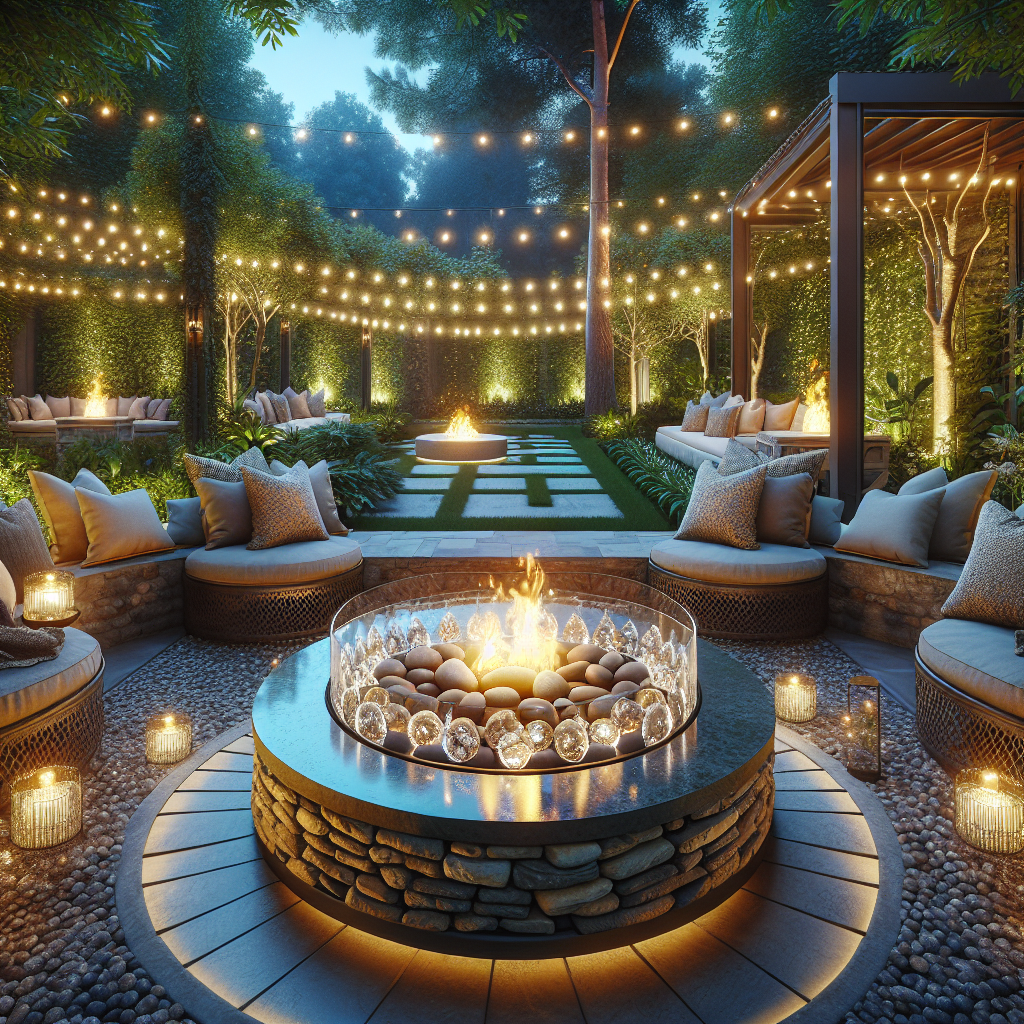
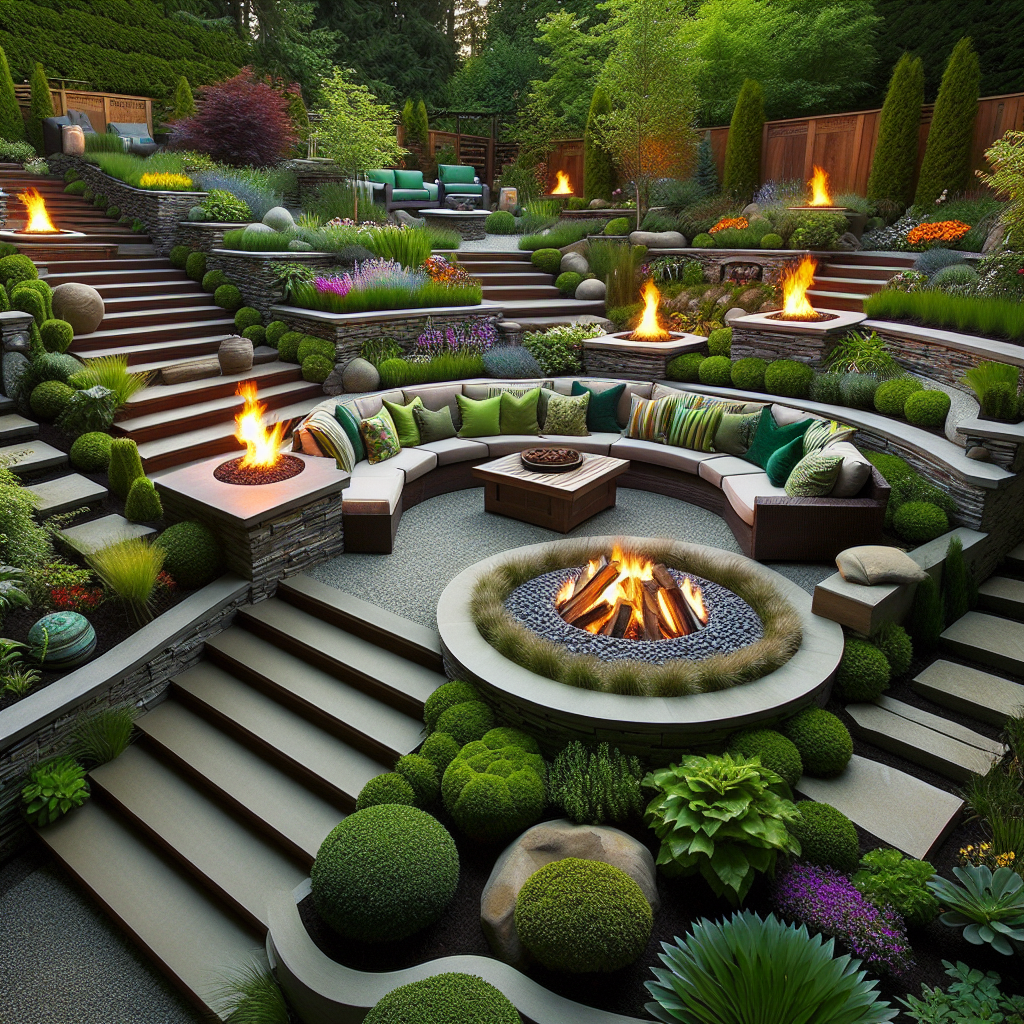
Luxurious Stone and Glass Backyard Fire Pit: A Step-by-Step Guide
Welcome to this comprehensive guide on how to create a luxurious stone and glass backyard fire pit. In this article, we will provide you with detailed instructions and valuable insights to help you complete this exciting DIY project. By following our step-by-step guide, you will be able to transform your outdoor space into a stunning and cozy gathering spot. So, let’s get started!
Materials and Tools
Before we dive into the instructions, let’s gather all the necessary materials and tools you will need for this project:
- Fire pit kit (including stones, adhesive, and metal ring)
- Glass fire pit rocks
- Shovel
- Rake
- Tape measure
- Masonry adhesive
- Level
- Rubber mallet
- Protective gloves
- Safety glasses
Step 1: Choose the Perfect Location
The first step in creating your luxurious stone and glass backyard fire pit is to choose the perfect location. Consider the following factors:
- Ensure the fire pit is at least 10 feet away from any structures or flammable materials.
- Check local regulations and obtain any necessary permits.
- Choose a level area with good drainage.
- Consider the view and accessibility from your outdoor living space.
Once you have selected the ideal location, mark the area using stakes and string to outline the shape of your fire pit.
Step 2: Prepare the Ground
Now that you have chosen the location, it’s time to prepare the ground for your fire pit. Follow these steps:
- Using a shovel, remove any grass, plants, or debris from the marked area.
- Level the ground using a rake, ensuring it is smooth and even.
- Compact the soil by walking over it or using a tamper.
Step 3: Install the Metal Ring
The metal ring will provide structure and support for your fire pit. Follow these instructions to install it:
- Place the metal ring in the center of the prepared area.
- Using a tape measure, ensure the ring is centered and level.
- Adjust the position if necessary.
Step 4: Lay the Stone Base
Now it’s time to start building the stone base of your fire pit. Follow these steps:
- Apply a layer of masonry adhesive to the bottom of the metal ring.
- Place the first row of stones on top of the adhesive, ensuring they are tightly packed together.
- Continue adding rows of stones, applying adhesive between each layer.
- Use a level to ensure each row is straight and even.
- Tap the stones gently with a rubber mallet to secure them in place.
Step 5: Add the Glass Fire Pit Rocks
Now it’s time to add a touch of luxury to your fire pit by incorporating glass fire pit rocks. Follow these instructions:
- Fill the center of the fire pit with a layer of glass fire pit rocks.
- Spread the rocks evenly, ensuring they cover the entire area.
- Add more rocks as needed to achieve your desired look.
Step 6: Finishing Touches
With the main structure of your luxurious stone and glass backyard fire pit complete, it’s time to add some finishing touches:
- Clean any excess adhesive or debris from the stones.
- Ensure the metal ring is securely in place.
- Double-check that the fire pit is level.
- Put on your safety glasses and gloves before lighting the fire pit for the first time.
Enjoy Your Luxurious Stone and Glass Backyard Fire Pit
Congratulations! You have successfully completed your luxurious stone and glass backyard fire pit. Now it’s time to sit back, relax, and enjoy the warmth and beauty of your new outdoor gathering spot. Invite friends and family over for cozy evenings, toast marshmallows, and create lasting memories around your stunning fire pit.
Remember to always follow safety guidelines and local regulations when using your fire pit. Regularly inspect and maintain it to ensure it remains in excellent condition for years to come.
We hope this step-by-step guide has been helpful and inspiring. Enjoy your new luxurious stone and glass backyard fire pit!

