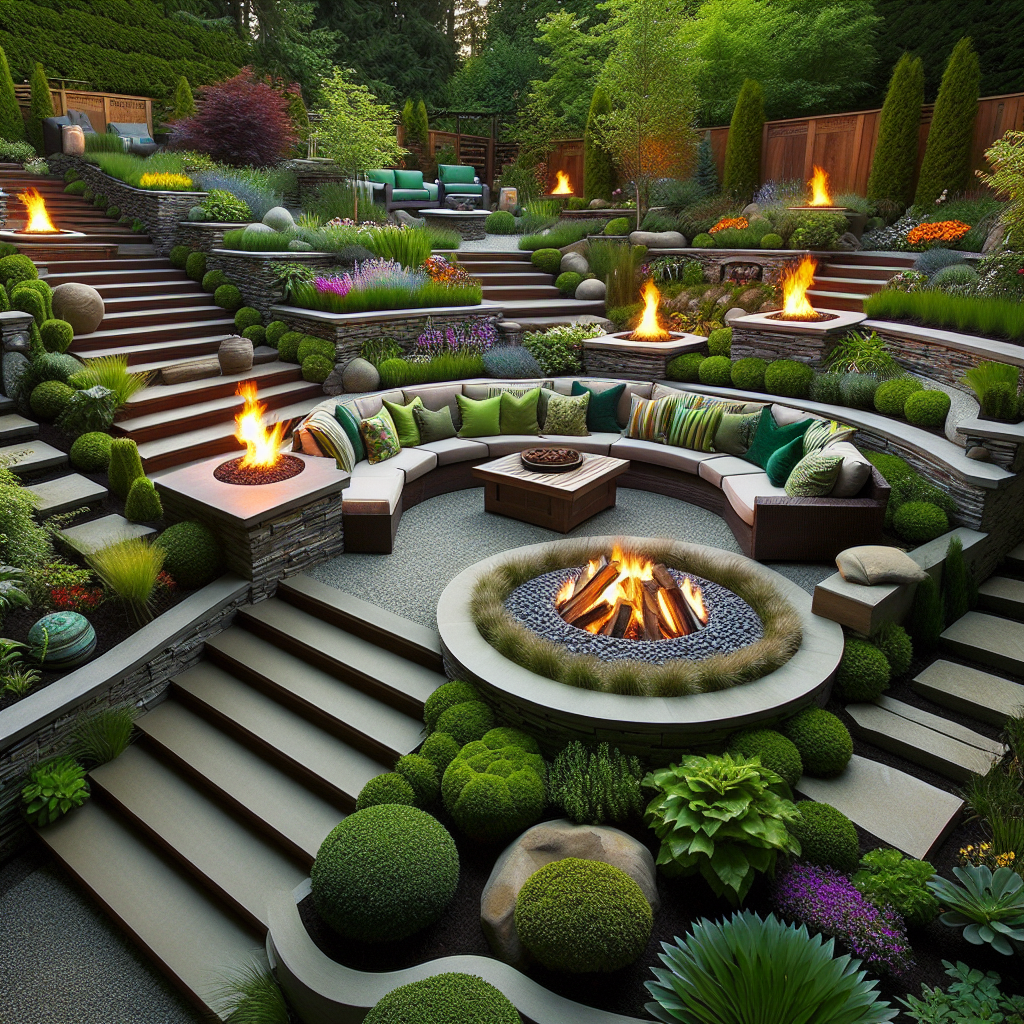
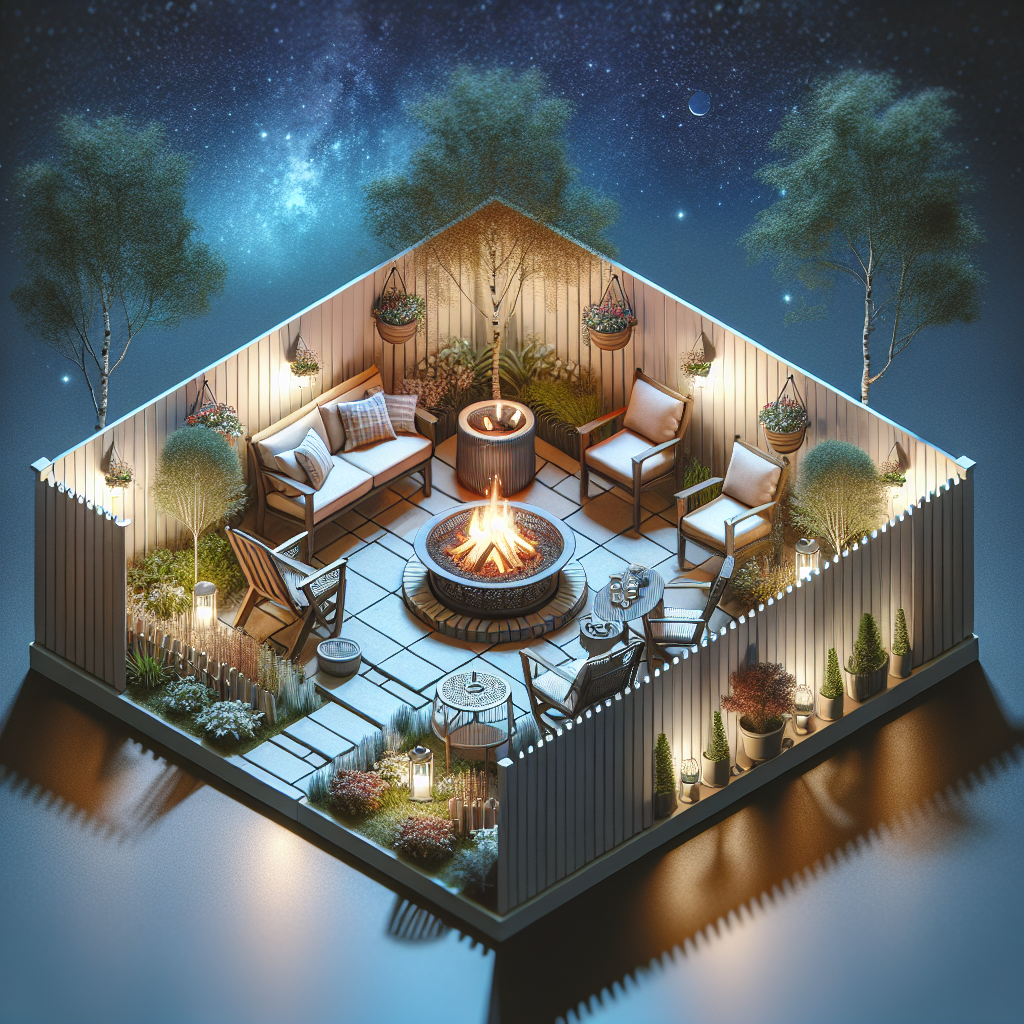
MultiLevel Backyard Fire Pit Retreat
Are you looking to create a cozy and inviting outdoor space in your backyard? A multi-level fire pit retreat is the perfect project for you! In this article, we will guide you through the step-by-step process of building your own backyard fire pit retreat. With detailed instructions and helpful tips, you’ll be able to create a stunning outdoor space where you can relax and enjoy the warmth of a fire.
Materials Needed
- Bricks or pavers
- Gravel
- Sand
- Fire pit kit
- Shovel
- Rake
- Tape measure
- Level
- Rubber mallet
- Firewood
- Outdoor seating
- Outdoor lighting
Step 1: Planning and Design
The first step in creating your multi-level backyard fire pit retreat is to plan and design the layout. Consider the size and shape of your backyard, as well as any existing features or structures. Sketch out a rough design on paper, taking into account the different levels and seating areas you want to create.
Measure the dimensions of your backyard and mark out the areas where you want to build the fire pit and seating. This will help you visualize the final result and ensure that everything fits together harmoniously.
Step 2: Preparing the Site
Once you have finalized your design, it’s time to prepare the site for construction. Start by clearing away any vegetation or debris from the area where you will be building the fire pit retreat. Use a shovel and rake to level the ground and remove any rocks or roots that may interfere with the construction process.
Next, mark out the different levels and seating areas using stakes and string. This will serve as a guide as you begin to lay the foundation for your fire pit retreat.
Step 3: Building the Base
The base of your fire pit retreat is crucial for stability and durability. Start by digging a trench around the perimeter of the fire pit area, about 6 inches deep. This will serve as the foundation for the first level of bricks or pavers.
Fill the trench with gravel and use a rake to spread it evenly. Compact the gravel using a tamper or the back of a shovel to create a solid base. Check for levelness using a level tool.
Once the base is level and compacted, lay the first layer of bricks or pavers on top of the gravel. Use a rubber mallet to tap them into place, ensuring that they are tightly fitted together. Check for levelness again and make any necessary adjustments.
Step 4: Building the Fire Pit
Now it’s time to build the fire pit itself. If you’re using a fire pit kit, follow the manufacturer’s instructions for assembly. Typically, this involves stacking the bricks or stones in a circular pattern, leaving a gap for the fire pit insert.
Place the fire pit insert into the gap, making sure it is centered and level. Secure it in place according to the manufacturer’s instructions.
Step 5: Creating the Seating Areas
To create the multi-level effect, you’ll need to build additional seating areas around the fire pit. Start by marking out the desired locations for the seating areas using stakes and string.
For each seating area, dig a trench about 6 inches deep and fill it with gravel. Compact the gravel and check for levelness. Then, lay the first layer of bricks or pavers on top of the gravel, tapping them into place with a rubber mallet.
Continue building up the seating areas, adding additional layers of bricks or pavers as needed. Make sure each layer is level and tightly fitted together.
Step 6: Finishing Touches
Once the main construction is complete, it’s time to add the finishing touches to your backyard fire pit retreat. Arrange outdoor seating around the fire pit, such as comfortable chairs or benches. Consider adding cushions or pillows for extra comfort.
Install outdoor lighting to create a warm and inviting atmosphere. This could include string lights, lanterns, or even a chandelier. Place them strategically around the seating areas and fire pit to provide both functional and decorative lighting.
Finally, gather firewood and store it in a nearby location for easy access. You can use a firewood rack or stack the wood neatly in a designated area.
Summary
Creating a multi-level backyard fire pit retreat is a rewarding DIY project that will transform your outdoor space into a cozy and inviting retreat. By following the step-by-step instructions outlined in this article, you’ll be able to build a stunning fire pit retreat that you can enjoy for years to come.
Remember to plan and design your layout, prepare the site, build the base, assemble the fire pit, create the seating areas, and add the finishing touches. With the right materials and a little bit of effort, you’ll have a beautiful outdoor space where you can relax and unwind.


