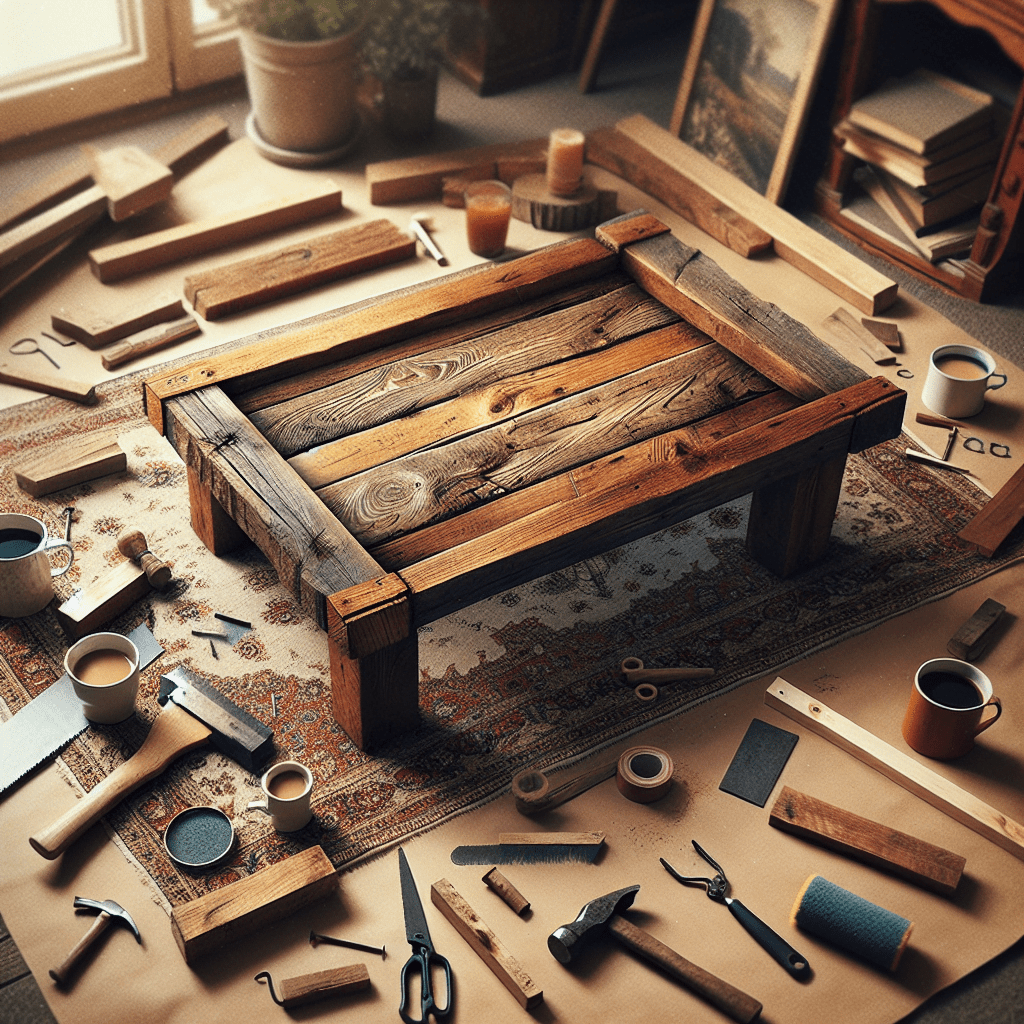
Build Your Own Rustic Wooden Coffee Table
Are you looking to add a touch of rustic charm to your living room? A wooden coffee table can be the perfect addition to your space, providing both functionality and style. Instead of purchasing a pre-made table, why not try your hand at building your own? In this article, we will guide you through the step-by-step process of creating a beautiful rustic wooden coffee table that will be the centerpiece of your living room.
Materials Needed
Before we dive into the construction process, let’s gather all the materials you will need for this project:
- 4 wooden pallets
- 1 sheet of plywood
- 4 wooden legs
- Wood screws
- Wood glue
- Sandpaper
- Stain or paint
- Paintbrush
- Drill
- Saw
Step 1: Preparing the Pallets
The first step in building your rustic wooden coffee table is to prepare the pallets. Start by disassembling the pallets using a saw. Carefully remove the nails and separate the wooden planks.
Once you have all the planks, use sandpaper to smooth out any rough edges or surfaces. This will ensure a clean and polished look for your coffee table.
Step 2: Creating the Tabletop
Now that you have prepared the pallets, it’s time to create the tabletop of your coffee table. Take the plywood sheet and cut it to your desired size using a saw. This will serve as the base for your table.
Next, arrange the wooden planks from the pallets on top of the plywood sheet. Make sure to alternate the direction of the planks to create an interesting pattern. Once you are satisfied with the arrangement, use wood glue to secure the planks to the plywood.
After the glue has dried, reinforce the tabletop by screwing the planks to the plywood from underneath. This will ensure that the tabletop is sturdy and durable.
Step 3: Building the Legs
Now that the tabletop is complete, it’s time to build the legs of your coffee table. You can purchase pre-made wooden legs from a hardware store or create your own using scrap wood.
If you choose to make your own legs, cut four pieces of wood to your desired height using a saw. Sand the legs to smooth out any rough edges.
Attach the legs to the corners of the tabletop using wood screws. Make sure to measure and align the legs properly to ensure stability.
Step 4: Finishing Touches
With the structure of your coffee table complete, it’s time to add the finishing touches. Start by sanding the entire table to create a smooth surface. This will also help the stain or paint adhere better.
Once the table is sanded, apply your chosen stain or paint using a paintbrush. Make sure to follow the manufacturer’s instructions for application and drying times.
After the stain or paint has dried, apply a coat of clear varnish to protect the wood and give it a glossy finish. Allow the varnish to dry completely before using your coffee table.
Step 5: Enjoy Your Creation
Congratulations! You have successfully built your own rustic wooden coffee table. Place it in your living room and admire your handiwork. This unique piece of furniture will not only serve as a functional coffee table but also as a conversation starter.
Remember to regularly clean and maintain your coffee table to ensure its longevity. Wipe off any spills immediately and use coasters to protect the surface from hot or wet objects.
Now that you have mastered the art of building a rustic wooden coffee table, you can apply your newfound skills to other DIY projects. The possibilities are endless!
Conclusion
Building your own rustic wooden coffee table is a rewarding and fulfilling DIY project. By following the step-by-step instructions outlined in this article, you can create a beautiful and unique piece of furniture that will enhance the aesthetic of your living room. So gather your materials, roll up your sleeves, and get ready to impress your friends and family with your woodworking skills!


