Mittens Knitting Patterns: Simple Mitten Patterns for Adults and Children
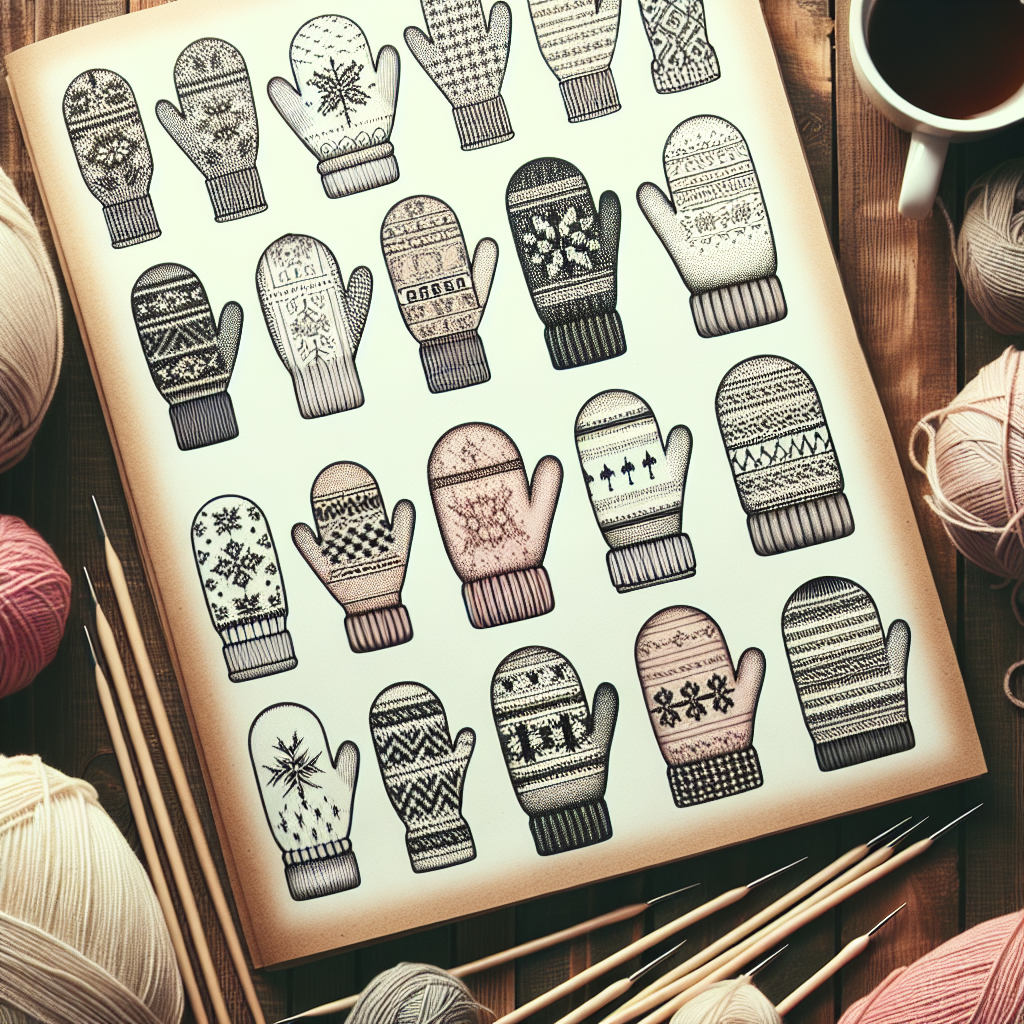
Knitting is a wonderful craft that allows you to create beautiful and functional items with just a pair of needles and some yarn. One of the most popular knitting projects is making mittens. Whether you’re a beginner or an experienced knitter, knitting mittens can be a rewarding and enjoyable project. In this article, we will guide you through the process of knitting simple mitten patterns for adults and children. By the end, you’ll have a cozy pair of mittens to keep your hands warm during the colder months.
Materials Needed
Before we dive into the knitting process, let’s gather all the materials you’ll need for this project:
- Knitting needles (size 6 or as recommended by the yarn label)
- Yarn (worsted weight or as desired)
- Tapestry needle
- Scissors
- Stitch markers
- Measuring tape
Choosing the Right Yarn
When it comes to knitting mittens, choosing the right yarn is crucial. You’ll want a yarn that is warm, soft, and durable. Worsted weight yarn is a popular choice for mittens as it provides the perfect balance between warmth and flexibility. However, feel free to experiment with different yarn weights and fibers to achieve the desired texture and look.
Step-by-Step Instructions
Now that you have all your materials ready, let’s get started on knitting your mittens. Follow these step-by-step instructions:
Step 1: Cast On
Using your chosen yarn and knitting needles, cast on the required number of stitches for the size of mittens you want to make. For adults, a good starting point is usually around 40 stitches, while children’s mittens may require fewer stitches. Make sure to leave a long tail for later use.
Step 2: Ribbing
Knit a few rows of ribbing to create a snug cuff for your mittens. The most common ribbing pattern is the knit 1, purl 1 (K1, P1) rib. Repeat this pattern until the ribbing measures about 2 inches in length.
Step 3: Main Body
Once you’ve completed the ribbing, it’s time to move on to the main body of the mittens. Knit every row in your desired stitch pattern until the body measures approximately 4 inches from the cuff. You can choose from a variety of stitch patterns, such as stockinette stitch, garter stitch, or even cables for a more intricate design.
Step 4: Thumb Gusset
Now, it’s time to create the thumb gusset. This is the section of the mitten that allows for movement and flexibility. To create the thumb gusset, you’ll need to increase stitches. Here’s how:
- Knit to the desired location for the thumb (usually around 2 inches from the start of the main body).
- Make a yarn over (YO) by bringing the yarn to the front of your work, then knit the next stitch.
- Continue knitting until you reach the end of the row.
- On the next row, knit the YO stitch through the back loop to close the gap and prevent a hole from forming.
- Repeat these steps every few rows until you have the desired number of thumb stitches (usually around 10% of the total stitches).
Step 5: Thumb Opening
Once you’ve created the thumb gusset, it’s time to create the opening for the thumb. Here’s how:
- Knit to the first thumb stitch.
- Transfer the thumb stitches onto a stitch holder or scrap yarn.
- Using a separate ball of yarn, cast on a few stitches to bridge the gap left by the thumb stitches.
- Continue knitting the remaining stitches until you reach the end of the row.
Step 6: Hand Shaping
After creating the thumb opening, you’ll continue knitting the hand section of the mitten. Knit every row until the hand measures approximately 2 inches shorter than the desired length.
Step 7: Decrease Rows
Now, it’s time to shape the top of the mitten by decreasing stitches. Here’s how:
- Knit to the desired location for the first decrease (usually around 2 inches from the end of the hand section).
- Knit two stitches together (K2tog) to decrease one stitch.
- Continue knitting until you reach the end of the row.
- Repeat these steps every few rows until you have a small number of stitches left (usually around 8-10 stitches).
Step 8: Finishing
Once you’ve decreased all the stitches, it’s time to finish off your mittens. Cut the yarn, leaving a long tail. Thread the tail through a tapestry needle and slip the needle through the remaining stitches. Pull tight to close the top of the mitten. Weave in any loose ends using the tapestry needle.
Project Completion
Congratulations! You’ve successfully completed your mittens knitting project. Now, it’s time to try them on and enjoy the warmth and comfort they provide. Whether you’re making mittens for yourself or as a gift for a loved one, this project is sure to bring joy and satisfaction.
Conclusion
Knitting mittens is a wonderful way to explore your creativity and create functional items. With simple mitten patterns for adults and children, you can easily get started on this enjoyable project. By following the step-by-step instructions provided in this article, you’ll be able to knit a cozy pair of mittens in no time. So grab your knitting needles, choose your favorite yarn, and let your creativity soar as you embark on this knitting adventure!


