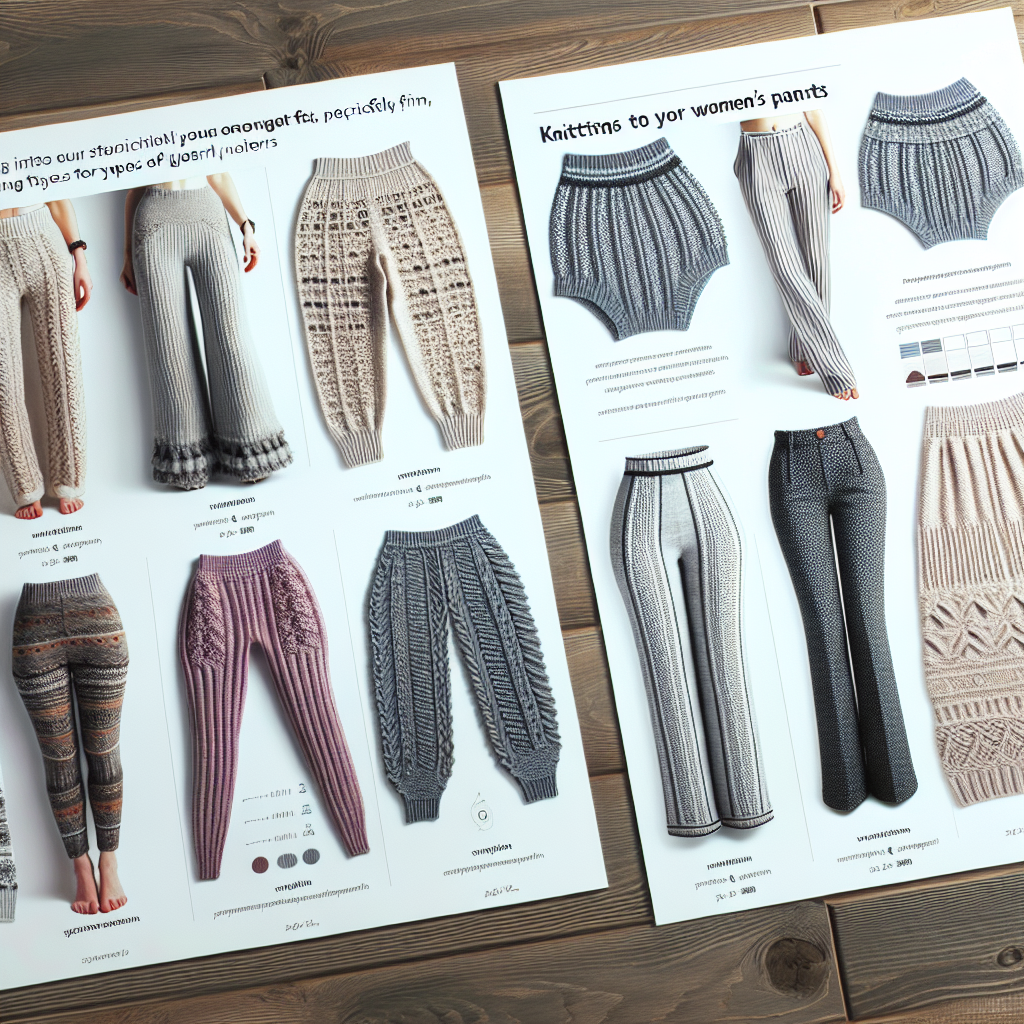
Pants Knitting Patterns: Patterns for Stylish Women’s Pants
Are you tired of searching for the perfect pair of pants that fit you just right? Look no further! With these pants knitting patterns, you can create stylish and customized pants that are tailored to your body shape and personal style. In this article, we will guide you through the process of knitting pants, focusing on fit, style, and yarn fiber. Whether you are a beginner or an experienced knitter, you will find valuable insights and step-by-step instructions to complete this exciting project.
Materials Needed
Before we dive into the knitting process, let’s gather all the materials you will need to complete this project:
- Knitting needles (size will depend on the yarn weight you choose)
- Yarn (choose a fiber that suits your desired style and comfort)
- Tape measure
- Scissors
- Stitch markers
- Tapestry needle
- Buttons or other fasteners (optional)
Choosing the Right Yarn Fiber
The choice of yarn fiber is crucial when knitting pants. It determines the drape, comfort, and durability of the finished garment. Here are some popular yarn fibers to consider:
- Cotton: Ideal for lightweight and breathable pants, perfect for warmer climates.
- Wool: Provides warmth and elasticity, making it suitable for colder seasons.
- Acrylic: A budget-friendly option that offers a wide range of colors and is easy to care for.
- Silk: Adds a luxurious touch to your pants, with a smooth and shiny finish.
- Linen: Creates pants with a crisp and textured look, perfect for a casual or beachy style.
Consider the characteristics of each fiber and choose the one that best suits your preferences and the intended use of the pants.
Taking Accurate Measurements
Proper measurements are essential for achieving a perfect fit. Follow these steps to take accurate measurements:
- Waist: Measure around the narrowest part of your waist, usually above the belly button.
- Hips: Measure around the fullest part of your hips, ensuring the tape measure is parallel to the floor.
- Inseam: Measure from the crotch to the desired length of the pants, typically the ankle or floor.
- Rise: Measure from the crotch to the desired height of the waistband, whether it’s low-rise, mid-rise, or high-rise.
Write down these measurements as they will be crucial for customizing the pattern to fit your body shape.
Finding the Perfect Pattern
Now that you have your measurements, it’s time to find the perfect pants knitting pattern. There are numerous resources available online and in knitting books. Look for patterns that offer customization options and detailed instructions. Consider the following factors when choosing a pattern:
- Size Range: Ensure the pattern includes your size or provides instructions for adjusting the measurements.
- Style: Look for patterns that match your personal style, whether it’s classic, trendy, or bohemian.
- Difficulty Level: Assess your knitting skills and choose a pattern that aligns with your experience level.
- Construction: Consider the construction method used in the pattern, such as knitting in the round or flat.
Take your time to browse through different patterns and select the one that resonates with you the most.
Customizing the Pattern
Once you have chosen a pattern, it’s time to customize it to fit your measurements. Most patterns provide instructions for adjusting the size, but you may need to make additional modifications. Here’s how:
- Adjusting the Waist: Calculate the difference between your waist measurement and the pattern’s waist measurement. Divide this difference by the number of stitches in the waistband and distribute the increases or decreases evenly.
- Modifying the Hips: If your hip measurement differs from the pattern, follow a similar process as adjusting the waist. Calculate the difference, divide it by the number of stitches in the hip area, and distribute the changes evenly.
- Lengthening or Shortening: If you need to adjust the length of the pants, add or subtract rows in the leg section of the pattern. Ensure you maintain the pattern’s stitch count.
- Altering the Rise: To modify the rise, add or subtract rows in the waistband section of the pattern. Keep in mind that this will affect the overall length of the pants.
Make sure to keep track of your modifications and adjust the pattern accordingly before starting to knit.
Knitting the Pants
Now that you have customized the pattern, it’s time to start knitting! Follow these step-by-step instructions:
- Step 1: Cast on the required number of stitches for the waistband, following the pattern’s instructions.
- Step 2: Work the waistband in the specified stitch pattern until it reaches the desired height.
- Step 3: Begin the leg section by following the pattern’s instructions for stitch pattern and shaping.
- Step 4: Continue knitting the leg section until it reaches the desired length, making any necessary modifications for lengthening or shortening.
- Step 5: Repeat steps 3 and 4 for the second leg.
- Step 6: Join the front and back sections of the pants by sewing or knitting them together, depending on the pattern’s instructions.
- Step 7: Finish the pants by adding any desired details, such as pockets or buttons.
Remember to follow the pattern’s instructions carefully and refer to any additional resources or tutorials if needed.
Completing the Project
Once you have finished knitting the pants, it’s time to try them on and make any necessary adjustments. Check the fit and make alterations if needed, such as adding or removing stitches in specific areas. Once you are satisfied with the fit, weave in any loose ends and


