Intarsia Knitting Patterns: Creating Colorful and Intricate Designs
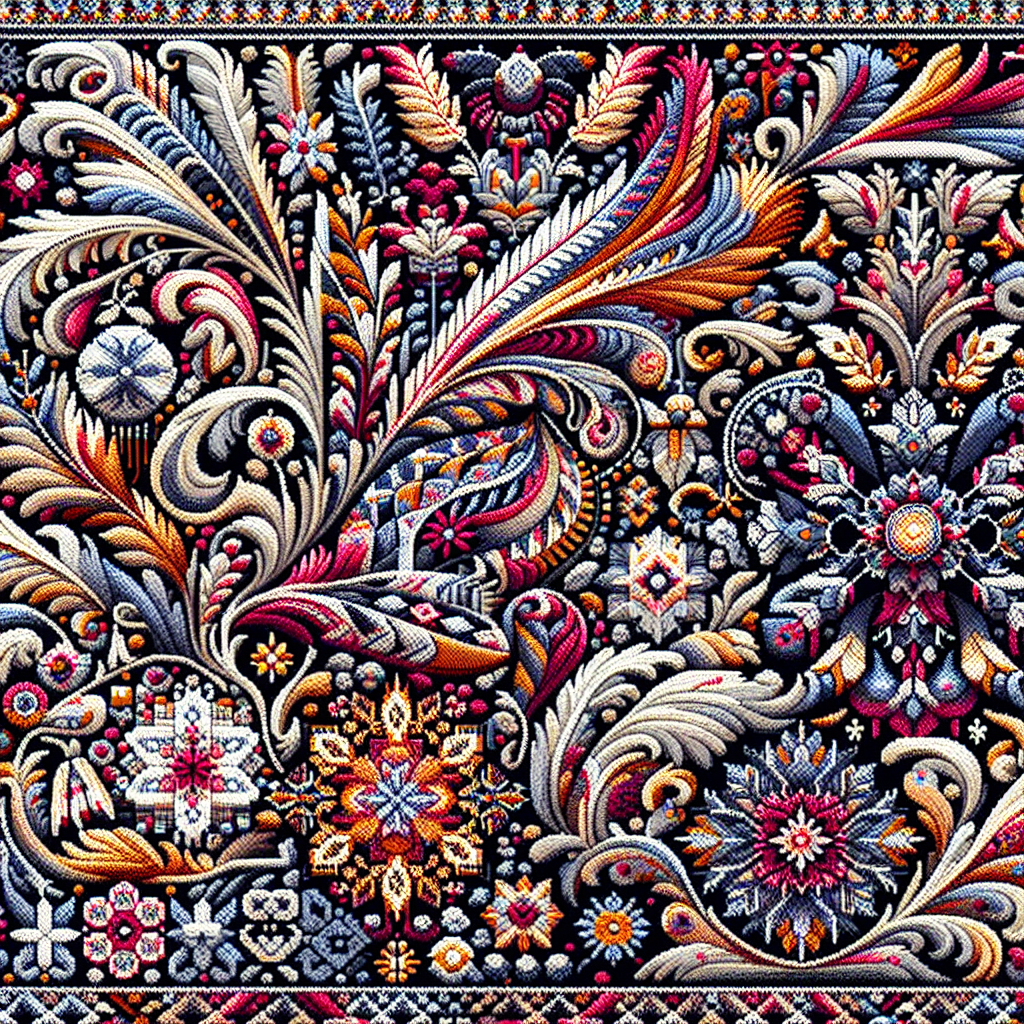
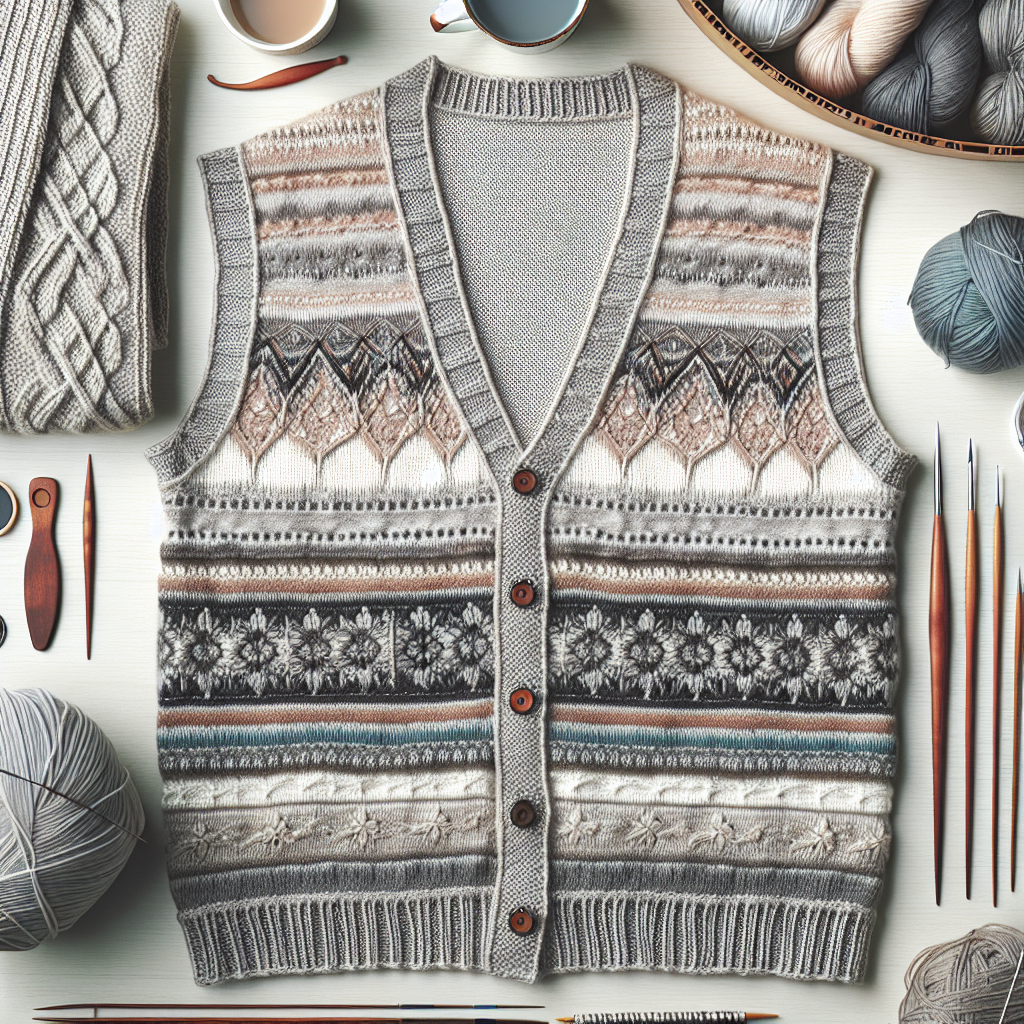
Intarsia knitting is a technique that allows you to incorporate colorful and intricate designs into your knitting projects. By using different colored yarns and strategically placing them, you can create stunning patterns and images on your knitted fabric. In this article, we will guide you through the process of creating intarsia knitting patterns, step by step. Whether you’re a beginner or an experienced knitter, this guide will provide you with valuable insights and detailed instructions to complete your project successfully.
Materials Needed
Before we dive into the process, let’s gather all the materials you’ll need for your intarsia knitting project:
- Knitting needles (appropriate size for your yarn)
- Yarn in various colors
- Scissors
- Tapestry needle
- Graph paper
- Stitch markers
- Row counter (optional)
Step 1: Choosing a Pattern
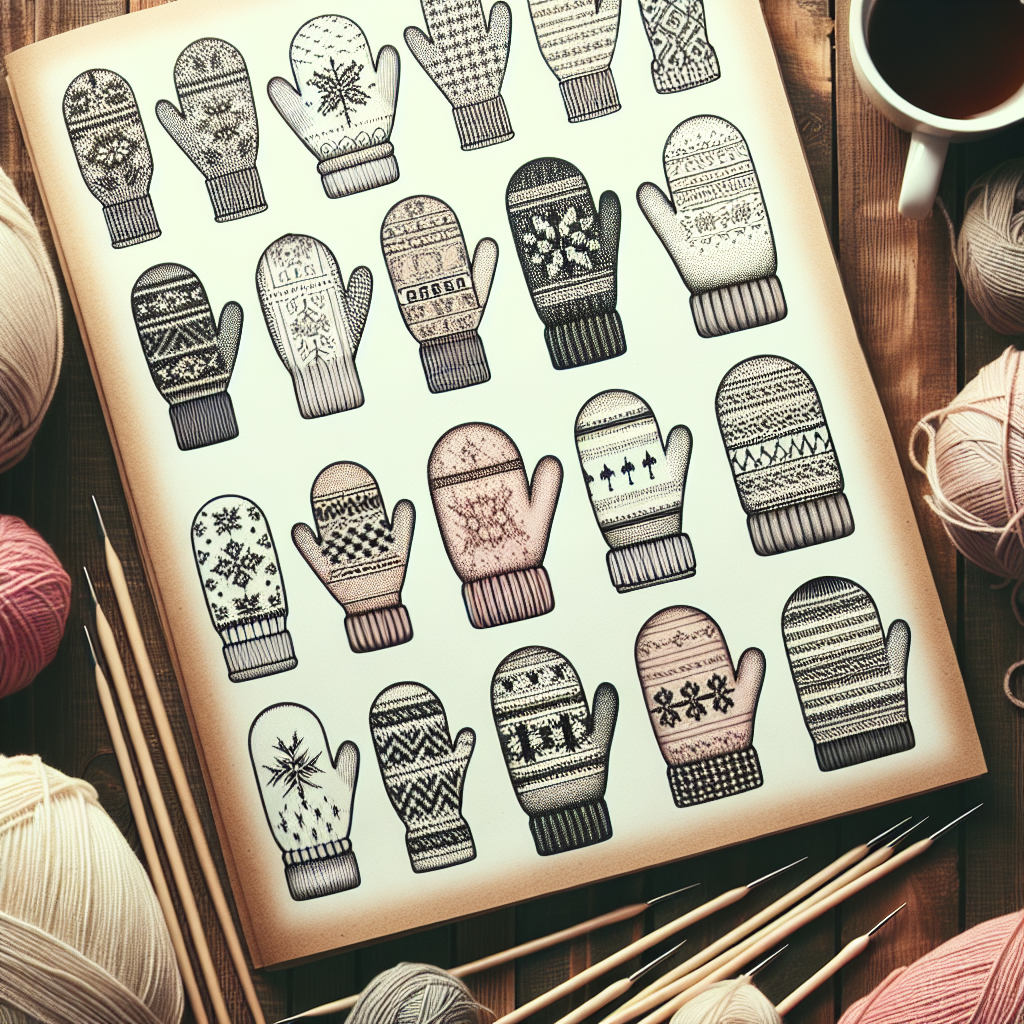
The first step in creating an intarsia knitting project is to choose a pattern. You can find a wide variety of intarsia knitting patterns online or in knitting books. Look for patterns that suit your skill level and match your desired design. Once you’ve selected a pattern, print it out or draw it on graph paper to help you visualize the color placement.
Step 2: Gathering Yarn
Next, gather the yarn colors specified in your chosen pattern. Make sure to choose yarns that are of the same weight and fiber content to ensure an even and consistent fabric. You can use any type of yarn, from wool to acrylic, as long as they are compatible with your knitting needles.
Step 3: Creating a Yarn Bobbin
Intarsia knitting involves working with multiple yarn colors at the same time. To keep your yarn organized and prevent tangling, create yarn bobbins. Cut small pieces of cardboard or use plastic bobbins specifically designed for this purpose. Wind each color of yarn around a separate bobbin, leaving a tail of about 6 inches.
Step 4: Casting On
Once you have your pattern and yarn ready, it’s time to cast on your stitches. Follow the instructions in your pattern for the cast-on method and the number of stitches required. Make sure to leave a long tail of yarn for weaving in later.
Step 5: Placing Stitch Markers
To help you keep track of your color changes and pattern repeats, place stitch markers at strategic points in your knitting. This will make it easier to count stitches and ensure your design stays aligned. Place a stitch marker at the beginning and end of each color section or pattern repeat.
Step 6: Knitting the Design
Now comes the fun part – knitting the design! Follow your pattern’s instructions for each color change and stitch placement. When switching colors, drop the old color and pick up the new color, leaving a tail of about 6 inches to weave in later. Remember to twist the yarns at the color change to prevent holes in your fabric.
Step 7: Weaving in Ends
Once you’ve completed your intarsia design, it’s time to weave in the loose ends. Using a tapestry needle, thread each tail through the stitches on the wrong side of your fabric. Weave the yarn back and forth, following the path of the stitches, to secure the ends and prevent them from unraveling.
Step 8: Blocking Your Project
After weaving in all the ends, it’s essential to block your finished project. Blocking helps even out the stitches, relaxes the fabric, and enhances the overall appearance of your knitting. Follow the blocking instructions specific to your yarn type, whether it’s wet blocking or steam blocking.
Step 9: Finishing Touches
Once your project is dry and blocked, it’s time for the finishing touches. Trim any excess yarn tails, sew on buttons or embellishments if desired, and give your project a final inspection. Admire your beautiful intarsia knitting creation!
Estimated Time and Difficulty Level
The time required to complete an intarsia knitting project depends on the complexity of the design and your knitting speed. A small project with a simple pattern may take a few hours, while a larger project with intricate details could take several days or even weeks. It’s essential to set aside dedicated time for your project to ensure consistent progress.
As for the difficulty level, intarsia knitting is suitable for knitters of all skill levels. Beginners may want to start with a simple pattern and gradually work their way up to more complex designs. With practice and patience, you’ll become more comfortable with the technique and be able to tackle more challenging projects.
Inspiration for Your Intarsia Knitting Projects
Intarsia knitting opens up a world of creative possibilities. Here are a few ideas to inspire your next intarsia knitting project:
- Create a colorful geometric pattern on a cozy sweater.
- Knit a cute animal motif on a baby blanket.
- Add a floral design to a scarf or shawl.
- Personalize a hat with initials or a favorite symbol.
- Make a statement with a bold and vibrant intarsia sweater.
Remember, the only limit is your imagination! Experiment with different colors, shapes, and patterns to create unique and eye-catching designs.
Conclusion
Intarsia knitting allows you to unleash your creativity and add stunning designs to your knitting projects. By following the step-by-step instructions in this article, you’ll be able to create colorful and intricate patterns with ease. Remember to choose a pattern that suits your skill level, gather the necessary materials, and take your time to knit each color change accurately. With practice and patience, you’ll master the art of intarsia knitting and create beautiful, one-of-a-kind pieces that showcase your skills and style.


