How to Paint and Install DIY Colorful Window Shutters
Are you tired of the plain and boring look of your windows? Do you want to add a pop of color and personality to your home? Look no further than DIY colorful window shutters! Painting and installing your own shutters is a fun and creative project that can instantly transform the look of your windows and enhance the overall aesthetic of your home. In this article, we will guide you through the process of painting and installing DIY colorful window shutters, so you can bring a vibrant and unique touch to your living space.
The first step in this project is to choose the right type of shutters for your windows. There are various materials available, such as wood, vinyl, or composite. Consider the style of your home and the level of maintenance you are willing to commit to. Once you have selected the perfect shutters, it’s time to move on to the exciting part – painting!
Before you start painting, make sure to prepare the shutters properly. Clean them thoroughly to remove any dirt or debris. Sand the surface lightly to create a smooth and even base for the paint. This step is crucial for achieving a professional-looking finish. Once the shutters are clean and sanded, it’s time to choose your colors.
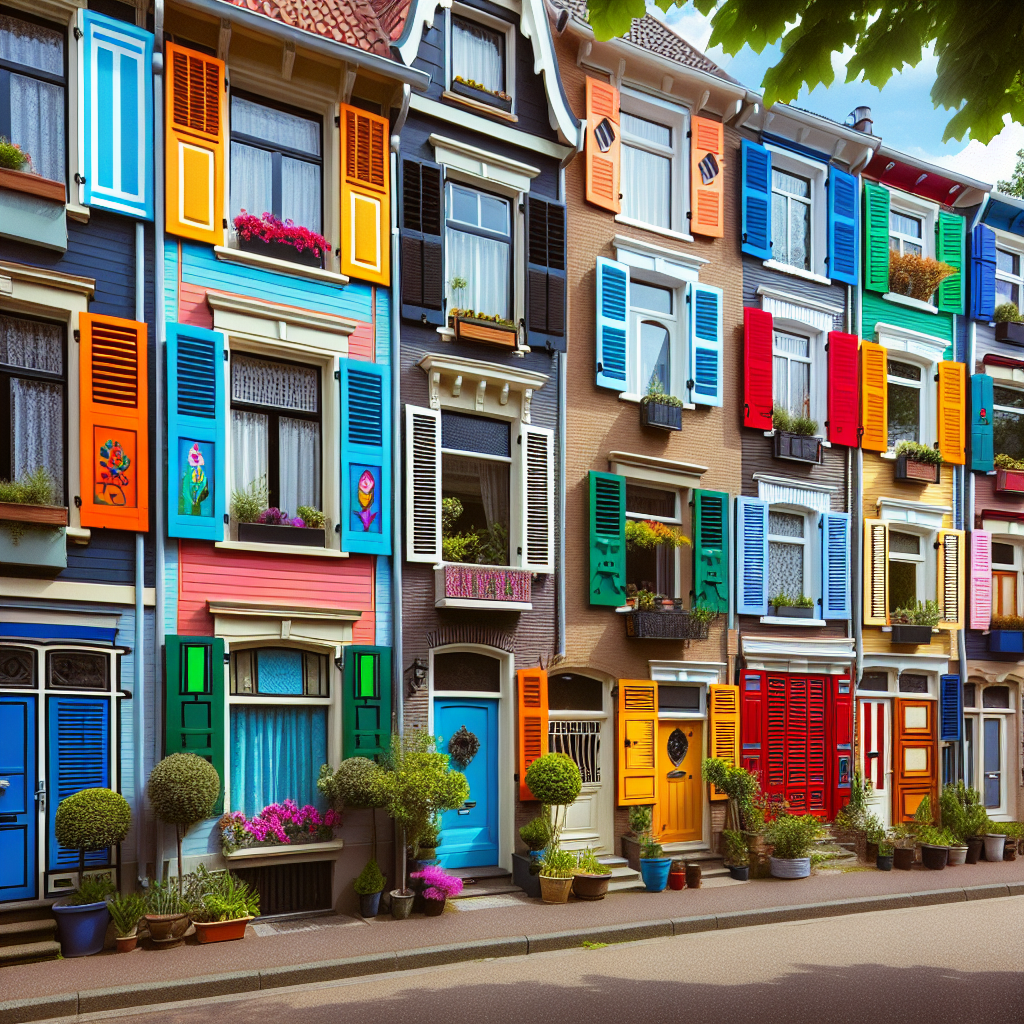
When it comes to selecting colors for your shutters, the possibilities are endless. You can go for bold and vibrant hues to make a statement or opt for more subtle shades that complement the existing color scheme of your home. Consider the overall aesthetic you want to achieve and let your creativity guide you. Remember, this is your chance to add a personal touch to your windows!
Once you have chosen your colors, it’s time to start painting. Use a high-quality exterior paint that is suitable for the material of your shutters. Apply a primer first to ensure better adhesion and durability of the paint. Then, start painting with a brush or a roller, making sure to cover the entire surface evenly. Apply multiple coats if necessary, allowing each coat to dry completely before applying the next one. This will ensure a smooth and long-lasting finish.
After the paint has dried, it’s time to install your colorful shutters. Measure the dimensions of your windows and mark the placement of the hinges on the shutters. Pre-drill holes for the screws to make the installation process easier. Attach the hinges to the shutters and then to the window frame, making sure they are aligned properly. Finally, secure the shutters in place by attaching the shutter dogs or latches.
Congratulations! You have successfully painted and installed your own DIY colorful window shutters. Step back and admire the vibrant transformation you have brought to your home. Not only have you added a unique and personalized touch to your windows, but you have also enhanced the overall curb appeal of your property.
In conclusion, DIY colorful window shutters are a fantastic way to add a pop of color and personality to your home. By following the steps outlined in this article, you can easily paint and install your own shutters, transforming the look of your windows and creating a vibrant and inviting atmosphere. So, grab your paintbrushes and get ready to unleash your creativity!


