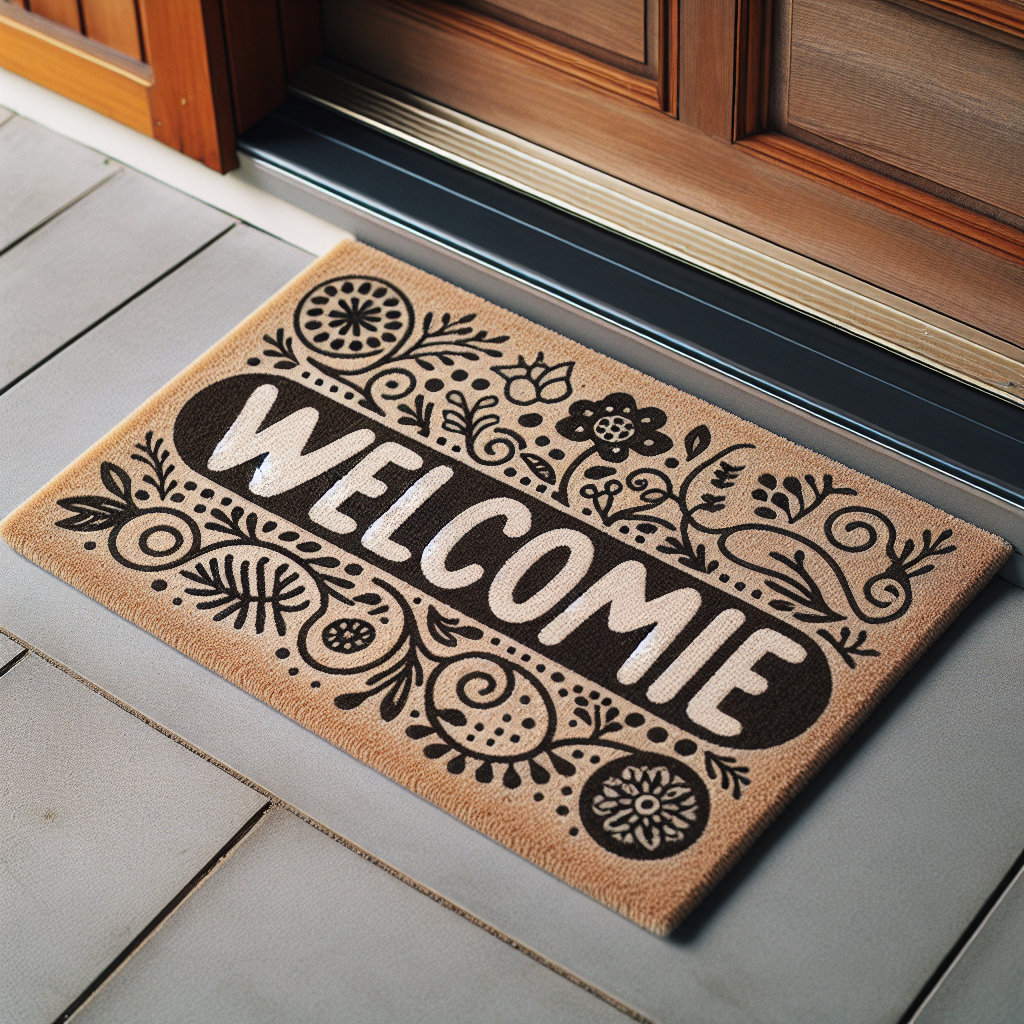
How to Create a DIY Personalized Welcome Door Mat
Are you tired of having the same generic welcome mat as everyone else on your street? Do you want to add a personal touch to your front porch? Look no further! In this article, we will guide you through the process of creating your very own DIY personalized welcome door mat. Get ready to impress your guests and make a statement with a unique and customized entrance to your home.
First things first, gather all the materials you will need for this project. You will need a plain coir doormat, acrylic paint in your desired colors, stencils or letter stickers, a paintbrush, and some masking tape. Make sure to choose colors that complement your home’s exterior and reflect your personal style.
Once you have all your materials ready, it’s time to start the creative process. Begin by deciding on the design or message you want to display on your welcome mat. It could be something as simple as your family name or a warm greeting to your guests. The possibilities are endless, so let your imagination run wild!
Next, lay your plain coir doormat on a flat surface and secure it with some masking tape to prevent it from moving while you work. This will ensure that your design comes out clean and crisp. Now, it’s time to apply your chosen design onto the mat.
If you’re using stencils, carefully position them on the mat and secure them with masking tape. Make sure they are straight and aligned before moving on. If you prefer to use letter stickers, simply peel them off and stick them onto the mat in your desired arrangement. Take your time with this step to ensure accuracy and precision.
Once your design is in place, it’s time to bring out the paintbrush and acrylic paint. Dip your brush into the paint and start filling in the stencil or stickers with your chosen colors. Be sure to apply an even coat of paint and avoid any smudging or bleeding. If you make a mistake, don’t worry! Simply wipe it off with a damp cloth and start again.
As you paint, remember to let your creativity shine through. Experiment with different color combinations and techniques to make your design truly unique. You can add patterns, borders, or even small illustrations to make your welcome mat stand out from the rest.
Once you’re satisfied with your design, let the paint dry completely. This may take a few hours, so be patient. Once dry, carefully remove the stencils or letter stickers to reveal your personalized masterpiece. Admire your handiwork and get ready to showcase it to the world!
Finally, place your DIY personalized welcome door mat in front of your front door and step back to admire the transformation. Your front porch will now exude a warm and inviting atmosphere, setting the tone for anyone who enters your home. Your guests will be impressed by your creativity and attention to detail.
In conclusion, creating a DIY personalized welcome door mat is a fun and rewarding project that allows you to add a personal touch to your home’s entrance. With just a few materials and a little bit of creativity, you can transform a plain doormat into a unique and eye-catching piece. So why settle for a generic welcome mat when you can create something truly special? Get started on your DIY project today and welcome your guests in style!


