How to Create a DIY Personalized Wooden Growth Chart for Kids
Are you looking for a fun and creative way to track your child’s growth? Look no further than a DIY personalized wooden growth chart! Not only is this project a great way to document your child’s growth over the years, but it also adds a unique and personal touch to their bedroom or playroom. In this article, we will guide you through the process of creating your very own wooden growth chart.
First, gather all the necessary materials. You will need a wooden board, a measuring tape, a pencil, a ruler, sandpaper, paint or stain, a paintbrush, stencils or vinyl letters, and a clear coat sealant. Make sure to choose a wooden board that is long enough to accommodate your child’s height as they grow.
Once you have all your materials ready, start by sanding the wooden board to ensure a smooth surface. This step is important as it will help the paint or stain adhere better to the wood. After sanding, wipe away any dust or debris with a clean cloth.
Next, decide on the design and layout of your growth chart. You can choose to keep it simple with just the measurements marked, or you can get creative and add decorative elements such as a name or a favorite quote. If you’re not confident in your freehand skills, you can use stencils or vinyl letters to create a clean and professional-looking design.
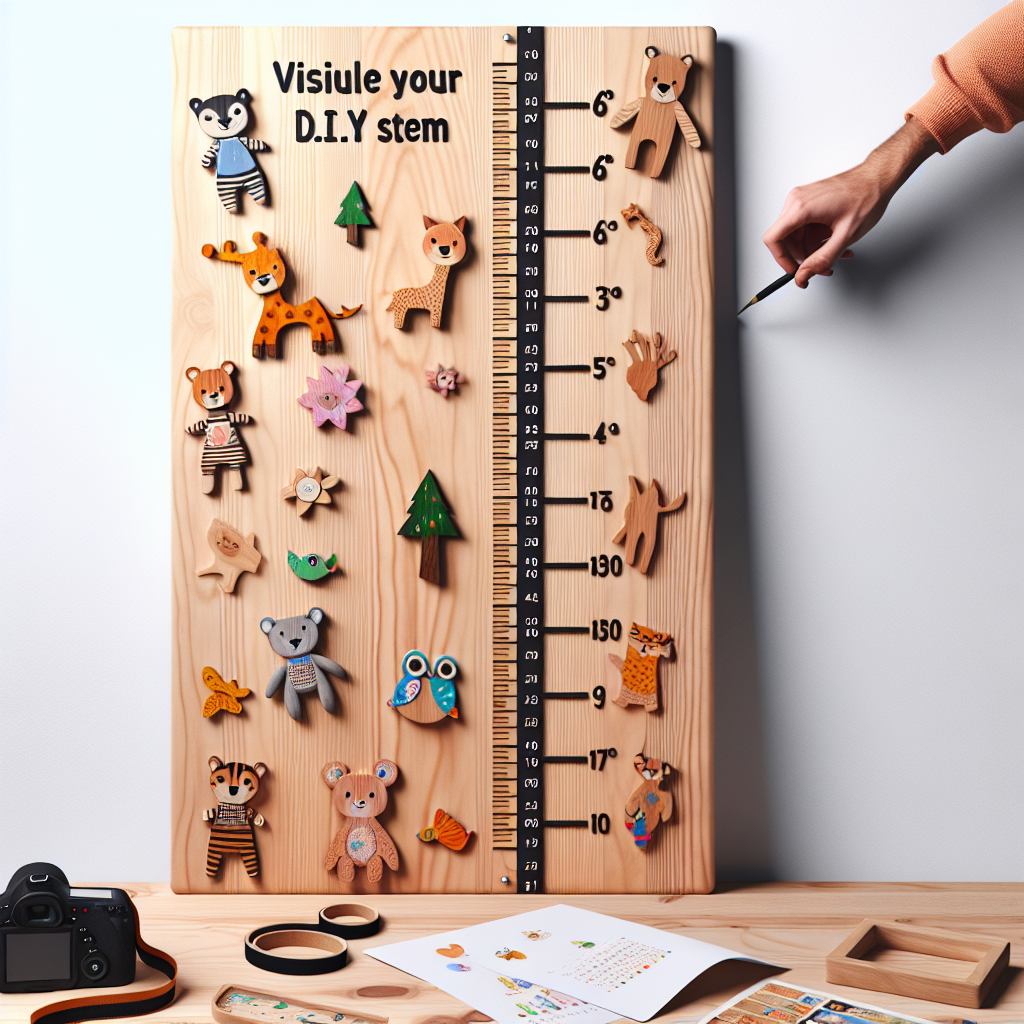
Using a measuring tape, mark the height measurements on the wooden board. Start from the bottom and work your way up, leaving enough space between each measurement to ensure accuracy. Use a ruler and pencil to create straight lines for the measurements.
Once you have marked all the measurements, it’s time to add the decorative elements. If you’re using stencils or vinyl letters, carefully position them on the wooden board and press them down firmly to ensure they adhere properly. If you’re freehanding the design, use a pencil to lightly sketch out your desired design before painting.
Now comes the fun part – painting or staining your growth chart! Choose a color or stain that matches your child’s room decor or personal preference. Use a paintbrush to carefully fill in the design and measurements, taking your time to ensure clean lines and even coverage. Allow the paint or stain to dry completely before moving on to the next step.
To protect your growth chart and give it a polished finish, apply a clear coat sealant. This will not only protect the paint or stain from chipping or fading over time but also give the wooden board a smooth and glossy appearance. Follow the instructions on the sealant product for the best results.
Once the sealant has dried, your DIY personalized wooden growth chart is ready to be displayed! Hang it on a wall at a height that is easily accessible for measuring your child’s height. You can use a picture hook or adhesive strips to secure it in place.
As your child grows, use a permanent marker to mark their height on the growth chart. This will create a visual record of their growth over the years, making it a cherished keepsake for both you and your child.
Creating a DIY personalized wooden growth chart for your child is not only a fun and creative project but also a meaningful way to document their growth. With just a few materials and some creativity, you can create a unique and personalized keepsake that will be treasured for years to come. So why wait? Get started on your own wooden growth chart today and watch as it becomes a beloved part of your child’s journey.


