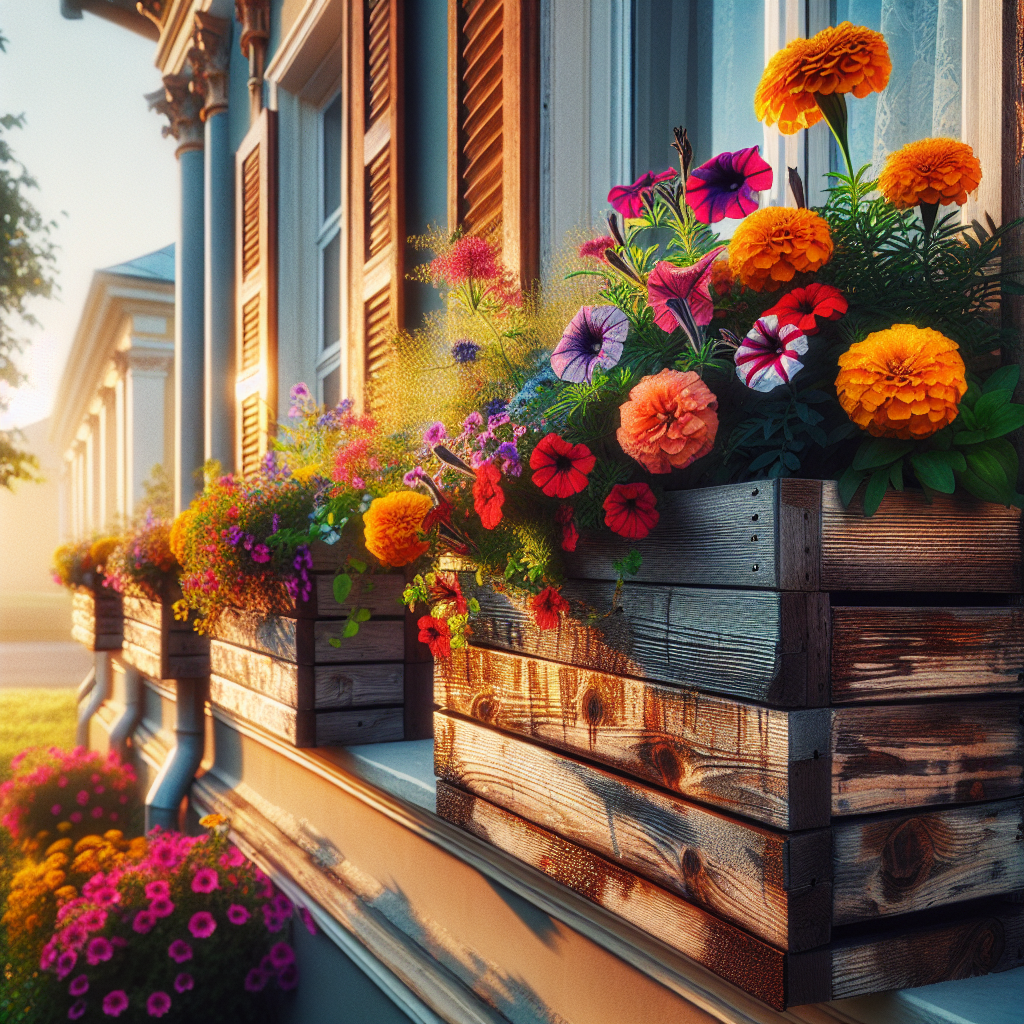
How to Build DIY Window Box Planters
Are you looking to add a splash of color to your home? DIY window box planters are a fantastic way to bring life and vibrancy to your windows. Not only do they provide a beautiful display of flowers and plants, but they also add charm and character to your home’s exterior. Building your own window box planters is a fun and rewarding project that allows you to customize the design to suit your personal style. In this article, we will guide you through the process of building DIY window box planters, so you can enjoy the beauty of nature right outside your window.
First, gather all the necessary materials. You will need a few basic tools such as a saw, drill, measuring tape, and screws. For the actual planter, you can choose from a variety of materials, including wood, plastic, or metal. Wood is a popular choice due to its natural look and durability. Cedar or redwood are excellent options as they are resistant to rot and insects. Once you have your materials ready, it’s time to start building!
Begin by measuring the width of your window. This will determine the length of your window box planter. A good rule of thumb is to make the planter about two-thirds the length of your window for a balanced look. Next, measure the depth and height you desire for your planter. Keep in mind that the depth should be sufficient to accommodate the root systems of your chosen plants.
Using your measurements, cut the pieces of wood for the front, back, and sides of the planter. Make sure to cut the front piece slightly longer than the sides to create an attractive overhang. Once the pieces are cut, assemble them using screws or nails. Pre-drilling holes can help prevent the wood from splitting. Reinforce the corners with additional screws for added stability.
Now it’s time to add the bottom of the planter. Cut a piece of wood to fit snugly inside the assembled frame. This will provide a solid base for your plants and prevent soil from falling out. Secure the bottom piece with screws or nails, ensuring it is level and flush with the sides.
To prevent water damage, it’s essential to create drainage holes in the bottom of the planter. Use a drill to make several small holes evenly spaced across the bottom. These holes will allow excess water to drain out, preventing root rot and waterlogged soil.
Once your planter is assembled, it’s time to add a finishing touch. Sand the edges and surfaces to create a smooth finish. You can also apply a coat of paint or stain to protect the wood and add a pop of color. Choose a color that complements your home’s exterior or opt for a bold hue to make a statement.
Now that your DIY window box planter is complete, it’s time to fill it with soil and your favorite plants. Choose flowers and plants that thrive in your climate and provide the desired aesthetic. Consider a mix of trailing vines, colorful annuals, and even herbs for a functional and beautiful display.
With your new DIY window box planters, you can transform the look of your home and enjoy the beauty of nature right outside your window. Building these planters is a rewarding project that allows you to showcase your creativity and add a personal touch to your home’s exterior. So grab your tools and get started on this fun and inspiring project today!


