Hand-Painted Cabinet Makeover for a Fresh New Look
Are you tired of looking at your old, worn-out cabinets? Do you want to give your kitchen or bathroom a fresh new look without breaking the bank? Look no further! In this step-by-step guide, we will show you how to transform your cabinets with a hand-painted makeover. With just a few materials and some patience, you can achieve a stunning result that will breathe new life into your space. Let’s get started!
Materials You Will Need
- Paint primer
- Sandpaper (medium and fine grit)
- Paintbrushes (angled and flat)
- Paint roller
- Paint tray
- Painter’s tape
- Drop cloth or old sheets
- Paint (choose a high-quality latex or oil-based paint)
- Clear coat or sealant
- Screwdriver
- Optional: new hardware (knobs, handles, etc.)
Step 1: Prepare the Cabinets
The first step in any painting project is proper preparation. Start by removing all the cabinet doors and hardware using a screwdriver. Lay them flat on a drop cloth or old sheets to protect your work surface.
Next, clean the cabinets thoroughly with a mild detergent and warm water. This will remove any grease, dirt, or grime that may interfere with the paint’s adhesion. Once clean, use medium-grit sandpaper to roughen the surface of the cabinets. This will help the primer and paint adhere better.
Step 2: Prime the Cabinets
Priming is an essential step in achieving a professional-looking finish. Apply a coat of paint primer to all surfaces of the cabinets, including the doors and drawers. Use a paintbrush or roller for larger areas and a smaller brush for corners and edges. Allow the primer to dry completely before moving on to the next step.
Step 3: Sand and Smooth
After the primer has dried, use fine-grit sandpaper to smooth out any imperfections or brush strokes. Sand in the direction of the wood grain for the best results. Wipe away any dust with a clean cloth or tack cloth before proceeding.
Step 4: Apply the Base Coat
Now it’s time to apply the base coat of paint. Choose a color that complements your kitchen or bathroom decor. Use a paintbrush or roller to apply an even coat of paint to all surfaces, including the doors and drawers. Allow the paint to dry completely before moving on to the next step.
Step 5: Add a Second Coat
For a more professional and durable finish, apply a second coat of paint. This will ensure that the color is even and covers any imperfections. Allow the second coat to dry completely before proceeding.
Step 6: Optional: Add a Decorative Touch
If you want to add a decorative touch to your cabinets, now is the time to do it. Consider using stencils, decals, or even hand-painting a design onto the doors or drawers. Get creative and make your cabinets truly unique!
Step 7: Apply a Clear Coat
To protect your newly painted cabinets and give them a smooth, durable finish, apply a clear coat or sealant. This will also make them easier to clean and maintain in the long run. Follow the manufacturer’s instructions for application and drying times.
Step 8: Reassemble and Install
Once the clear coat has dried, it’s time to reassemble your cabinets. Attach the doors and hardware back in place using a screwdriver. If you want to give your cabinets an extra touch of style, consider replacing the old hardware with new knobs or handles.
Step 9: Admire Your Handiwork
Stand back and admire your newly transformed cabinets! The hand-painted makeover has given them a fresh new look that will breathe life into your kitchen or bathroom. Enjoy the satisfaction of a job well done!
Estimated Time and Cost
The time and cost of this project will vary depending on the size of your cabinets and the materials you choose. On average, it can take anywhere from a few days to a week to complete. The cost will depend on the quality of paint and any additional materials you decide to purchase, such as new hardware. However, compared to the cost of replacing your cabinets entirely, a hand-painted makeover is a budget-friendly option.
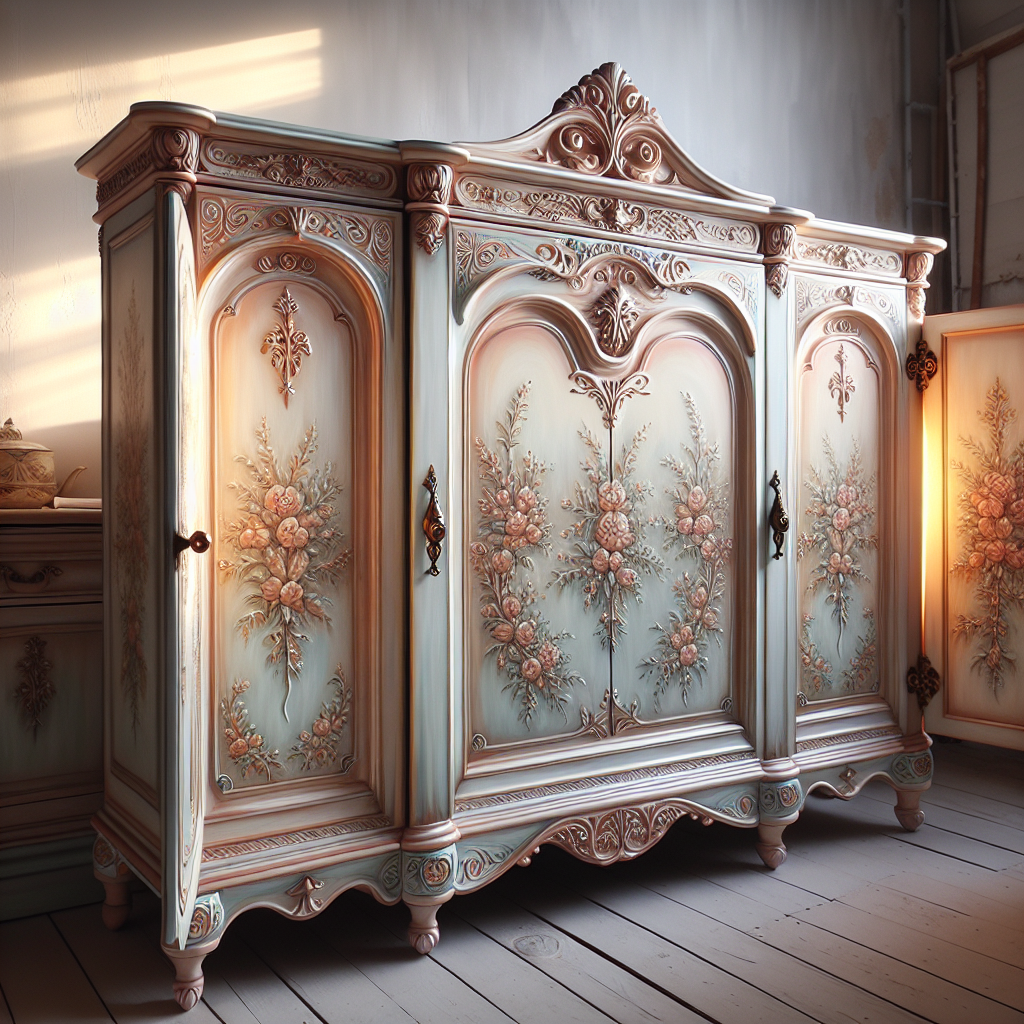
Inspiration for Your Hand-Painted Cabinet Makeover
Still not convinced that a hand-painted cabinet makeover is the right choice for you? Take a look at these before and after images to see the incredible transformation that can be achieved:

As you can see, a simple coat of paint can completely change the look and feel of your cabinets. Whether you prefer a classic white or a bold color, the possibilities are endless. Let your creativity shine and make your cabinets a reflection of your personal style.
Summary
A hand-painted cabinet makeover is a cost-effective way to give your kitchen or bathroom a fresh new look. By following these step-by-step instructions, you can achieve professional results that will impress your friends and family. Remember to properly prepare the cabinets, apply a primer and base coat, and finish with a clear coat for added protection. Don’t forget to let your creativity shine by adding a decorative touch if desired. With a little time and effort, you can transform your cabinets and create a space you’ll love for years to come.