Christmas Card Crafting Session: Design and Create Your Own Christmas Cards
Christmas is a time of joy, love, and giving. One of the best ways to spread the holiday cheer is by sending heartfelt Christmas cards to your loved ones. While store-bought cards are convenient, there’s something special about receiving a handmade card that shows the time and effort put into creating it. In this article, we will guide you through a fun and creative Christmas card crafting session, where you will learn how to design and create your own unique Christmas cards. Get ready to unleash your creativity and make this holiday season extra special!
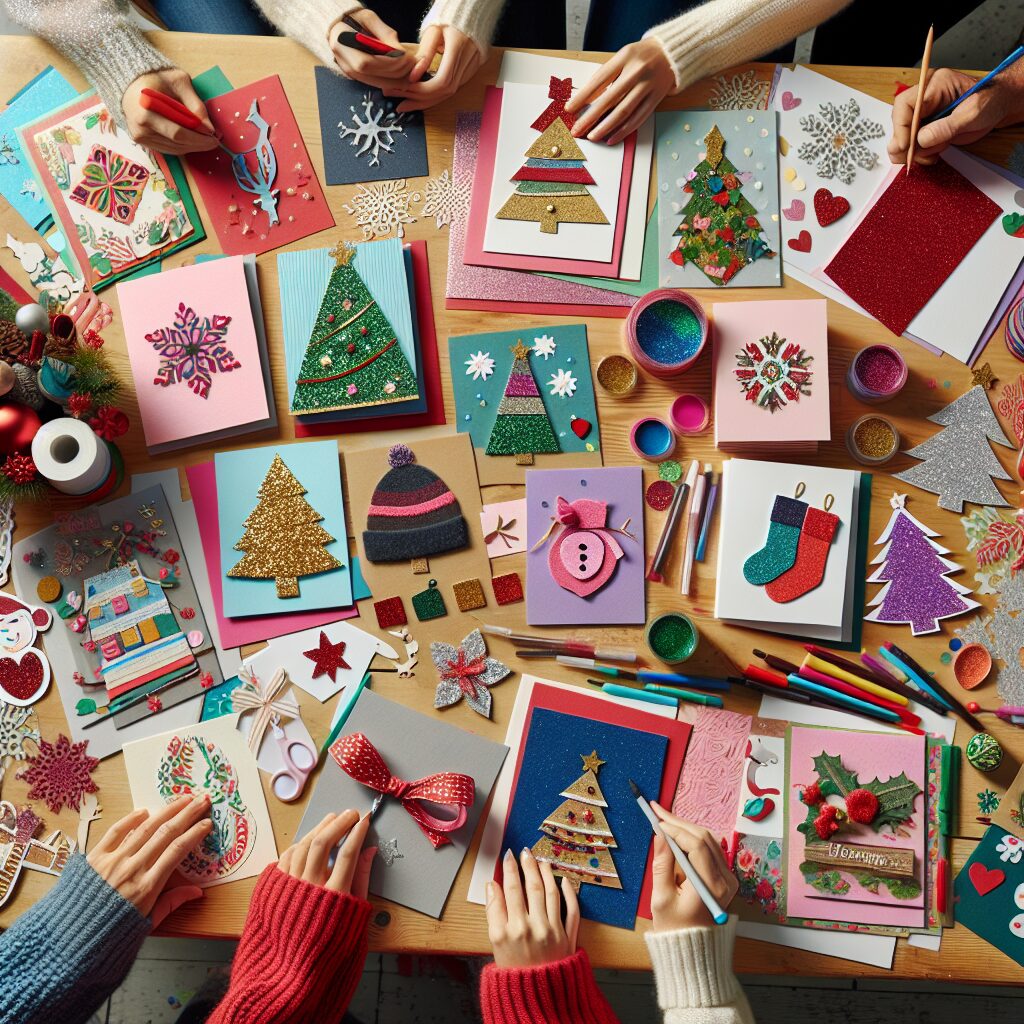
Materials You’ll Need
- Blank cards and envelopes
- Cardstock or decorative paper
- Scissors
- Glue stick or double-sided tape
- Markers, colored pencils, or crayons
- Stamps and ink pads
- Stickers, ribbons, or other embellishments
- Glitter or sequins (optional)
- Photos or printed images (optional)
Step 1: Choose a Design Theme
The first step in creating your own Christmas cards is to choose a design theme. This will help you create a cohesive and visually appealing set of cards. Some popular design themes include:
- Traditional: Incorporate classic Christmas elements like Santa Claus, reindeer, and Christmas trees.
- Winter Wonderland: Create cards with snowflakes, icicles, and cozy winter scenes.
- Modern and Minimalistic: Opt for clean lines, simple shapes, and a minimalist color palette.
- Handmade and Rustic: Use natural materials like twine, burlap, and dried flowers for a rustic touch.
Choose a theme that resonates with you and reflects your personal style. Once you have decided on a theme, gather inspiration from magazines, Pinterest, or other sources to help you visualize your design.
Step 2: Gather Your Materials
Before you begin crafting, make sure you have all the necessary materials at hand. This will save you time and ensure a smooth crafting session. Refer to the list of materials provided earlier and gather everything you need.
Step 3: Prepare Your Workspace
Creating Christmas cards can get messy, so it’s important to prepare your workspace beforehand. Clear a table or desk and lay down a protective covering, such as a plastic tablecloth or old newspapers. This will prevent any glue or ink stains on your furniture.
Step 4: Cut and Fold the Blank Cards
Take your blank cards and fold them in half to create the base for your Christmas cards. If you prefer a different card size, you can trim the blank cards accordingly. Use a ruler and scissors to achieve clean and straight edges.
Step 5: Choose Your Cardstock or Decorative Paper
Now it’s time to choose the cardstock or decorative paper that will serve as the background for your cards. You can find a wide variety of options at your local craft store or use scrapbooking paper you already have. Select colors and patterns that complement your chosen design theme.
Step 6: Cut and Attach the Background
Measure and cut the cardstock or decorative paper to fit the front of your folded cards. Use a glue stick or double-sided tape to attach the background securely. Smooth out any air bubbles or wrinkles for a professional finish.
Step 7: Add Your Design Elements
Now comes the fun part – adding your design elements! Let your creativity shine as you incorporate your chosen design theme into your Christmas cards. Here are some ideas to get you started:
- Draw or paint festive images like snowmen, ornaments, or holly berries.
- Use stamps and ink pads to create patterns or add sentiments like “Merry Christmas” or “Season’s Greetings”.
- Attach stickers, ribbons, or other embellishments for an extra touch of sparkle.
- Add glitter or sequins to make your cards shine.
- Include photos or printed images of your family, pets, or favorite holiday memories.
Remember to take your time and enjoy the process. Each card is a unique piece of art that will bring joy to its recipient.
Step 8: Personalize Your Messages
No Christmas card is complete without a heartfelt message. Take a moment to think about each recipient and personalize your messages accordingly. Write warm wishes, share memories, or express gratitude. Your words will make the cards even more special.
Step 9: Let Your Cards Dry
If you have used glue, allow your cards to dry completely before handling or packaging them. This will prevent any smudging or damage to your beautiful creations.
Step 10: Package and Send Your Cards
Once your cards are dry, it’s time to package and send them to your loved ones. Place each card in its envelope and seal it. If you want to add an extra touch, you can decorate the envelopes with stamps, stickers, or handwritten addresses.
Remember to affix the necessary postage and send your cards in a timely manner to ensure they arrive before Christmas. Your thoughtfulness and creativity will surely bring smiles to the faces of those who receive your handmade Christmas cards.
Conclusion
Crafting your own Christmas cards is a wonderful way to add a personal touch to your holiday greetings. By following the step-by-step instructions in this article, you have learned how to design and create your own unique Christmas cards. From choosing a design theme to adding your own creative elements, each card will be a reflection of your love and care. So gather your materials, unleash your creativity, and enjoy the process of making beautiful Christmas cards that will spread joy and cheer this holiday season.


