Personalized Christmas Photo Frames: Craft Unique Photo Frames as Gifts or Decorations
Christmas is a time of joy, love, and giving. What better way to celebrate this festive season than by creating personalized Christmas photo frames? These unique photo frames can be used as thoughtful gifts for your loved ones or as beautiful decorations to adorn your home. In this article, we will guide you through the step-by-step process of creating your own personalized Christmas photo frames. So, let’s get started and spread some holiday cheer!
Materials Needed
- Wooden photo frames
- Acrylic paint (in various colors)
- Paintbrushes (assorted sizes)
- Glitter
- Mod Podge
- Scissors
- Decorative ribbons
- Hot glue gun
- Assorted Christmas-themed embellishments (such as mini ornaments, snowflakes, or bells)
- Printed photos
Step-by-Step Instructions
Step 1: Prepare the Wooden Photo Frames
Start by selecting the wooden photo frames that you want to personalize. You can find plain wooden frames at your local craft store or repurpose old frames for a more eco-friendly approach. Ensure that the frames are clean and free from any dust or debris.
Step 2: Choose Your Color Palette
Decide on a color palette that matches the Christmas theme. Traditional colors like red, green, and gold work well, but feel free to get creative and experiment with different shades. Remember, this is your chance to personalize the frames according to your taste and style.
Step 3: Paint the Frames
Using acrylic paint and a paintbrush, carefully paint the wooden frames in your chosen colors. Apply multiple coats if necessary, allowing each coat to dry completely before adding the next. This will ensure a smooth and even finish.
Step 4: Add Some Sparkle
To give your photo frames a touch of holiday magic, sprinkle some glitter onto the wet paint. You can use a single color or mix different shades for a dazzling effect. Allow the glitter to adhere to the paint and gently tap off any excess.
Step 5: Seal the Paint
To protect the paint and glitter from chipping or flaking, apply a layer of Mod Podge over the entire surface of the frames. Mod Podge acts as a sealant and will give your frames a glossy finish. Allow the Mod Podge to dry completely before moving on to the next step.
Step 6: Choose and Print Your Photos
Select the photos you want to display in your personalized Christmas photo frames. It could be a cherished family portrait, a snapshot of a memorable moment, or even a festive image that captures the spirit of Christmas. Print the photos in the desired size to fit your frames.
Step 7: Cut and Arrange the Photos
Using scissors, carefully trim the printed photos to fit within the frames. Take your time to ensure that the photos are centered and aligned properly. If you want to add a creative touch, consider cutting the photos into unique shapes like circles or hearts.
Step 8: Attach the Photos to the Frames
Apply a thin layer of Mod Podge to the back of each photo and carefully press it onto the painted surface of the frames. Smooth out any air bubbles or wrinkles using your fingers or a clean cloth. Allow the Mod Podge to dry completely.
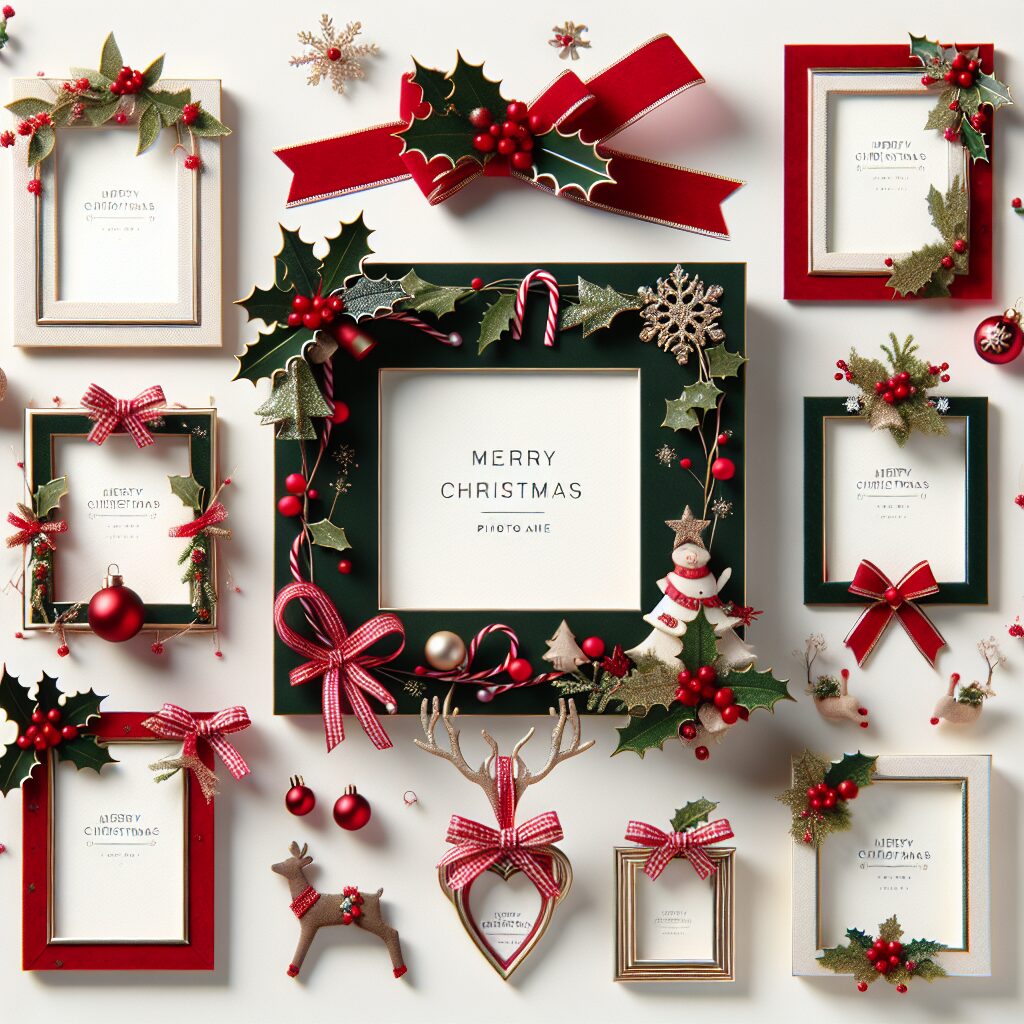
Step 9: Embellish and Decorate
Now comes the fun part – embellishing and decorating your personalized Christmas photo frames! Use a hot glue gun to attach decorative ribbons, mini ornaments, snowflakes, or bells to the frames. Get creative and let your imagination run wild!
Step 10: Final Touches
Once you are satisfied with the overall look of your photo frames, take a step back and admire your handiwork. Make any final adjustments or additions if needed. Ensure that all the embellishments are securely attached.
Project Completion
Congratulations! You have successfully created your own personalized Christmas photo frames. These unique creations can be given as heartfelt gifts to your family and friends or used as stunning decorations to enhance the festive ambiance of your home. Display them on mantels, shelves, or hang them on walls to spread the holiday cheer.
Remember, the joy of DIY projects lies in the process itself. Feel free to experiment with different techniques, colors, and embellishments to make your photo frames truly one-of-a-kind. Let your creativity shine and enjoy the satisfaction of crafting something beautiful with your own hands.
Key Takeaways
- Personalized Christmas photo frames make thoughtful gifts and beautiful decorations.
- Choose wooden frames and paint them in your desired colors.
- Add glitter for a touch of holiday magic.
- Seal the paint with Mod Podge for a glossy finish.
- Select and print photos that hold sentimental value.
- Trim and attach the photos to the frames using Mod Podge.
- Embellish the frames with decorative ribbons and Christmas-themed embellishments.
- Display your personalized photo frames proudly and spread the holiday cheer!
Now that you have learned how to create personalized Christmas photo frames, it’s time to unleash your creativity and start crafting. Enjoy the process, have fun, and make this holiday season truly special with your unique handmade creations!


