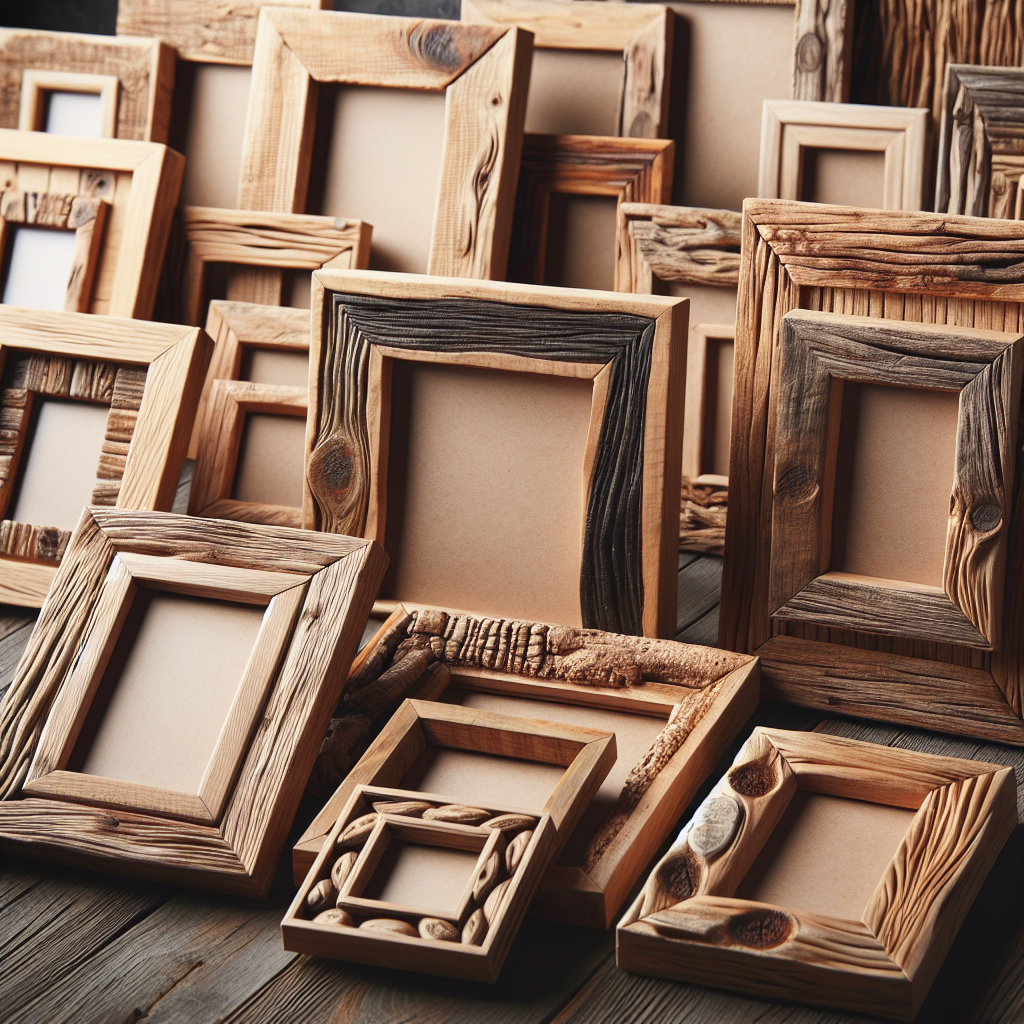
Reclaimed Wood Picture Frames: A Step-by-Step Guide to Creating Beautiful and Sustainable Art
Are you looking for a unique and eco-friendly way to display your favorite photographs or artwork? Look no further than reclaimed wood picture frames. Not only do they add a rustic and charming touch to any space, but they also help reduce waste by repurposing old materials. In this comprehensive guide, we will walk you through the process of creating your own reclaimed wood picture frames from start to finish. Get ready to unleash your creativity and showcase your memories in a truly one-of-a-kind way!
Materials You Will Need
- Reclaimed wood boards
- Saw (hand saw or circular saw)
- Sandpaper (medium and fine grit)
- Wood glue
- Clamps
- Nails or screws
- Hammer or screwdriver
- Picture frame hardware (hangers, wire, etc.)
- Measuring tape
- Pencil
- Protective gloves and goggles
Step 1: Gather Your Materials
Before you begin, make sure you have all the necessary materials listed above. It’s important to have everything on hand to ensure a smooth and efficient process.
Step 2: Prepare the Wood
Start by measuring and marking the desired dimensions for your picture frame on the reclaimed wood boards. Use a measuring tape and pencil to ensure accuracy. Once you have your measurements, carefully cut the boards using a saw. If you prefer a more rustic look, you can leave the edges uneven or distressed.
Step 3: Sand the Wood
Using medium grit sandpaper, sand the rough edges and surfaces of the wood boards. This will create a smooth and polished finish. Follow up with fine grit sandpaper to achieve an even smoother texture. Be sure to wear protective gloves and goggles to avoid any injuries.
Step 4: Assemble the Frame
Apply wood glue to the edges of the wood boards and carefully join them together to form the frame. Use clamps to hold the pieces in place while the glue dries. Make sure the corners are aligned perfectly for a professional look. If desired, you can reinforce the frame by adding nails or screws at the corners.
Step 5: Finishing Touches
Once the frame is assembled and the glue is completely dry, you can add any finishing touches you desire. This could include staining or painting the wood to match your personal style or the decor of the room where the frame will be displayed. Allow the stain or paint to dry completely before moving on to the next step.
Step 6: Attach Picture Frame Hardware
Measure and mark the desired placement for the picture frame hardware on the back of the frame. This could include hangers, wire, or any other hardware necessary for hanging the frame on a wall. Use a screwdriver or hammer to attach the hardware securely to the frame.
Step 7: Insert Your Artwork
Finally, it’s time to insert your favorite photograph or artwork into the frame. Carefully remove the back of the frame and place your artwork inside. Make sure it is centered and secure before reattaching the back of the frame.
Step 8: Admire Your Creation
Now that your reclaimed wood picture frame is complete, take a step back and admire your handiwork. The unique character of the reclaimed wood combined with your personal touch will surely make this frame a standout piece in any room. Hang it on a wall or display it on a shelf to showcase your cherished memories in a sustainable and beautiful way.
Conclusion
Creating your own reclaimed wood picture frames is not only a fun and rewarding DIY project, but it also allows you to contribute to a more sustainable future by repurposing old materials. By following the step-by-step guide outlined in this article, you can easily create beautiful and unique frames that will add a touch of rustic charm to any space. So gather your materials, unleash your creativity, and get ready to showcase your memories in a truly special way!


