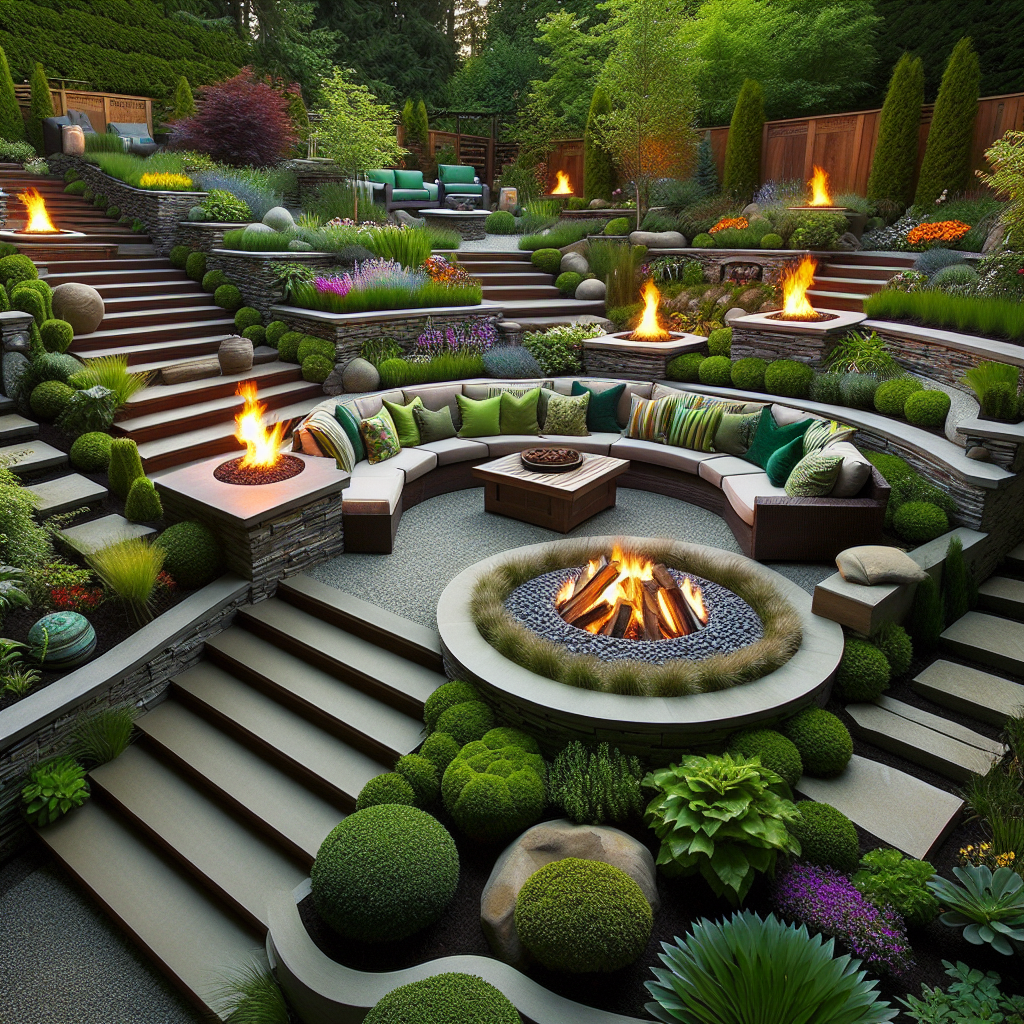
Artistic Tile-Decorated Backyard Fire Pit: A Step-by-Step Guide
Are you looking to add a touch of artistry to your backyard? A tile-decorated fire pit can be the perfect addition to your outdoor space. Not only does it provide warmth and ambiance, but it also serves as a stunning focal point. In this step-by-step guide, we will walk you through the process of creating your own artistic tile-decorated backyard fire pit. Get ready to unleash your creativity and transform your outdoor area into a work of art!
Materials You Will Need
- Fire pit kit
- Concrete blocks
- Tile adhesive
- Grout
- Outdoor tiles
- Tile spacers
- Trowel
- Tile cutter
- Level
- Rubber mallet
- Bucket
- Sponge
- Waterproof sealant
- Paintbrush
Step 1: Prepare the Area
The first step in creating your tile-decorated backyard fire pit is to prepare the area where it will be located. Choose a flat and level spot in your backyard, away from any flammable materials. Clear the area of any debris, rocks, or plants that may interfere with the construction process.
Step 2: Build the Fire Pit
Next, it’s time to build the fire pit structure. Follow the instructions provided with your fire pit kit to assemble the base and walls. Make sure everything is level and secure before moving on to the next step.
Step 3: Apply Tile Adhesive
Once the fire pit structure is in place, it’s time to start tiling. Begin by applying a layer of tile adhesive to the surface of the fire pit walls. Use a trowel to spread the adhesive evenly, ensuring full coverage.
Step 4: Place the Tiles
Now comes the fun part – placing the tiles! Start by selecting your outdoor tiles and arranging them in a pattern of your choice. Use tile spacers to ensure even spacing between each tile. Carefully press each tile into the adhesive, making sure it is firmly in place.
Step 5: Cut Tiles as Needed
If you encounter any areas where full tiles won’t fit, you may need to cut some tiles to size. Use a tile cutter to carefully trim the tiles to fit the desired shape. Take your time and make precise cuts to achieve the best results.
Step 6: Allow the Adhesive to Dry
After all the tiles are in place, allow the adhesive to dry according to the manufacturer’s instructions. This typically takes around 24 hours, but be sure to check the specific drying time on the adhesive packaging.
Step 7: Apply Grout
Once the adhesive is fully dry, it’s time to apply the grout. Mix the grout according to the instructions on the packaging, then use a trowel to spread it over the tiles. Work the grout into the gaps between the tiles, ensuring full coverage.
Step 8: Clean the Tiles
After applying the grout, use a damp sponge to clean the excess grout off the tiles. Rinse the sponge frequently to avoid smearing grout onto the tiles. Take your time and be thorough to achieve a clean and polished look.
Step 9: Seal the Tiles
Once the grout has dried, it’s important to seal the tiles to protect them from moisture and the elements. Apply a waterproof sealant to the tiles using a paintbrush, following the instructions on the sealant packaging. Allow the sealant to dry completely before using the fire pit.
Step 10: Enjoy Your Artistic Fire Pit
Congratulations! You have successfully created your own artistic tile-decorated backyard fire pit. Now it’s time to sit back, relax, and enjoy the warmth and beauty of your creation. Gather your friends and family around the fire pit and create lasting memories in your newly transformed outdoor space.
Conclusion
Creating an artistic tile-decorated backyard fire pit is a rewarding and enjoyable DIY project. By following these step-by-step instructions, you can bring a touch of artistry to your outdoor area and create a stunning focal point. Remember to gather all the necessary materials, take your time with each step, and let your creativity shine. With a little effort and imagination, you can transform your backyard into a beautiful and inviting space that you can enjoy for years to come.

