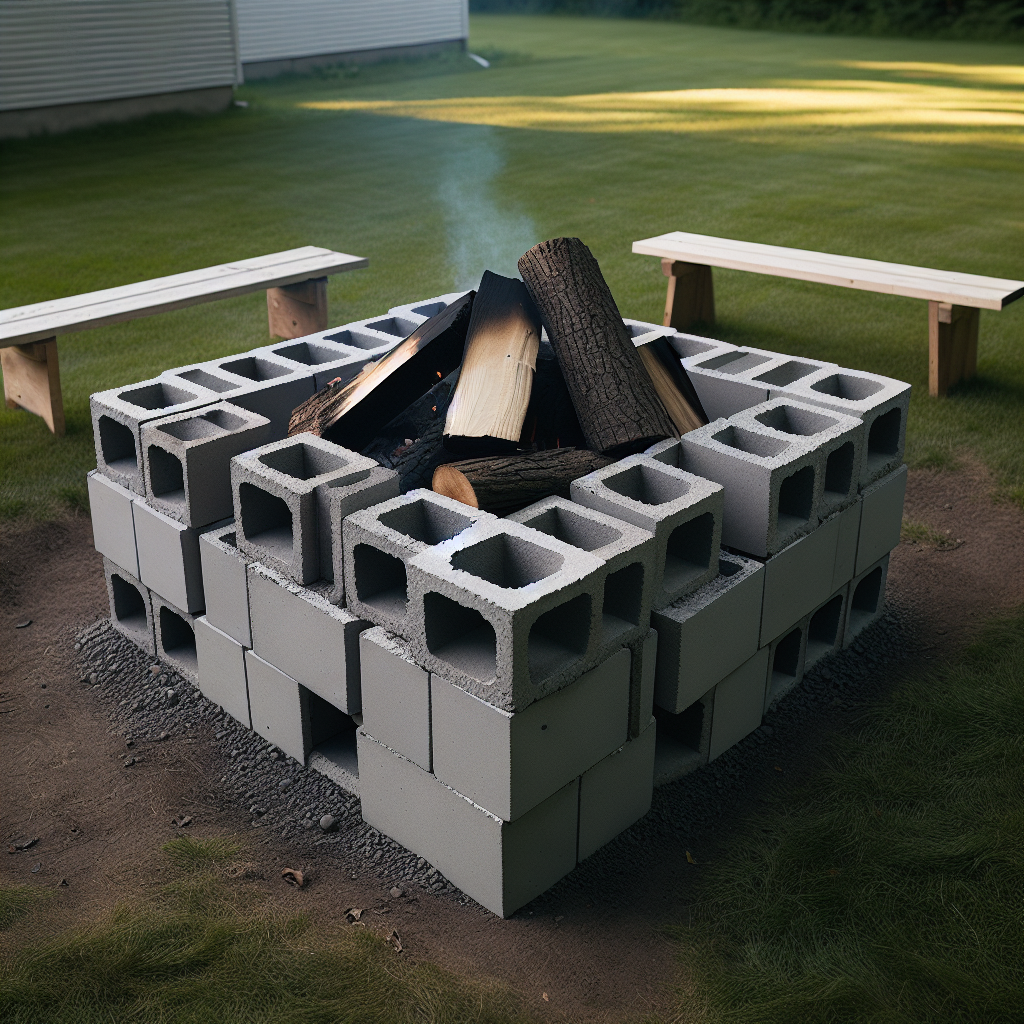
DIY Cinder Block Backyard Fire Pit: Create a Cozy Outdoor Gathering Space
Are you looking to add a touch of warmth and ambiance to your backyard? A DIY cinder block fire pit is the perfect project to transform your outdoor space into a cozy gathering spot for friends and family. With just a few materials and some basic tools, you can create a stunning fire pit that will become the centerpiece of your backyard. In this step-by-step guide, we will walk you through the process of building your own cinder block fire pit, from start to finish.
Materials You Will Need
- Concrete cinder blocks
- Fire bricks
- Concrete adhesive
- Gravel
- Sand
- Fire pit insert or metal fire ring
- Level
- Tape measure
- Masonry saw or angle grinder
- Trowel
- Work gloves
- Safety glasses
Step 1: Choose the Perfect Location
The first step in building your cinder block fire pit is to choose the perfect location in your backyard. Consider factors such as proximity to your seating area, wind direction, and any local regulations or restrictions on open fires. Once you have selected the ideal spot, mark the area using stakes and string to create a clear outline of where your fire pit will be.
Step 2: Prepare the Ground
Before you start laying the cinder blocks, it’s important to prepare the ground to ensure a stable and level foundation for your fire pit. Clear away any grass, rocks, or debris from the marked area. Use a shovel to dig a shallow trench around the perimeter of the marked area, about 6 inches deep. This trench will serve as the base for your first row of cinder blocks.
Step 3: Lay the First Row of Cinder Blocks
Now it’s time to start building your fire pit! Begin by laying the first row of cinder blocks along the trench you dug in the previous step. Apply a thin layer of concrete adhesive to the bottom of each block to secure it in place. Use a level to ensure that each block is perfectly level and adjust as necessary. As you lay each block, check the alignment with the string to maintain a consistent shape.
Step 4: Build the Inner Wall
Once the first row of cinder blocks is in place, it’s time to build the inner wall of your fire pit. This inner wall will provide additional support and insulation for your fire pit. Lay a second row of cinder blocks on top of the first row, staggering the blocks to create a sturdy structure. Apply concrete adhesive between each block to bond them together.
Step 5: Install the Fire Bricks
Now it’s time to add the fire bricks to the inside of your fire pit. Fire bricks are designed to withstand high temperatures and will protect the cinder blocks from the heat of the fire. Lay the fire bricks in a circular pattern on top of the second row of cinder blocks, leaving a small gap between each brick for air circulation. Use a masonry saw or angle grinder to cut the bricks to fit if necessary.
Step 6: Fill the Gaps
After installing the fire bricks, fill the gaps between the bricks and cinder blocks with a mixture of sand and gravel. This will help to stabilize the bricks and provide additional insulation. Use a trowel to pack the sand and gravel mixture tightly into the gaps, ensuring a secure fit.
Step 7: Add the Fire Pit Insert
If you prefer a more polished look or want to protect the interior of your fire pit, you can add a fire pit insert or a metal fire ring. These inserts are designed to contain the fire and make it easier to clean up afterward. Simply place the insert or fire ring inside the fire pit, ensuring that it is centered and level.
Step 8: Finishing Touches
With the main structure of your cinder block fire pit complete, it’s time to add some finishing touches. Consider adding a layer of heat-resistant paint to the exterior of the cinder blocks to enhance their appearance and protect them from the elements. You can also add a decorative stone or tile surround to give your fire pit a personalized touch.
Step 9: Safety First
Before you light your first fire, it’s important to prioritize safety. Make sure you have a fire extinguisher nearby and never leave the fire unattended. Keep a safe distance between the fire pit and any flammable materials, such as trees or buildings. Always follow local fire regulations and guidelines to ensure a safe and enjoyable experience.
Step 10: Enjoy Your New Fire Pit
Now that your DIY cinder block fire pit is complete, it’s time to sit back, relax, and enjoy the cozy warmth of your new outdoor gathering space. Gather your friends and family around the fire pit, roast marshmallows, and create lasting memories. Your backyard will become the go-to spot for summer barbecues, fall bonfires, and late-night conversations under the stars.
Conclusion
Building a DIY cinder block fire pit is a rewarding project that will transform your backyard into a welcoming and inviting space. With just a few materials and some basic tools, you can create a stunning fire pit that will provide warmth and ambiance for years to come. Follow the step-by-step instructions in this guide, and soon you’ll be enjoying cozy evenings around the fire with your loved ones. So grab your tools and get started on your DIY cinder block fire pit today!


