Recycled Brick Backyard Fire Pit: A Step-by-Step Guide
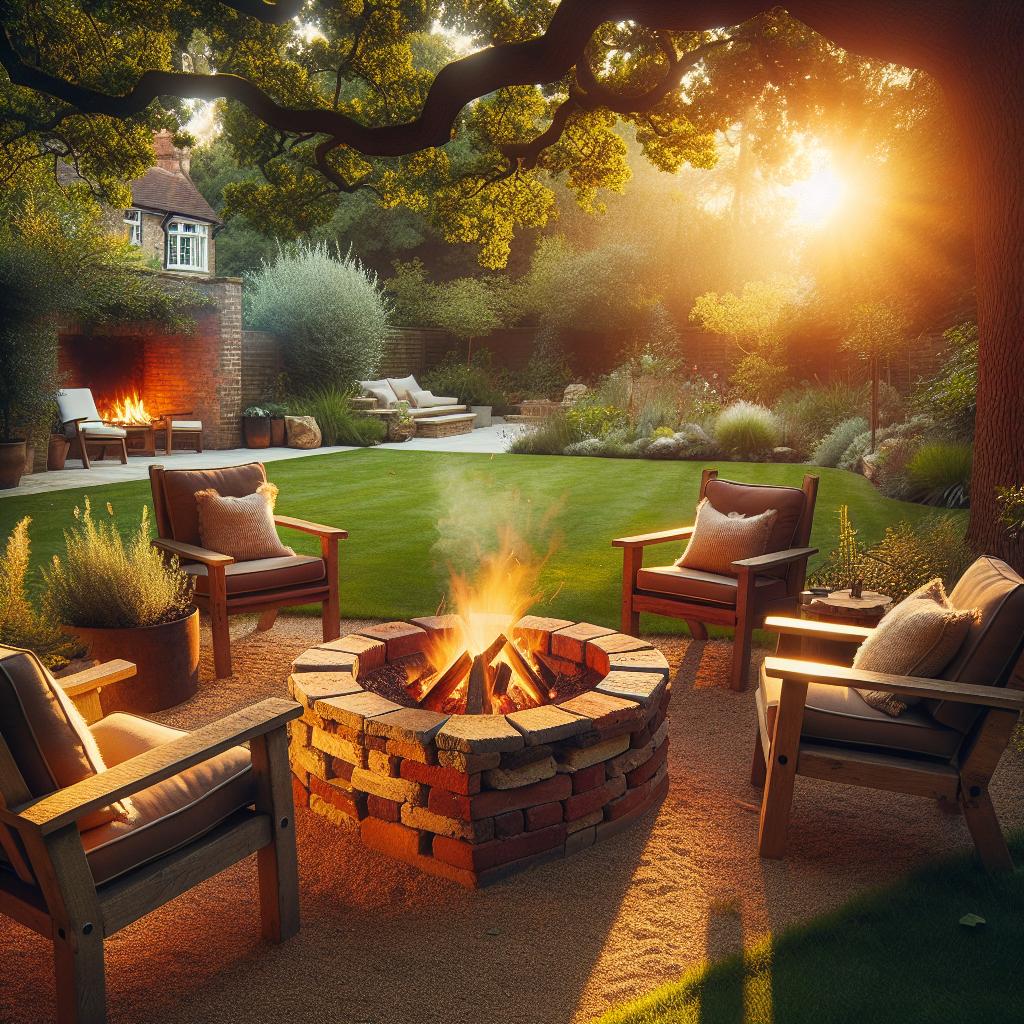
Are you looking to add a touch of warmth and ambiance to your backyard? A fire pit is the perfect addition to any outdoor space, providing a cozy gathering spot for friends and family. And what better way to create a fire pit than by using recycled bricks? Not only will you be able to repurpose materials, but you’ll also have a unique and rustic fire pit that adds character to your backyard. In this step-by-step guide, we’ll walk you through the process of building your very own recycled brick backyard fire pit.
Materials You’ll Need
- Recycled bricks
- Shovel
- Level
- Tape measure
- Masonry adhesive
- Fire-resistant mortar
- Gravel
- Sand
- Fire pit insert or metal ring
- Firewood
Step 1: Choose the Perfect Location
The first step in building your recycled brick backyard fire pit is to choose the perfect location. Look for an area in your backyard that is away from any flammable materials, such as trees or shrubs. You’ll also want to ensure that the location is level and provides enough space for seating around the fire pit.
Step 2: Prepare the Ground
Once you’ve chosen the location, it’s time to prepare the ground. Use a shovel to remove any grass or vegetation from the area. Dig a shallow hole that is slightly larger than the size of your fire pit. This will ensure that the fire pit sits securely in the ground.
Step 3: Lay the Foundation
Now it’s time to lay the foundation for your fire pit. Start by placing a layer of gravel in the bottom of the hole. This will help with drainage and prevent the fire pit from sinking into the ground. Use a level to ensure that the gravel is evenly distributed.
Step 4: Arrange the Bricks
Next, it’s time to arrange the recycled bricks to create the walls of your fire pit. Start by placing a layer of bricks around the perimeter of the hole, leaving a small gap between each brick for ventilation. Use a tape measure to ensure that the bricks are evenly spaced.
Continue adding layers of bricks, staggering them as you go to create a stable structure. Use masonry adhesive to secure the bricks together, applying it between each layer. This will ensure that your fire pit is sturdy and long-lasting.
Step 5: Build the Fire Pit Insert
If you prefer a more controlled fire, you can build a fire pit insert using fire-resistant mortar and bricks. Simply stack the bricks in a circular shape, leaving a gap in the center for ventilation. Use fire-resistant mortar to secure the bricks together, ensuring that the insert is stable and secure.
Step 6: Fill the Gaps
Once you’ve built the walls of your fire pit, it’s time to fill in the gaps between the bricks. Use a mixture of sand and fire-resistant mortar to fill any spaces, ensuring that the bricks are tightly sealed together. This will prevent any embers from escaping and ensure a safe and controlled fire.
Step 7: Let it Cure
After completing the construction of your recycled brick backyard fire pit, it’s important to let it cure before using it. Allow the fire pit to dry for at least 24 hours, or as recommended by the manufacturer of the masonry adhesive and fire-resistant mortar. This will ensure that the materials set properly and provide a strong and durable fire pit.
Step 8: Add the Finishing Touches
Now that your fire pit is complete, it’s time to add the finishing touches. Place a fire pit insert or metal ring in the center of the fire pit to protect the bricks from direct contact with the fire. This will help prolong the life of your fire pit and prevent any damage to the bricks.
Finally, gather some firewood and arrange it in the fire pit. Make sure to leave enough space for air circulation and ventilation. Now you’re ready to light your first fire and enjoy the warmth and beauty of your recycled brick backyard fire pit!
Conclusion
Building a recycled brick backyard fire pit is a rewarding and eco-friendly project that adds charm and functionality to your outdoor space. By repurposing materials and using your own creativity, you can create a unique and personalized fire pit that becomes the centerpiece of your backyard. Follow the step-by-step instructions in this guide, and soon you’ll be enjoying cozy evenings around your very own fire pit. So gather your materials, roll up your sleeves, and get ready to create a backyard oasis that you’ll enjoy for years to come!


