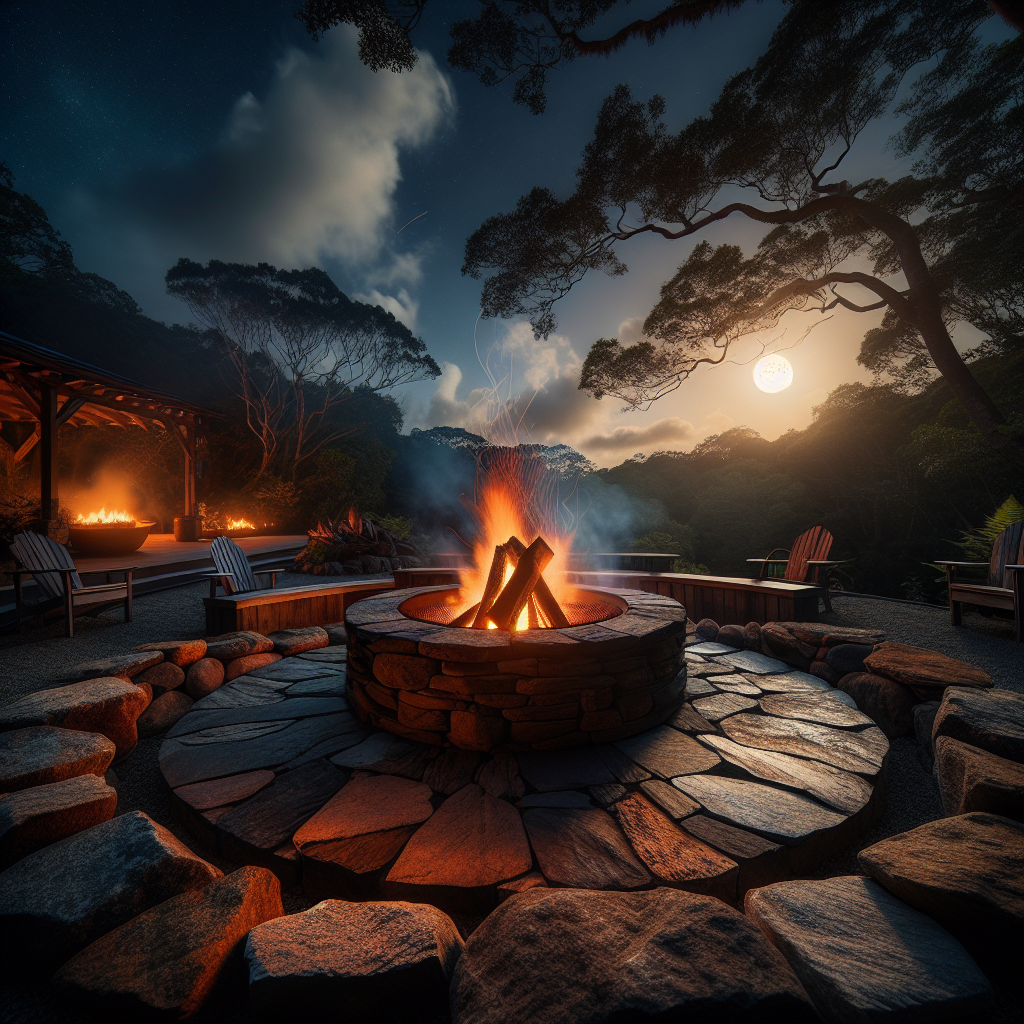
Rustic Stone Backyard Fire Pit: A Step-by-Step Guide to Creating Your Own Outdoor Oasis
Are you looking to transform your backyard into a cozy and inviting space? Look no further than a rustic stone fire pit. Not only will it provide warmth and ambiance, but it will also serve as a focal point for gatherings with family and friends. In this comprehensive guide, we will walk you through the process of creating your very own backyard fire pit, from selecting the perfect location to putting the finishing touches on your masterpiece. So grab your tools and let’s get started!
Materials You Will Need
- Fire pit kit (includes stones, adhesive, and metal ring)
- Shovel
- Rake
- Tape measure
- Masonry adhesive
- Level
- Rubber mallet
- Fire-resistant gravel or sand
- Firewood
Step 1: Choose the Perfect Location
The first step in creating your rustic stone fire pit is to select the ideal location in your backyard. Consider factors such as proximity to your seating area, wind direction, and any local regulations or restrictions. Once you have chosen the spot, mark it with a stake or spray paint to ensure accuracy.
Step 2: Prepare the Area
Before you begin building your fire pit, it’s important to prepare the area properly. Start by clearing away any debris, rocks, or vegetation. Use a shovel and rake to level the ground, ensuring a stable foundation for your fire pit.
Step 3: Measure and Mark
Using a tape measure, determine the diameter of your fire pit kit. Mark the center of your chosen location and use the tape measure to mark the outer edge of the fire pit. This will serve as a guide when laying the stones.
Step 4: Lay the First Layer of Stones
Begin by placing the first layer of stones along the marked outer edge of the fire pit. Apply a generous amount of masonry adhesive to the bottom of each stone to ensure stability. Use a level to ensure that each stone is even and adjust as necessary. Continue laying the stones until you have completed the first layer.
Step 5: Build the Second Layer
Once the first layer is complete, it’s time to build the second layer. Apply masonry adhesive to the bottom of each stone and stagger them to create a sturdy and visually appealing structure. Use a level to ensure each stone is level and adjust as needed. Continue building the second layer until you have reached your desired height.
Step 6: Install the Metal Ring
Now that the stone structure is complete, it’s time to install the metal ring. Place the metal ring on top of the second layer of stones, ensuring it is centered and level. Gently tap the ring into place using a rubber mallet to secure it.
Step 7: Fill with Fire-Resistant Material
Before you can start enjoying your fire pit, it’s important to fill it with fire-resistant material. This can be fire-resistant gravel or sand, which will help to protect the stones and provide a stable base for your fire. Fill the pit with the material, ensuring it is level and evenly distributed.
Step 8: Light the Fire
Now that your rustic stone fire pit is complete, it’s time to light the fire and enjoy the warmth and ambiance it provides. Gather some firewood and carefully arrange it within the metal ring. Use a lighter or matches to ignite the firewood, taking care to follow all fire safety guidelines and regulations.
Step 9: Sit Back and Enjoy
With your fire pit roaring, it’s time to sit back, relax, and enjoy your outdoor oasis. Gather some comfortable seating, invite your loved ones, and create lasting memories around the crackling fire. Whether it’s roasting marshmallows, sharing stories, or simply basking in the glow, your rustic stone fire pit will undoubtedly become the heart of your backyard.
Conclusion
Creating a rustic stone fire pit in your backyard is a rewarding and enjoyable DIY project that will enhance your outdoor space and provide countless hours of relaxation and enjoyment. By following the step-by-step instructions outlined in this guide, you can confidently build your own fire pit and transform your backyard into a cozy retreat. So gather your materials, roll up your sleeves, and let the construction begin. Your backyard oasis awaits!


