Maximizing Space: How to Build a Versatile Kitchen Island on Wheels
Building a Versatile Kitchen Island on Wheels
In today’s modern homes, maximizing space is a top priority. With smaller kitchens becoming more common, homeowners are constantly looking for ways to make the most of their limited square footage. One solution that has gained popularity in recent years is the versatile kitchen island on wheels. This innovative piece of furniture not only provides additional storage and workspace but also offers the flexibility to move it around as needed. In this article, we will explore the benefits of a versatile kitchen island on wheels and provide a step-by-step guide on how to build one yourself.
The first advantage of a kitchen island on wheels is its ability to provide extra storage. With limited cabinet space, it can be challenging to find a place for all your pots, pans, and utensils. A kitchen island with built-in shelves or drawers can help solve this problem. You can store your frequently used items within easy reach, making cooking and meal preparation a breeze. Additionally, the wheels allow you to move the island closer to your cooking area, eliminating the need to constantly walk back and forth to retrieve ingredients or tools.
Another benefit of a versatile kitchen island on wheels is its ability to serve as a multi-functional workspace. Whether you need extra counter space for meal prep or a spot to set up your laptop and work from home, a kitchen island can accommodate all your needs. Its mobility allows you to position it wherever it is most convenient, whether that’s next to the stove or near a window with a beautiful view. With a versatile kitchen island on wheels, you can transform your kitchen into a versatile space that adapts to your lifestyle.
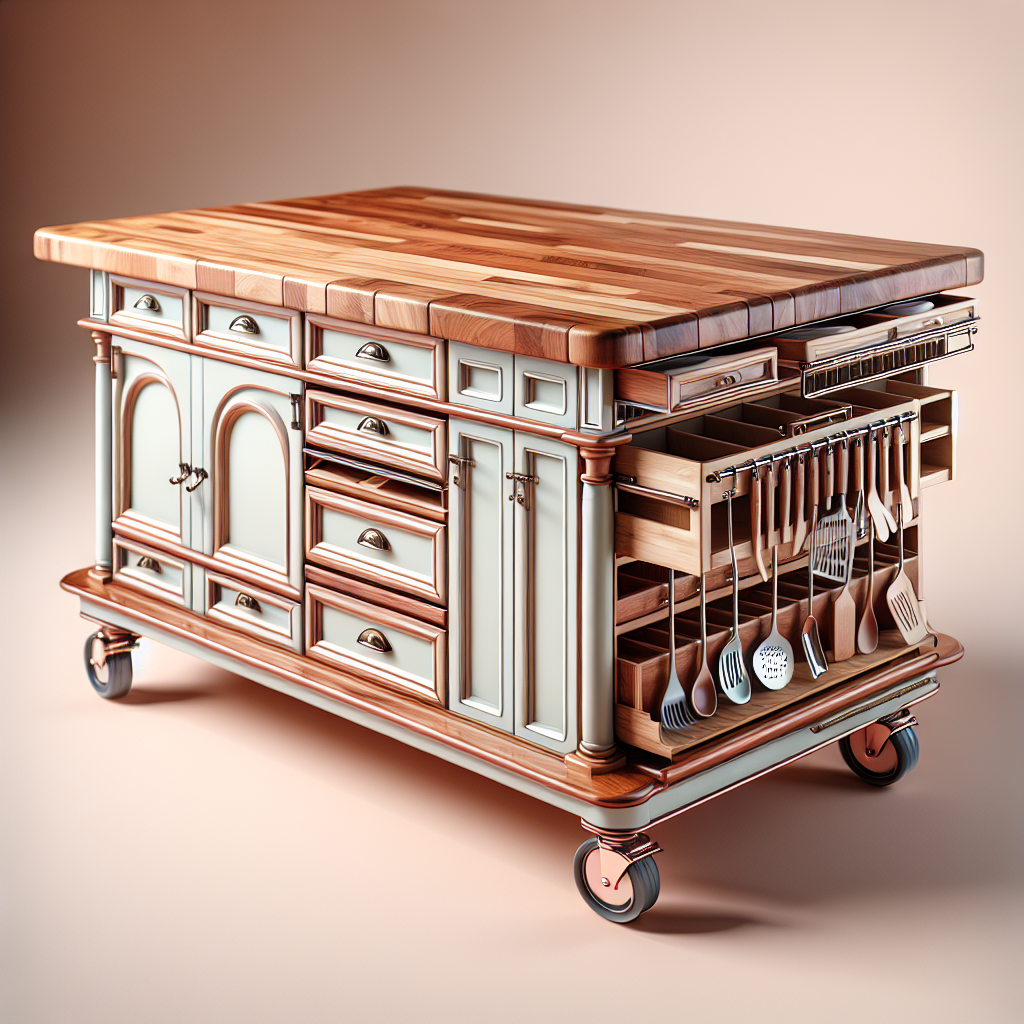
Now that we understand the advantages of a kitchen island on wheels, let’s dive into the process of building one. The first step is to gather all the necessary materials and tools. You will need a sturdy base, such as a wooden or metal frame, as well as wheels that can support the weight of the island. Additionally, you will need a countertop material of your choice, such as butcher block or granite, and any additional features you desire, such as shelves or drawers.
Once you have all the materials, it’s time to start building. Begin by assembling the base according to the manufacturer’s instructions. Make sure it is sturdy and level, as this will ensure the stability of your island. Next, attach the wheels to the base, ensuring they are securely fastened. If you plan on adding shelves or drawers, now is the time to install them. Finally, place the countertop on the base and secure it in place.
Once your kitchen island on wheels is built, it’s time to put it to use. Experiment with different configurations to find the layout that works best for you. Whether you use it as a prep station, a breakfast bar, or a mobile workstation, the possibilities are endless. Remember, the key to maximizing space is to be creative and think outside the box.
In conclusion, a versatile kitchen island on wheels is a game-changer for those looking to maximize space in their kitchen. With its additional storage and multi-functional workspace, it offers both practicality and flexibility. By following a few simple steps, you can build your own kitchen island on wheels and transform your kitchen into a versatile space that adapts to your needs. So why wait? Start building your dream kitchen island today and enjoy the benefits it brings to your home.


