Cowl Knitting: Create Stunning Cowls with These Step-by-Step Instructions
Are you a beginner knitter looking for a simple and rewarding project? Look no further than cowl knitting! Cowls are loved for their simplicity and versatility, making them the perfect project for knitters of all skill levels. In this article, we will guide you through the process of creating stunning cowls with step-by-step instructions. Get ready to unleash your creativity and make beautiful accessories that will keep you warm and stylish!
Materials You’ll Need
Before we dive into the knitting process, let’s gather all the materials you’ll need to complete your cowl:
- Yarn: Choose a soft and cozy yarn in your favorite color. Worsted weight yarn is a great option for beginners.
- Knitting Needles: Select a pair of knitting needles that are appropriate for your chosen yarn. Circular needles are recommended for cowls.
- Tapestry Needle: This needle will be used for weaving in ends and finishing touches.
- Scissors: A pair of sharp scissors will come in handy for cutting yarn.
- Stitch Markers: These will help you keep track of your stitches and rounds.
- Measuring Tape: Use a measuring tape to ensure your cowl is the desired length.
Step-by-Step Instructions
Now that you have all your materials ready, let’s get started on your cowl knitting project:
Step 1: Cast On
Start by casting on the desired number of stitches onto your circular needles. A common cast-on method for cowls is the long-tail cast-on. Make sure your stitches are not too tight or too loose.
Step 2: Join in the Round
Once you have cast on your stitches, join in the round by carefully placing a stitch marker to mark the beginning of your round. This will help you keep track of your progress as you knit.
Step 3: Knit in the Round
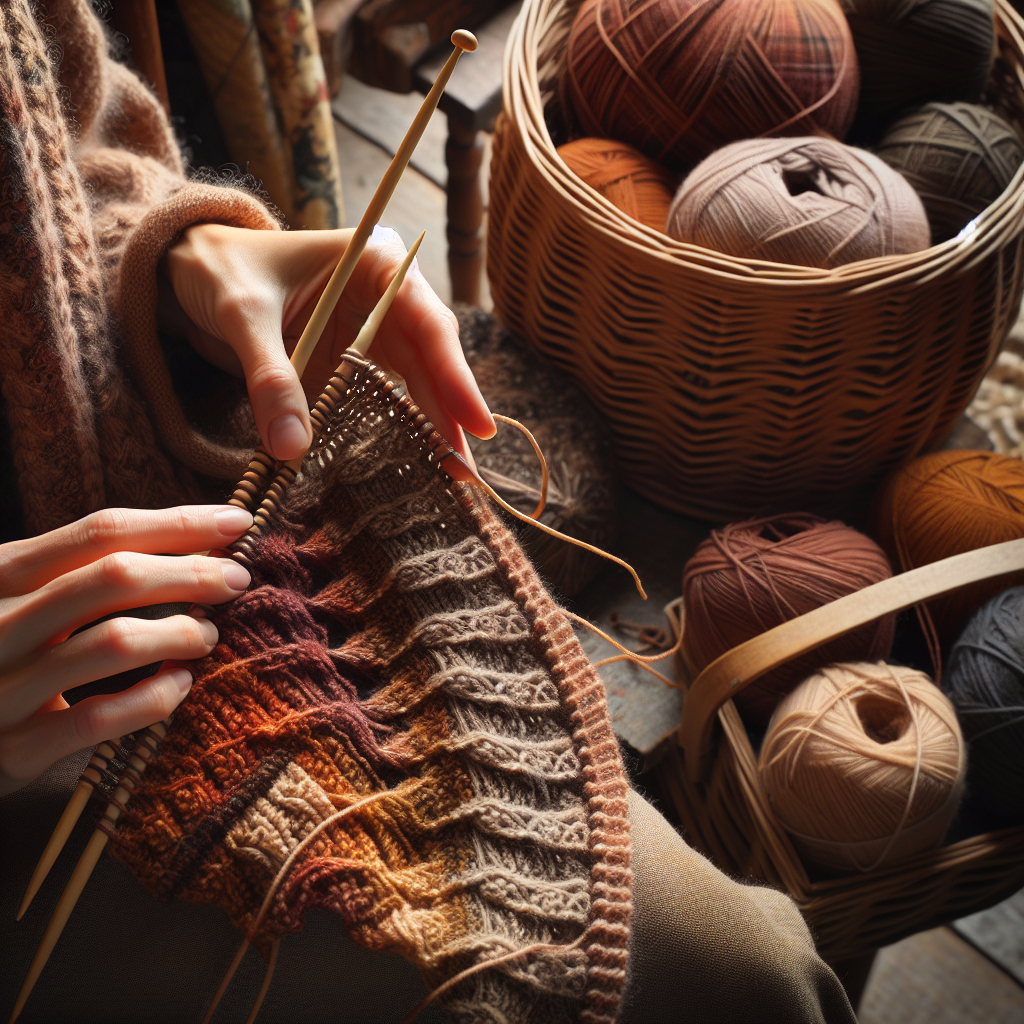
Now it’s time to start knitting! Use the knit stitch to create a simple and beautiful fabric for your cowl. Continue knitting in the round until your cowl reaches the desired height.
Step 4: Add Texture and Design
If you want to add some texture or design elements to your cowl, this is the perfect step to do so. You can experiment with different stitch patterns, such as ribbing, cables, or lace, to create a unique and eye-catching cowl.
Step 5: Bind Off
Once you are satisfied with the height and design of your cowl, it’s time to bind off. Use a stretchy bind-off method to ensure a comfortable fit around your neck. Cut the yarn, leaving a long tail for weaving in later.
Step 6: Finishing Touches
Now that your knitting is complete, it’s time to add the finishing touches. Use a tapestry needle to weave in any loose ends and secure them. Give your cowl a gentle blocking if necessary to even out the stitches and enhance the drape of the fabric.
Project Inspiration
Now that you know how to create a basic cowl, let’s explore some stunning designs to inspire your next project:
- Pattern 1: Cozy Cable Cowl – This cowl features a beautiful cable pattern that adds warmth and elegance to any outfit.
- Pattern 2: Lace Infinity Cowl – Create a delicate and feminine cowl with a lovely lace pattern that will turn heads.
- Pattern 3: Colorful Striped Cowl – Have fun playing with different colors and create a vibrant striped cowl that will brighten up your winter wardrobe.
Remember, these patterns are just a starting point. Feel free to experiment with different yarns, colors, and stitch patterns to create your own unique cowls!
Summary
Cowl knitting is a fantastic project for beginners and experienced knitters alike. With just a few materials and some basic knitting techniques, you can create stunning cowls that will keep you warm and stylish. Follow our step-by-step instructions, gather your materials, and let your creativity soar. Don’t forget to check out our pattern suggestions for additional inspiration. Happy knitting!


