Step-by-Step Guide: Crafting a Sleek TV Console from Pallet Wood
Crafting a Sleek TV Console from Pallet Wood
Are you looking to add a touch of rustic charm to your living room? Do you want to showcase your creativity and craftsmanship? Look no further than crafting a sleek TV console from pallet wood. Not only is this a cost-effective option, but it also allows you to repurpose materials and create a unique piece of furniture that will be the envy of your friends and family.
Step 1: Gather Your Materials
The first step in crafting a sleek TV console from pallet wood is to gather all the necessary materials. You will need a few wooden pallets, a circular saw, a drill, screws, sandpaper, wood stain or paint, and a paintbrush. Make sure to choose pallets that are in good condition and free from any rot or damage.
Step 2: Disassemble the Pallets
Once you have your materials ready, it’s time to disassemble the pallets. Carefully remove the nails or screws holding the pallets together using a drill or a pry bar. Take your time with this step to ensure that you don’t damage the wood. Once the pallets are disassembled, you will have a pile of individual wooden planks ready to be transformed into your sleek TV console.
Step 3: Plan Your Design
Before you start building, it’s important to plan your design. Consider the size of your TV and the space available in your living room. Sketch out a rough design that includes the dimensions of the console, the number of shelves or compartments you want, and any additional features such as cable management holes or drawers. This will serve as your blueprint throughout the construction process.
Step 4: Cut and Sand the Wood
Using a circular saw, cut the wooden planks according to your design. Take your time and make precise cuts to ensure that all the pieces fit together seamlessly. Once the pieces are cut, use sandpaper to smooth out any rough edges or splinters. Sanding the wood will not only make it look more polished but also prevent any injuries from sharp edges.
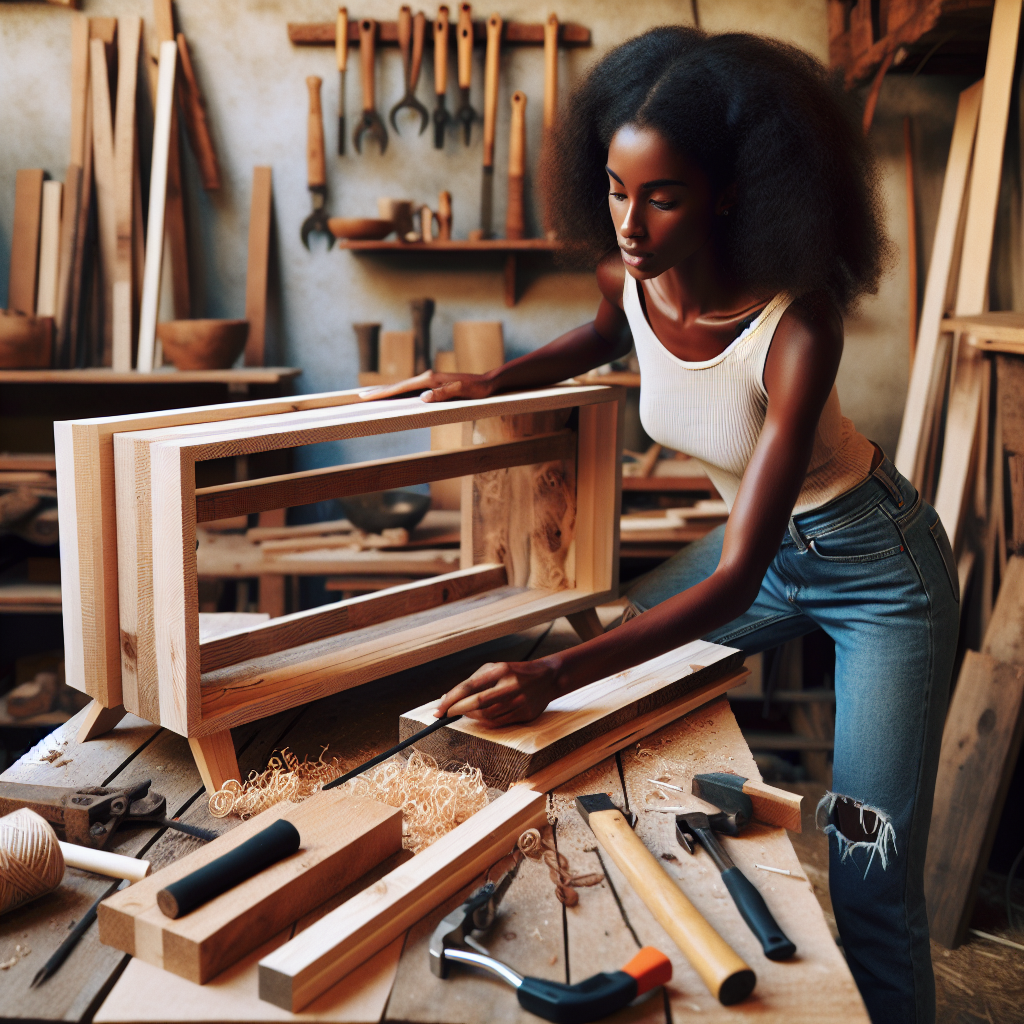
Step 5: Assemble the Console
Now comes the exciting part – assembling the console. Start by attaching the sides and back of the console using screws. Make sure to pre-drill holes to prevent the wood from splitting. Then, attach the shelves or compartments according to your design. Take your time with this step to ensure that everything is aligned and sturdy. Once the console is assembled, give it a final check to make sure everything is secure.
Step 6: Apply the Finish
To give your sleek TV console a polished look, apply a wood stain or paint of your choice. Use a paintbrush to evenly coat the wood, following the grain. Allow the finish to dry completely before moving on to the next step.
Step 7: Set Up and Enjoy
Finally, it’s time to set up your sleek TV console and enjoy the fruits of your labor. Place your TV on top of the console and arrange your media devices and accessories on the shelves or compartments. Step back and admire your handiwork – you’ve successfully crafted a sleek TV console from pallet wood!
In conclusion, crafting a sleek TV console from pallet wood is a rewarding and creative project that allows you to showcase your craftsmanship. By following this step-by-step guide, you can transform ordinary wooden pallets into a unique piece of furniture that will add rustic charm to your living room. So, gather your materials, plan your design, and let your creativity shine through as you embark on this DIY adventure.


