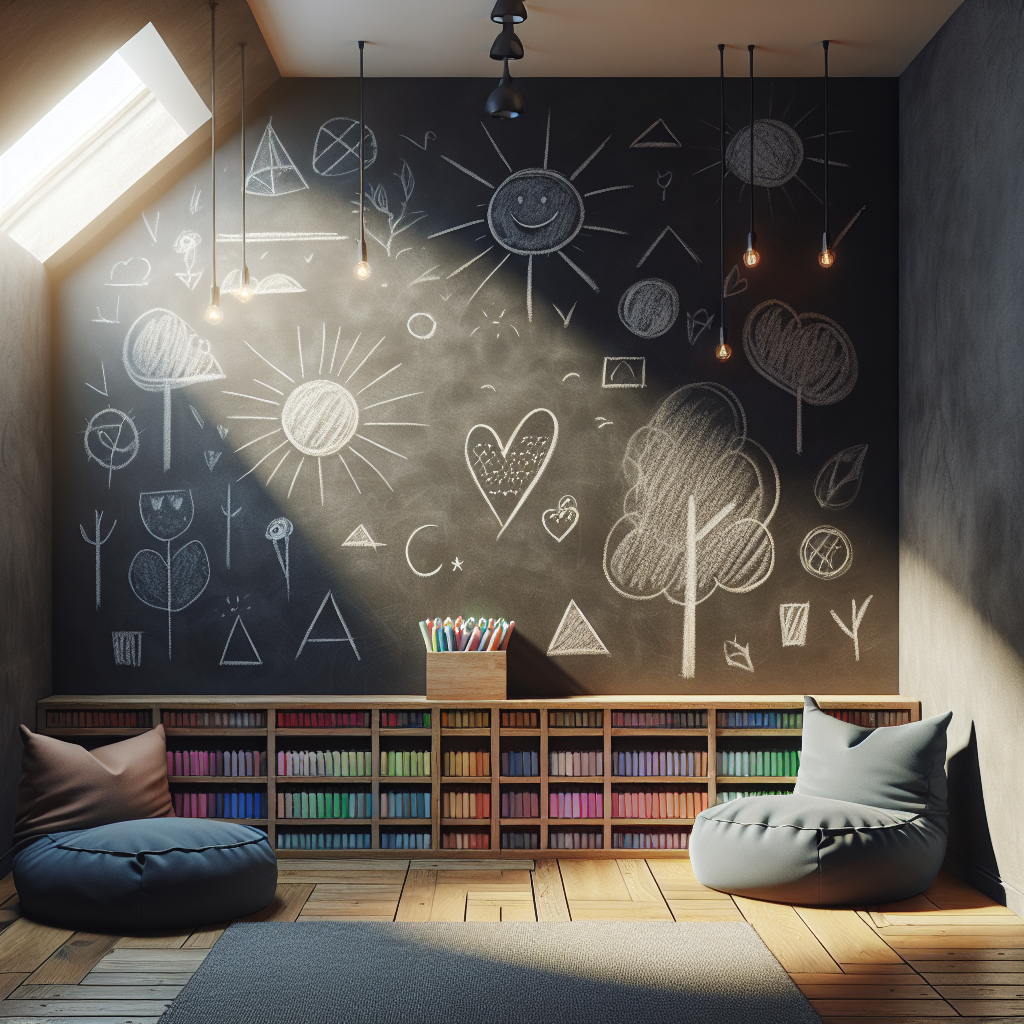
Step-by-Step Guide to Creating a Chalkboard Wall in Your Home
Creating a Chalkboard Wall for Creative Expressions
Are you looking for a unique and inspiring way to express your creativity at home? Look no further than a chalkboard wall! A chalkboard wall is not only a functional addition to your home, but it also serves as a blank canvas for your imagination to run wild. In this step-by-step guide, we will walk you through the process of creating a chalkboard wall in your own home, allowing you to unleash your inner artist and bring a touch of whimsy to any room.
Step 1: Choose the Perfect Location
The first step in creating a chalkboard wall is to choose the perfect location. Consider areas in your home that could benefit from a touch of creativity. Perhaps it’s a child’s playroom, a home office, or even a kitchen wall where you can jot down grocery lists and recipes. The possibilities are endless! Once you’ve chosen the location, make sure to measure the wall accurately to determine how much chalkboard paint you will need.
Step 2: Prepare the Surface
Before applying the chalkboard paint, it’s crucial to prepare the surface properly. Start by cleaning the wall thoroughly to remove any dirt or dust. Next, sand the wall lightly to create a smooth surface for the paint to adhere to. Once you’ve completed these steps, wipe the wall down with a damp cloth to remove any remaining debris. It’s essential to have a clean and smooth surface to ensure the best results.
Step 3: Apply the Chalkboard Paint
Now comes the fun part – applying the chalkboard paint! Begin by stirring the paint thoroughly to ensure an even consistency. Using a high-quality paintbrush or roller, start at the top of the wall and work your way down, applying a thin and even coat of paint. Allow the first coat to dry completely before applying a second coat. Depending on the brand of paint you choose, you may need to apply multiple coats to achieve the desired opacity. Be patient and let each coat dry thoroughly before moving on to the next.
Step 4: Season the Chalkboard
Once the final coat of paint has dried, it’s time to season the chalkboard. This step is crucial as it prevents ghosting – the faint remnants of previous drawings or writings. To season the chalkboard, take a piece of chalk and rub it vertically and horizontally across the entire surface. Then, using a dry cloth, wipe away the excess chalk. Your chalkboard is now ready for your creative expressions!
Step 5: Let Your Imagination Run Wild
Now that your chalkboard wall is complete, it’s time to let your imagination run wild! Grab a box of colorful chalk and let your creativity flow freely. Whether you want to create intricate drawings, write inspiring quotes, or simply doodle to your heart’s content, the chalkboard wall is your canvas. Don’t be afraid to experiment and have fun with it – after all, that’s what creativity is all about!
In conclusion, creating a chalkboard wall in your home is a fantastic way to unleash your creativity and add a touch of whimsy to any room. By following this step-by-step guide, you can transform a plain wall into a blank canvas for your imagination to thrive. So, go ahead and embark on this creative journey – your chalkboard wall awaits!


