Step-by-Step Guide to Creating a Colorful Mosaic Tile Tabletop
Creating a Colorful Mosaic Tile Tabletop
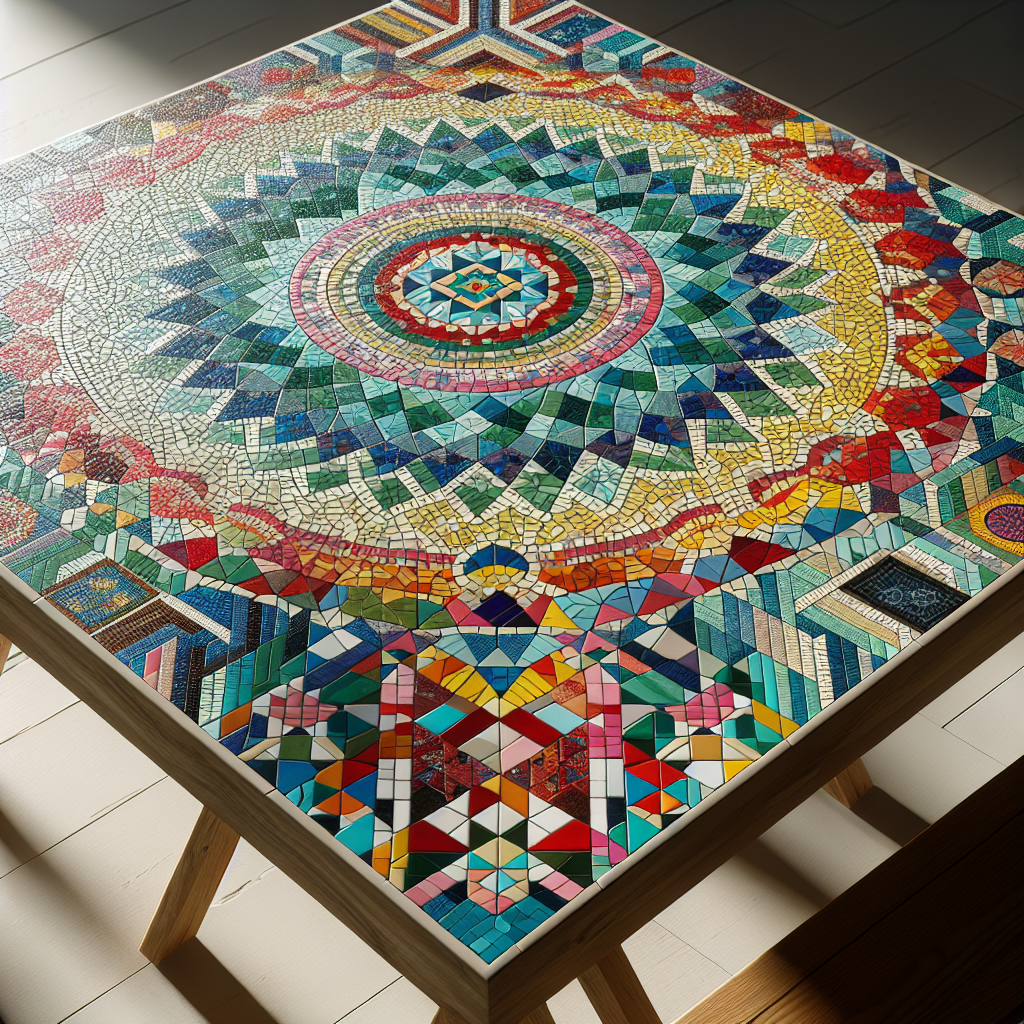
Are you looking to add a touch of color and creativity to your home decor? Why not try creating a colorful mosaic tile tabletop? This step-by-step guide will walk you through the process of designing and crafting your own unique mosaic masterpiece.
Step 1: Gather Your Materials
Before you begin, gather all the necessary materials for your project. You will need a wooden tabletop, mosaic tiles in various colors and sizes, tile adhesive, grout, a trowel, a sponge, and a tile cutter. Make sure to choose tiles that complement your existing decor and personal style.
Step 2: Design Your Pattern
Next, it’s time to unleash your creativity and design your mosaic pattern. You can opt for a simple geometric design or a more intricate pattern. Sketch out your design on a piece of paper or use a design software to visualize it. This step is crucial as it will guide you throughout the entire process.
Step 3: Prepare the Surface
Prepare the wooden tabletop by sanding it down to create a smooth and even surface. This will ensure that the tiles adhere properly. Once sanded, wipe away any dust or debris with a damp cloth.
Step 4: Apply the Adhesive
Using a trowel, apply a thin layer of tile adhesive to a small section of the tabletop. Start from the center and work your way outwards. The adhesive should be evenly spread and cover the entire area where you will be placing the tiles.
Step 5: Place the Tiles
Now comes the fun part – placing the tiles! Carefully press each tile into the adhesive, following your design pattern. Make sure to leave a small gap between each tile for the grout. Continue this process until the entire tabletop is covered with tiles.
Step 6: Cut Tiles to Fit
Inevitably, you will encounter areas where the tiles need to be cut to fit the design. Use a tile cutter to trim the tiles to the desired size and shape. Take your time and be precise to ensure a seamless fit.
Step 7: Let it Dry
Allow the adhesive to dry completely before moving on to the next step. This may take anywhere from 24 to 48 hours, depending on the type of adhesive used. Be patient – rushing this step could compromise the integrity of your mosaic.
Step 8: Apply the Grout
Once the adhesive is dry, it’s time to apply the grout. Mix the grout according to the manufacturer’s instructions and spread it over the tiles using a trowel. Make sure to fill in all the gaps between the tiles. Remove any excess grout with a damp sponge, being careful not to disturb the tiles.
Step 9: Clean and Polish
After the grout has dried for about 30 minutes, use a clean, damp sponge to gently wipe away any grout residue from the tiles. Once the grout is completely dry, polish the tiles with a soft cloth to reveal their vibrant colors and give your tabletop a glossy finish.
Step 10: Enjoy Your Masterpiece
Congratulations! You have successfully created a colorful mosaic tile tabletop. Place it in your desired location and enjoy the beauty and uniqueness it brings to your home. Admire your creativity and the sense of accomplishment that comes with completing a DIY project.
In conclusion, creating a colorful mosaic tile tabletop is a rewarding and inspiring project that allows you to showcase your artistic side. By following this step-by-step guide, you can transform a plain wooden tabletop into a stunning work of art that will be the centerpiece of any room. So, gather your materials, let your imagination run wild, and get ready to create a mosaic masterpiece that will leave your guests in awe.


