How to Build a Custom Kitchen Island Using Reclaimed Wood
Creating a Custom Kitchen Island with Reclaimed Wood
Are you looking to add a unique and eco-friendly touch to your kitchen? Building a custom kitchen island using reclaimed wood is a fantastic way to achieve both style and sustainability. Reclaimed wood not only adds character and warmth to your space but also helps reduce the demand for new timber, making it an environmentally conscious choice. In this article, we will guide you through the process of building your own custom kitchen island using reclaimed wood, allowing you to create a one-of-a-kind centerpiece for your kitchen.
First and foremost, it is essential to source the reclaimed wood for your project. There are various options available, including salvaged wood from old barns, factories, or even shipping pallets. The key is to find wood that is sturdy and in good condition, as it will serve as the foundation for your kitchen island. Local salvage yards, architectural salvage stores, and online marketplaces are excellent places to start your search. Remember, the beauty of reclaimed wood lies in its imperfections, so don’t be afraid to embrace knots, nail holes, and weathered textures.
Once you have acquired the reclaimed wood, it’s time to plan the design of your custom kitchen island. Consider the size and layout of your kitchen, as well as your specific needs and preferences. Do you want a large, multi-functional island with ample storage space, or a smaller, more minimalist design? Sketch out your ideas and measurements, taking into account the dimensions of the reclaimed wood you have obtained. This will help you visualize the final product and ensure that it fits seamlessly into your kitchen.
Next, it’s time to prepare the reclaimed wood for construction. Start by cleaning the wood thoroughly, removing any dirt, dust, or debris. Depending on the condition of the wood, you may need to sand it down to create a smooth surface. This step is crucial for ensuring that your custom kitchen island is both visually appealing and safe to use. Once the wood is clean and smooth, you can apply a protective finish, such as wax or oil, to enhance its natural beauty and durability.
Now comes the exciting part – assembling your custom kitchen island. Begin by constructing the base using the reclaimed wood. This can be done by cutting the wood to the desired size and attaching the pieces together using screws or nails. Reinforce the structure by adding additional supports or braces if necessary. Once the base is complete, you can attach the countertop, which can be made from a single large piece of reclaimed wood or multiple smaller pieces arranged in a pattern. Secure the countertop to the base using screws or adhesive, ensuring that it is level and stable.
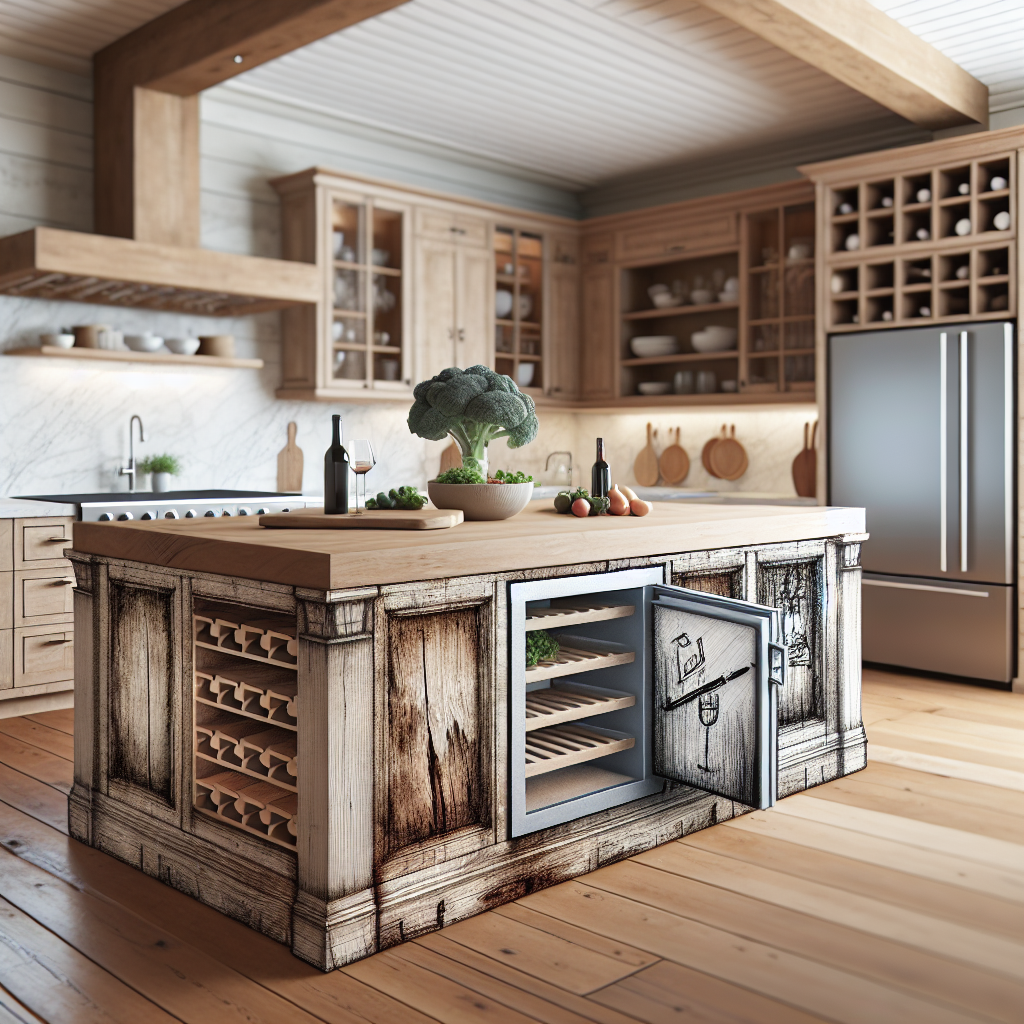
Finally, add the finishing touches to your custom kitchen island. Consider incorporating additional features such as shelves, drawers, or hooks for hanging utensils. These additions not only enhance the functionality of your island but also provide extra storage space. Don’t forget to sand and finish any exposed edges or surfaces to create a polished and cohesive look. Once you are satisfied with the final product, place your custom kitchen island in its designated spot and admire the beauty and craftsmanship of your creation.
Building a custom kitchen island using reclaimed wood is a rewarding and environmentally friendly project that allows you to showcase your creativity and craftsmanship. By repurposing old wood, you not only add a unique touch to your kitchen but also contribute to the preservation of our planet’s resources. So, roll up your sleeves, gather your tools, and embark on this inspiring journey of creating a custom kitchen island that will be the envy of all who enter your kitchen.


