DIY Guide: How to Create a Shabby Chic Jewelry Organizer
Creating a Shabby Chic Jewelry Organizer
Are you tired of your jewelry being tangled and disorganized? Do you long for a stylish and functional way to display your favorite pieces? Look no further! In this DIY guide, we will show you how to create a shabby chic jewelry organizer that will not only keep your accessories in order but also add a touch of vintage charm to your space.
To begin this project, gather the necessary materials. You will need a wooden frame, chicken wire, fabric, paint, sandpaper, a staple gun, and some decorative knobs or hooks. These items can be easily found at your local craft store or repurposed from old furniture.
Start by preparing the wooden frame. If you are using an old frame, give it a thorough cleaning and sand any rough edges. If you are starting from scratch, choose a frame that suits your style and desired size. Once the frame is ready, apply a coat of paint in your chosen color. Soft pastels or distressed white are popular choices for achieving the shabby chic look.
While the paint dries, cut a piece of chicken wire to fit the back of the frame. This will serve as the main organizer for your jewelry. Make sure to wear gloves while handling the wire to avoid any injuries. Once the wire is cut, attach it securely to the frame using a staple gun. Be sure to pull the wire taut to prevent sagging.
Next, it’s time to add a fabric backing to the frame. Choose a fabric that complements the color of your frame and adds a touch of elegance. Cut the fabric to fit the back of the frame, leaving a few inches of excess on each side. Using a staple gun, attach the fabric to the frame, pulling it tightly to create a smooth surface.
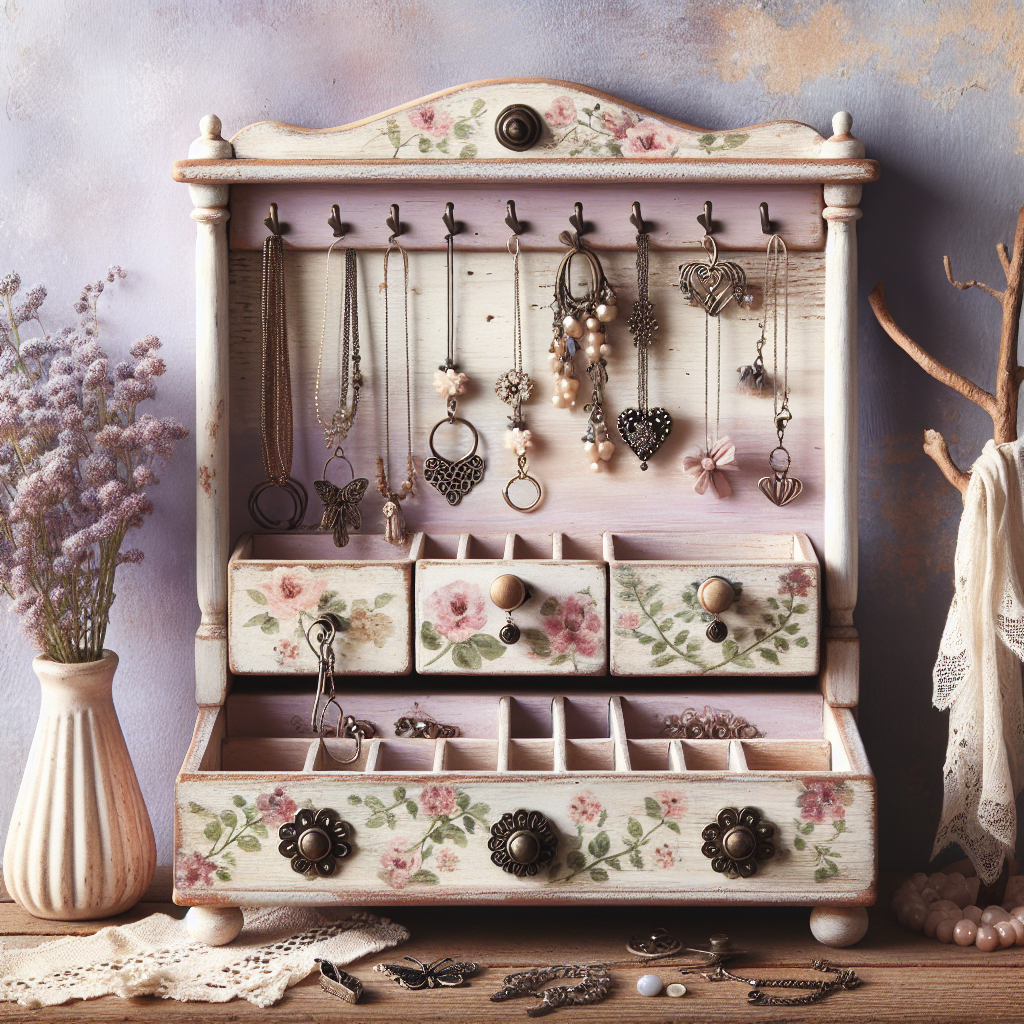
Now comes the fun part – adding the finishing touches! Attach decorative knobs or hooks to the bottom of the frame to hang necklaces and bracelets. Vintage-inspired knobs or ornate hooks will enhance the shabby chic aesthetic. You can also add a small shelf or tray at the bottom of the frame to hold rings and earrings.
Once all the elements are in place, step back and admire your handiwork. Your shabby chic jewelry organizer is now complete! Hang it on a wall or prop it up on a dresser, and watch as it transforms your space into a stylish and organized haven for your accessories.
Not only does this DIY project provide a practical solution for storing your jewelry, but it also allows you to unleash your creativity and personalize your organizer to suit your taste. Experiment with different paint colors, fabrics, and decorative elements to make it truly unique.
In conclusion, creating a shabby chic jewelry organizer is a fun and rewarding project that will not only keep your accessories organized but also add a touch of vintage charm to your space. By following these simple steps and using your imagination, you can create a beautiful and functional piece that reflects your personal style. So, gather your materials, roll up your sleeves, and get ready to enjoy a clutter-free and stylish jewelry collection!


