How to Create a DIY Chic Fabric Headboard for Your Bed
Are you looking to add a touch of elegance and style to your bedroom? A chic fabric headboard can be the perfect solution. Not only does it provide a focal point for your bed, but it also adds a cozy and luxurious feel to the room. The best part? You can easily create your own DIY fabric headboard with just a few simple steps.
First, you’ll need to gather your materials. Start by measuring the width of your bed to determine the size of your headboard. You’ll also need a piece of plywood that matches the width of your bed, some foam padding, fabric of your choice, a staple gun, and a few other basic tools.
Once you have all your materials ready, it’s time to get started. Begin by cutting the plywood to the desired size of your headboard. If you want a curved or shaped headboard, you can use a jigsaw to create the desired design. Sand the edges of the plywood to ensure a smooth finish.
Next, it’s time to add the foam padding. Cut the foam to match the size and shape of your plywood. You can use a spray adhesive to attach the foam to the plywood, making sure it is evenly distributed and firmly secured.
Now comes the fun part – choosing your fabric. Select a fabric that complements the overall style and color scheme of your bedroom. Whether you prefer a bold pattern or a soft neutral, the choice is yours. Lay the fabric flat on the floor, pattern side down, and place the foam-padded plywood on top.
Start by pulling the fabric tightly over one side of the plywood and staple it in place. Move to the opposite side and repeat, making sure to keep the fabric taut. Continue stapling the fabric along the remaining sides, working your way towards the corners. To create neat corners, fold the fabric in a diagonal manner and staple it securely.
Once the fabric is securely attached, trim any excess fabric using a pair of sharp scissors. Be careful not to cut too close to the staples, as this may cause the fabric to come loose.
With the fabric in place, it’s time to attach the headboard to your bed frame. Depending on the type of bed frame you have, you may need to use brackets or screws to secure the headboard. Follow the manufacturer’s instructions for your specific bed frame to ensure a secure and stable attachment.
Finally, step back and admire your handiwork. Your DIY chic fabric headboard is now complete, adding a touch of elegance and sophistication to your bedroom. Not only does it provide a comfortable and stylish backdrop for your bed, but it also showcases your creativity and personal style.
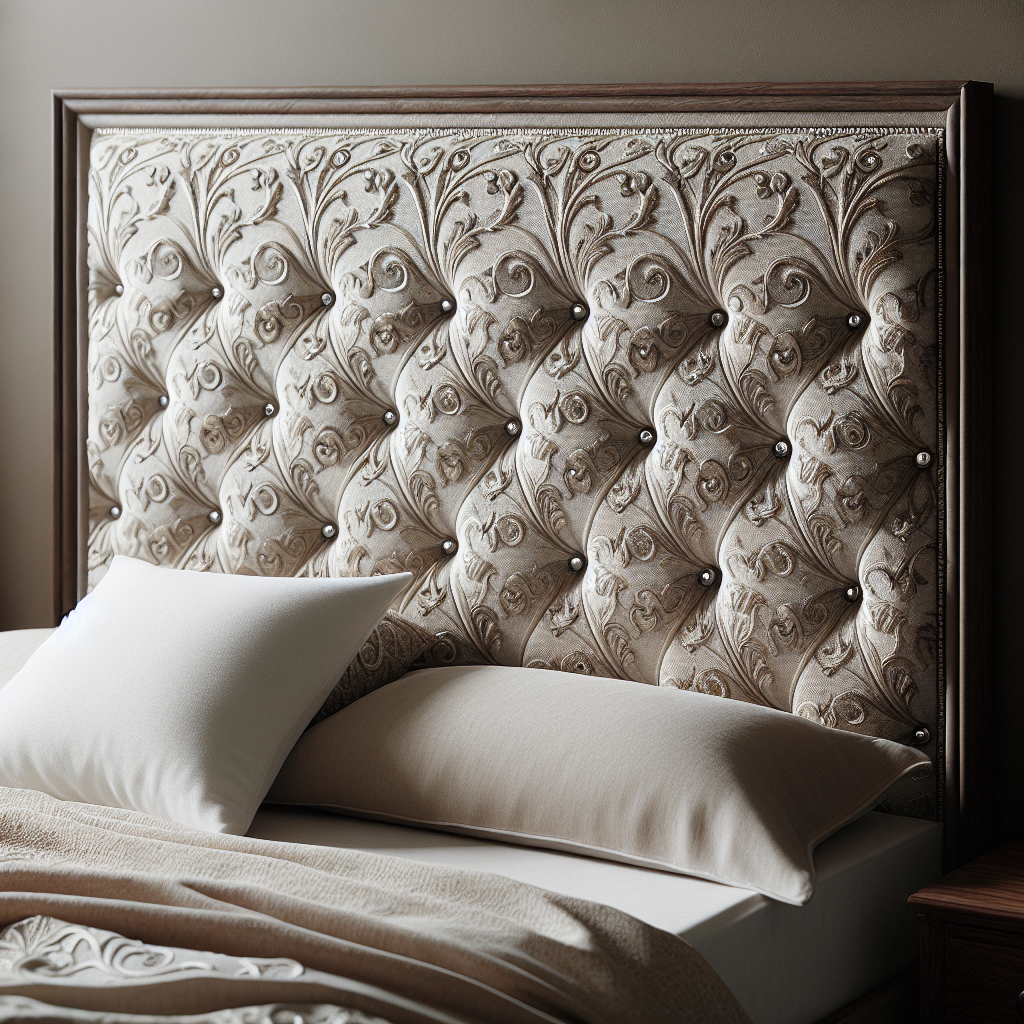
Creating your own fabric headboard is not only a cost-effective alternative to buying one, but it also allows you to customize it to your exact preferences. Whether you prefer a tufted design, decorative buttons, or even added embellishments, the possibilities are endless.
So why wait? Transform your bedroom into a cozy and chic sanctuary with a DIY fabric headboard. With just a few simple steps, you can create a stunning focal point that will make your bed the envy of all. Get creative, have fun, and enjoy the process of making your own unique headboard that reflects your personal style and taste.


