How to Achieve an Elegant Faux Wainscoting Design
Are you looking to add a touch of elegance and sophistication to your home? Look no further than faux wainscoting. This classic design element can transform any room into a timeless masterpiece. And the best part? You can achieve this look on your own with just a few simple steps. In this article, we will guide you through the process of creating DIY elegant faux wainscoting for a classic look.
First, let’s start with the basics. Wainscoting is a decorative wall treatment that typically covers the lower portion of a wall. Traditionally, it was made of wood and served as a protective barrier against damage. However, modern wainscoting can be made from a variety of materials, including MDF, PVC, and even wallpaper.
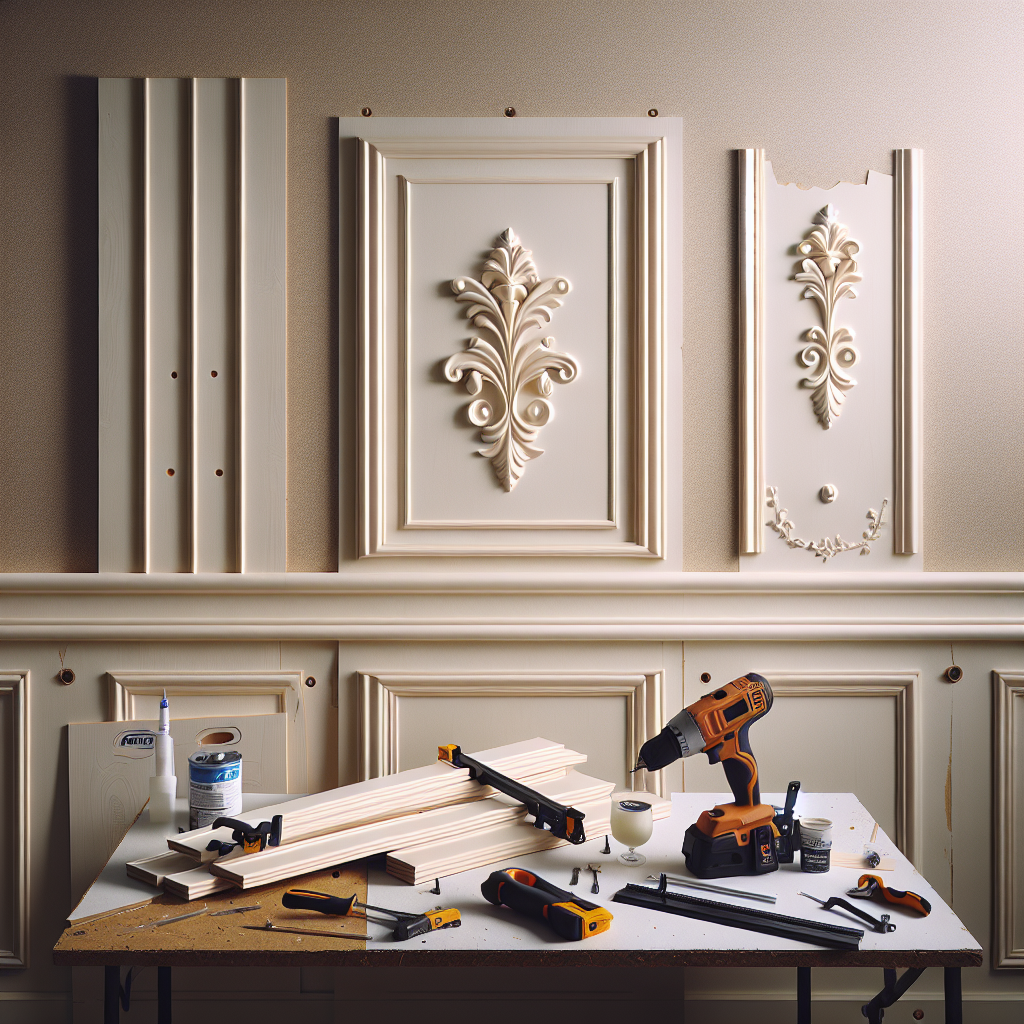
To begin your faux wainscoting project, you will need to gather a few essential tools and materials. These include a measuring tape, a level, a miter saw or a circular saw, a nail gun or a hammer, adhesive, and the wainscoting material of your choice. It’s important to measure the height and width of your walls accurately to ensure a precise fit.
Once you have your materials ready, it’s time to start the installation process. Begin by marking the desired height of your wainscoting on the wall using a level and a pencil. This will serve as a guide for the placement of your panels. Next, cut your wainscoting material to the appropriate size using a miter saw or a circular saw. Be sure to wear protective goggles and follow all safety precautions when using power tools.
After cutting your panels, it’s time to attach them to the wall. Apply adhesive to the back of each panel and press firmly against the wall, making sure they are level and aligned with your pencil marks. For added stability, you can also use a nail gun or a hammer to secure the panels in place. Repeat this process until all of your panels are installed.
Once your wainscoting is in place, it’s time to add the finishing touches. Fill any gaps or nail holes with wood filler and sand them down for a smooth surface. You can then paint or stain your wainscoting to match your desired color scheme. A fresh coat of paint can instantly elevate the look of your faux wainscoting and give it a polished finish.
Now that you have completed your DIY elegant faux wainscoting, take a step back and admire your handiwork. The classic design and timeless appeal of wainscoting will surely impress your guests and add a touch of sophistication to your home. Whether you choose to install it in your living room, dining room, or bedroom, faux wainscoting is a versatile design element that can enhance any space.
In conclusion, achieving an elegant faux wainscoting design is easier than you might think. With a few simple steps and some basic tools, you can transform your walls into a work of art. So why wait? Start your DIY wainscoting project today and enjoy the timeless beauty and charm it brings to your home.


