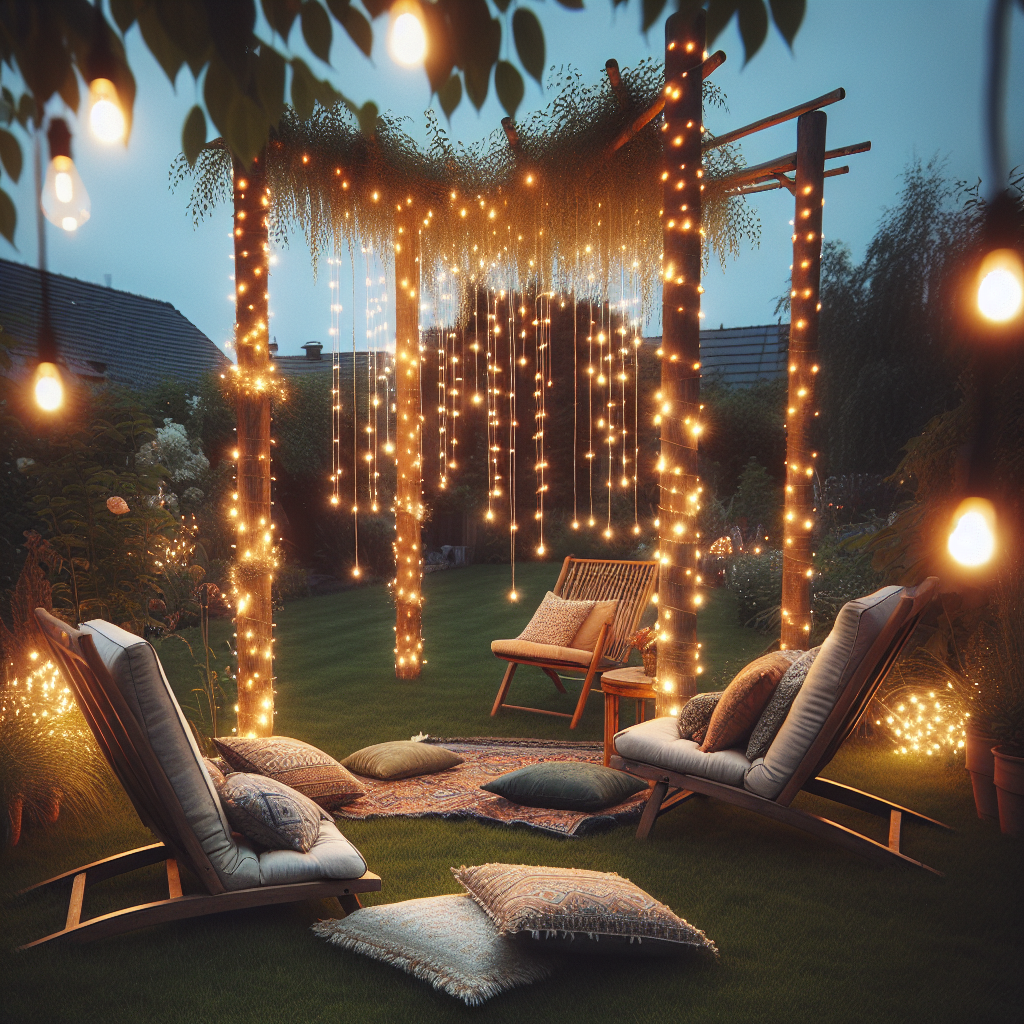
How to Make Your Own Outdoor String Light Poles
Are you looking to create a magical ambiance in your outdoor space? Look no further than DIY outdoor string light poles. These simple yet stunning additions can transform any backyard into a dreamy oasis, perfect for entertaining or simply enjoying a peaceful evening under the stars. In this article, we will guide you through the process of making your own outdoor string light poles, allowing you to add a touch of enchantment to your outdoor space.
Firstly, let’s gather the materials you will need for this project. You will require sturdy wooden poles, preferably around 8 feet in length, as well as metal brackets, screws, a drill, and a level. Additionally, you will need concrete mix, a bucket, and a shovel to secure the poles firmly into the ground. Once you have gathered all the necessary materials, it’s time to get started on creating your own outdoor string light poles.
Begin by selecting the perfect location for your poles. Consider the layout of your outdoor space and the areas you wish to illuminate. Once you have chosen the ideal spots, mark them with stakes or spray paint to ensure accuracy during the installation process. Next, dig holes that are approximately 2 feet deep and wide enough to accommodate the wooden poles. This will provide a stable foundation for your string light poles.
Now it’s time to mix the concrete. Follow the instructions on the concrete mix packaging, ensuring that you achieve the desired consistency. Once the concrete is ready, pour it into the holes, leaving a few inches at the top for soil or grass to cover. Place the wooden poles into the holes, making sure they are level and straight. Use a level to ensure accuracy, adjusting the poles as necessary. Allow the concrete to dry and set for at least 24 hours before proceeding to the next step.
Once the concrete has fully dried, it’s time to attach the metal brackets to the poles. These brackets will serve as the support for your string lights. Position the brackets at the desired height, ensuring they are evenly spaced along the length of the poles. Use screws to secure the brackets firmly in place, ensuring they are stable and able to withstand the weight of the string lights.
With the brackets securely attached, it’s time to hang the string lights. Begin by unraveling the lights and carefully draping them over the brackets. Take your time to arrange the lights in a way that creates a visually pleasing effect. You may choose to wrap the lights around the poles or create a zigzag pattern, depending on your personal preference. Once you are satisfied with the arrangement, plug in the lights and bask in the magical glow they create.
In conclusion, DIY outdoor string light poles are a fantastic way to add a touch of enchantment to your outdoor space. By following these simple steps, you can create your own magical evenings under the stars. Remember to choose the perfect location, secure the poles firmly into the ground, attach the metal brackets, and arrange the string lights in a visually pleasing manner. With a little creativity and effort, you can transform your backyard into a dreamy oasis that will leave your guests in awe. So go ahead, grab your tools, and let the magic begin!


