How to Create Stunning Pallet Wood Wall Art for Your Home
Are you looking to add a touch of rustic charm to your home decor? Look no further than DIY pallet wood wall art. Pallet wood is a versatile and affordable material that can be transformed into stunning pieces of art for your walls. In this article, we will guide you through the process of creating your own pallet wood wall art, from sourcing the pallets to adding the finishing touches.
The first step in creating your pallet wood wall art is to find the perfect pallets. You can often find pallets for free at local businesses or online classifieds. Look for pallets that are in good condition and made from solid wood. Avoid pallets that are broken or have been treated with chemicals, as these can be harmful to your health.
Once you have your pallets, it’s time to prepare them for your project. Start by removing any nails or staples from the pallets using a hammer or pry bar. This will ensure that your wood is clean and safe to work with. Next, give the pallets a good sanding to smooth out any rough edges or splinters. This step is crucial for achieving a polished and professional look.
Now that your pallets are prepped, it’s time to get creative. Decide on a design or pattern for your wall art. You can go for a simple geometric design, a nature-inspired motif, or even a personalized quote. Sketch out your design on paper before transferring it onto the pallet wood. This will help you visualize the final product and make any necessary adjustments.
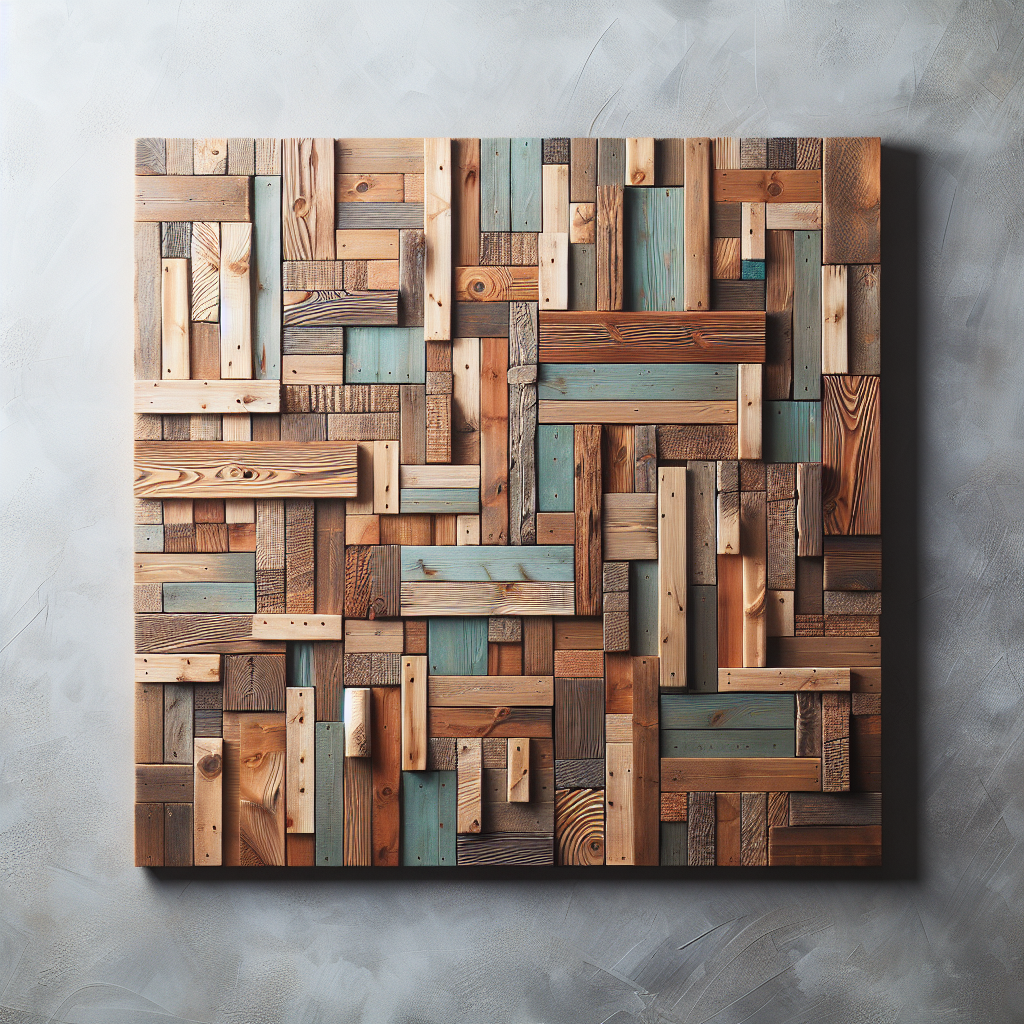
Once you have your design ready, it’s time to start cutting and arranging the pallet wood. Use a saw to cut the pallets into smaller pieces, depending on the size of your design. Lay out the pieces on a flat surface and experiment with different arrangements until you find the one that speaks to you. Remember, there are no rules when it comes to pallet wood wall art – let your creativity guide you.
Once you are satisfied with the arrangement, it’s time to secure the pieces together. Use wood glue or a nail gun to attach the pieces to a sturdy backing board. This will ensure that your wall art is durable and long-lasting. Allow the glue to dry completely before moving on to the next step.
Now comes the fun part – adding the finishing touches to your pallet wood wall art. You can choose to leave the wood in its natural state for a rustic look, or you can stain or paint it to match your existing decor. Consider adding a protective coat of varnish or sealant to preserve the wood and enhance its natural beauty.
Finally, it’s time to hang your masterpiece on the wall. Use a level and measuring tape to ensure that your wall art is straight and centered. Depending on the weight of your piece, you may need to use wall anchors or screws to secure it properly. Step back and admire your handiwork – you have just created a stunning piece of pallet wood wall art that will add character and warmth to your home.
In conclusion, DIY pallet wood wall art is a fantastic way to add a touch of rustic charm to your home decor. With a few simple steps and a little creativity, you can transform ordinary pallets into stunning pieces of art for your walls. So why wait? Start collecting pallets and let your imagination run wild. Your walls will thank you.


