How to Build a DIY Rustic Wood Beam Mantel
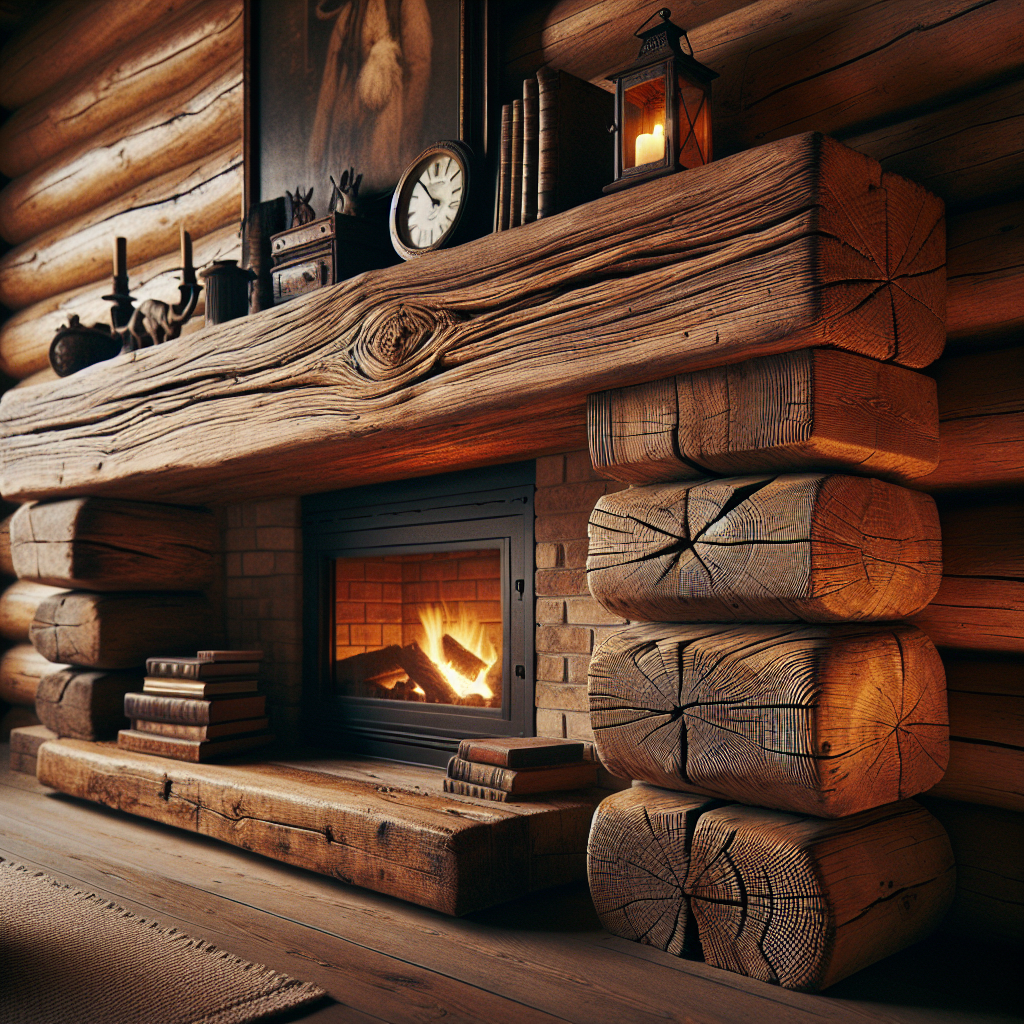
Are you looking to add a touch of rustic charm to your fireplace? A DIY rustic wood beam mantel might be just what you need. Not only does it provide a beautiful focal point for your living room, but it also adds a cozy and inviting atmosphere. Building your own mantel may seem like a daunting task, but with the right tools and a little bit of patience, you can create a stunning piece that will be the envy of all your friends.
The first step in building your DIY rustic wood beam mantel is to gather all the necessary materials. You will need a solid wood beam, preferably reclaimed or salvaged, as this will give your mantel an authentic rustic look. You will also need a saw, a drill, screws, and a level. Additionally, you may want to consider adding decorative elements such as corbels or metal brackets to enhance the overall aesthetic.
Once you have all your materials ready, it’s time to start building. Begin by measuring the length of your fireplace and determining the desired width of your mantel. Mark these measurements on your wood beam and use a saw to cut it to size. Make sure to wear protective goggles and gloves while cutting the wood to ensure your safety.
Next, it’s time to attach the mantel to the wall. Use a level to ensure that the mantel is straight and mark the desired height on the wall. Drill pilot holes into the wall studs and then attach the mantel using screws. Make sure to use a level again to double-check that the mantel is perfectly straight.
To add a touch of elegance to your DIY rustic wood beam mantel, consider adding decorative elements such as corbels or metal brackets. These can be attached to the underside of the mantel using screws or brackets. Not only do these elements add visual interest, but they also provide additional support for the mantel.
Once your mantel is securely attached to the wall, it’s time to add the finishing touches. Sand the wood beam to smooth out any rough edges and then apply a coat of stain or paint to enhance the natural beauty of the wood. You can choose a stain or paint color that complements the existing decor in your living room.
Finally, step back and admire your handiwork. Your DIY rustic wood beam mantel is now complete and ready to be enjoyed. Arrange your favorite decorative items such as candles, vases, or picture frames on the mantel to personalize the space and make it truly your own.
Building a DIY rustic wood beam mantel may require some time and effort, but the end result is well worth it. Not only will you have a beautiful and unique focal point for your living room, but you will also have the satisfaction of knowing that you created it with your own two hands. So go ahead, grab your tools, and get started on building your own rustic wood beam mantel today.


