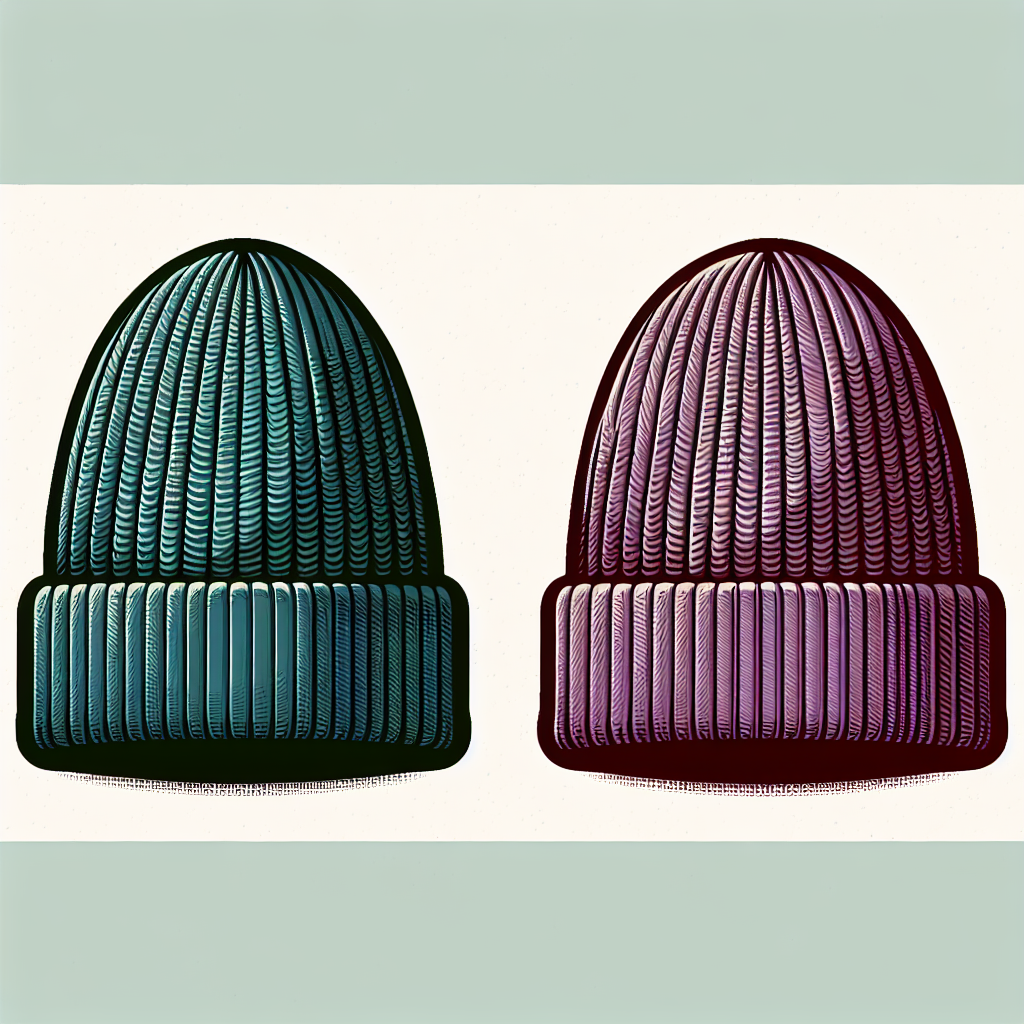
Ribbed Beanies: Simple and Stylish
Beanies are a timeless accessory that not only keep you warm but also add a touch of style to your outfit. Among the various types of beanies, ribbed beanies stand out for their simplicity and versatility. Whether you prefer a basic 2×2 ribbing or a double-layered style, ribbed beanies are a great project for any DIY enthusiast. In this article, we will guide you through the process of making your own ribbed beanie, providing step-by-step instructions and valuable insights along the way.
Materials Needed
Before we dive into the process, let’s gather all the materials you’ll need to complete this project:
- Worsted weight yarn (choose a color of your preference)
- Size 8 (5mm) circular knitting needles
- Set of size 8 (5mm) double-pointed knitting needles
- Tapestry needle
- Stitch marker
- Scissors
Step 1: Casting On
The first step in creating your ribbed beanie is to cast on the required number of stitches. For a standard adult-sized beanie, we recommend casting on 88 stitches using the long-tail cast-on method. This will ensure a snug fit without being too tight.
Once you have cast on your stitches, join them in the round by carefully placing a stitch marker to mark the beginning of your round. This will help you keep track of your progress as you work.
Step 2: Ribbing
Now that your stitches are joined in the round, it’s time to start the ribbing pattern. The most common ribbing pattern for beanies is the 2×2 rib, which alternates between knit and purl stitches. Follow these steps to create the ribbing:
- Knit 2 stitches
- Purl 2 stitches
- Repeat steps 1 and 2 until the end of the round
Continue working the 2×2 ribbing pattern for approximately 2 inches. This will create a stretchy and textured band at the bottom of your beanie.
Step 3: Body of the Beanie
Once you have completed the ribbing, it’s time to move on to the body of the beanie. In this step, you will continue knitting in the round using the knit stitch until your beanie reaches the desired length.
For a standard adult-sized beanie, we recommend knitting for approximately 6-7 inches from the ribbing. However, feel free to adjust the length according to your personal preference.
Step 4: Decreasing
Now that you have reached the desired length for your beanie, it’s time to start decreasing to create the crown. Follow these steps to decrease your stitches:
- Knit 6 stitches
- Knit 2 stitches together
- Repeat steps 1 and 2 until the end of the round
After completing the first round of decreases, knit one round without any decreases. Repeat these two rounds until you have a small number of stitches left on your needles.
Once you have a few stitches remaining, cut the yarn, leaving a long tail. Thread the tail through a tapestry needle and slide the needle through the remaining stitches, removing them from the knitting needles. Pull tight to close the top of the beanie.
Step 5: Finishing Touches
With the main part of your beanie complete, it’s time to add the finishing touches. Start by weaving in any loose ends using a tapestry needle to ensure a neat and polished look.
If you prefer a double-layered style, you can create a lining for your beanie by repeating the entire process with a contrasting color of yarn. Once both layers are complete, sew the cast-on edges together using the tapestry needle, making sure to align the stitches.
Step 6: Enjoy Your Ribbed Beanie
Congratulations! You have successfully completed your ribbed beanie. Put it on and admire your handiwork. The ribbed texture adds a touch of elegance to this simple accessory, making it a versatile addition to your wardrobe.
Whether you choose to wear it slouchy or folded up, your ribbed beanie is sure to keep you warm and stylish during the colder months. Experiment with different colors and yarn types to create a collection of beanies that suit your personal style.
Conclusion
Ribbed beanies are a classic accessory that never goes out of style. By following the step-by-step instructions provided in this article, you can create your own ribbed beanie with ease. Remember to gather all the necessary materials, cast on the required number of stitches, and follow the ribbing pattern before moving on to the body of the beanie. Once you have completed the desired length, decrease the stitches to create the crown and finish off your beanie with any additional touches you prefer.
Now that you have the knowledge and skills to make your own ribbed beanie, it’s time to get started. Grab your knitting needles, choose your favorite yarn, and embark on this enjoyable DIY project. Before you know it, you’ll have a collection of stylish and cozy beanies to wear or gift to your loved ones.


