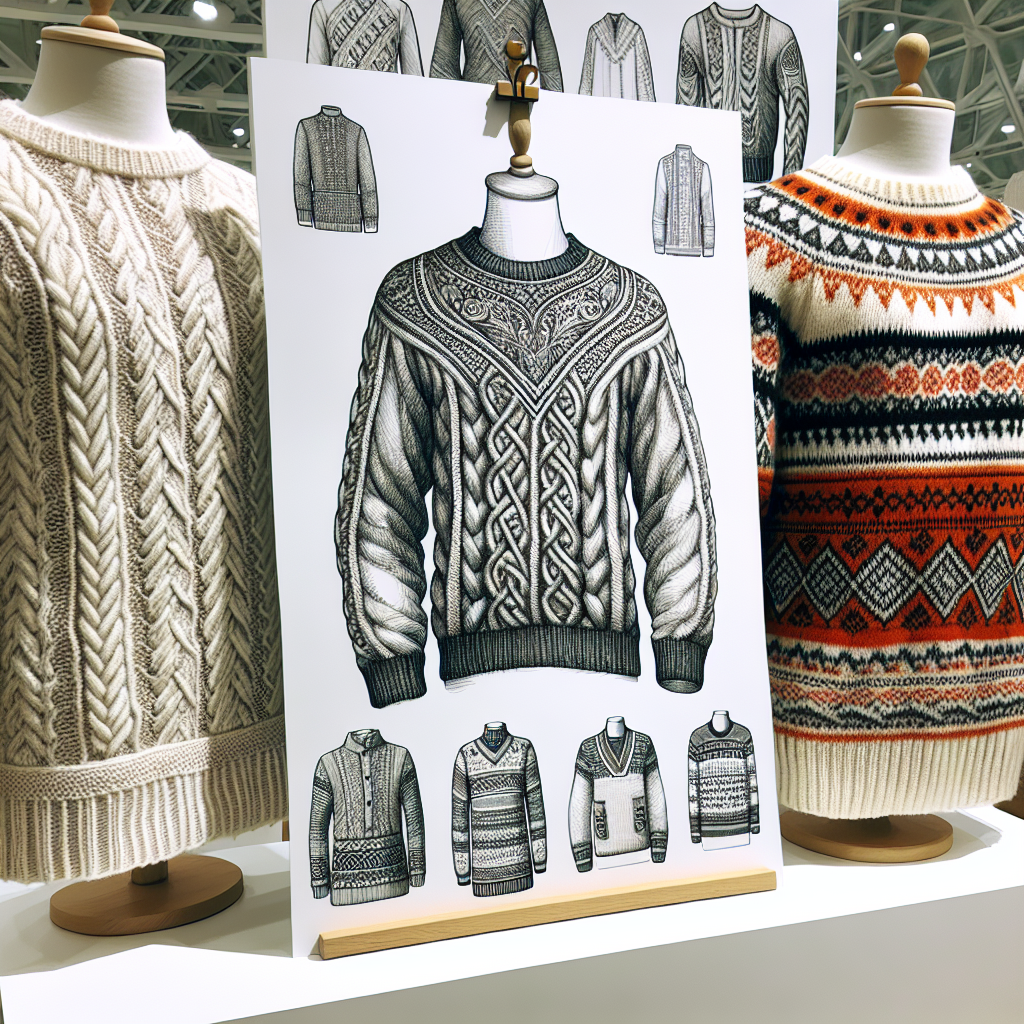
Traditional Sweater Designs: Classic Designs That Are Making a Comeback
Traditional sweater designs have stood the test of time, and it’s no wonder they are making a comeback in the world of fashion. Classic styles like Guernsey/Gansey-style garments and Norwegian fisherman’s sweaters exude timeless elegance and provide warmth and comfort like no other. In this comprehensive guide, we will delve into the intricacies of these traditional sweater designs and provide step-by-step instructions on how to create your very own masterpiece. So, grab your knitting needles and let’s get started!
Materials Needed
Before we dive into the knitting process, let’s gather all the materials you’ll need to complete this project:
- High-quality yarn in your preferred color(s)
- Knitting needles (size will depend on your yarn choice)
- Tape measure
- Stitch markers
- Yarn needle
- Scissors
- Pattern guide or chart (optional)
Step 1: Choosing the Right Yarn
The first step in creating a traditional sweater is selecting the perfect yarn. For a Guernsey/Gansey-style garment, opt for a sturdy, worsted weight yarn that will provide excellent stitch definition. Traditional materials like wool or cotton are ideal choices. If you’re going for a Norwegian fisherman’s sweater, consider using a chunky, woolen yarn for extra warmth.
Remember to take into account the color(s) you want to incorporate into your design. Traditional Guernsey/Gansey-style garments often feature a single color, while Norwegian fisherman’s sweaters can showcase intricate colorwork patterns.
Step 2: Taking Accurate Measurements
Before you start knitting, it’s crucial to take accurate measurements to ensure a perfect fit. Use a tape measure to measure your chest, waist, and arm length. Additionally, measure the length from your shoulder to your desired sweater length. These measurements will serve as a guide when following the pattern.
Step 3: Choosing a Pattern
While it’s possible to create a traditional sweater design without a pattern, it’s highly recommended, especially for beginners, to use a pattern or chart as a guide. Patterns provide detailed instructions and help you visualize the final product.
There are numerous resources available online and in knitting books that offer a wide range of traditional sweater patterns. Look for patterns that specifically mention Guernsey/Gansey-style garments or Norwegian fisherman’s sweaters. Choose a pattern that matches your skill level and desired design complexity.
Step 4: Casting On
Now that you have your yarn, measurements, and pattern ready, it’s time to cast on and start knitting! Follow these steps to cast on your stitches:
- Hold the knitting needle in your dominant hand and leave a long tail of yarn.
- Create a slipknot by making a loop with the yarn, passing the end through the loop, and pulling it tight.
- Hold the slipknot on the needle with your thumb and index finger.
- Insert the needle into the slipknot loop from front to back.
- With your other hand, bring the yarn over the needle, creating a new loop.
- Pull the new loop through the slipknot loop, creating a stitch on the needle.
- Repeat steps 4-6 until you have the required number of stitches according to your pattern.
Step 5: Knitting the Body
With your stitches cast on, it’s time to start knitting the body of your sweater. Follow the pattern instructions for the specific stitch pattern and design elements you’ve chosen. Here are some general tips:
- Use stitch markers to mark any specific sections or pattern repeats.
- Pay attention to the pattern’s instructions for shaping the neckline, armholes, and waist.
- Regularly check your gauge to ensure your knitting matches the pattern’s measurements.
- Take breaks and stretch your hands and fingers to avoid fatigue.
Step 6: Knitting the Sleeves
Once you’ve completed the body of your sweater, it’s time to move on to the sleeves. Follow these steps:
- Transfer the required number of stitches for each sleeve onto separate needles.
- Join a new ball of yarn if necessary.
- Follow the pattern instructions for knitting the sleeves, including any shaping or colorwork.
- Pay attention to the sleeve length and adjust accordingly based on your measurements.
Step 7: Finishing Touches
With the body and sleeves knitted, it’s time to add the finishing touches to your traditional sweater. Follow these steps:
- Weave in any loose ends using a yarn needle.
- Block your sweater by gently washing it and laying it flat to dry. This will help even out the stitches and give your sweater a polished look.
- Add any desired embellishments, such as buttons or a decorative collar.
- Try on your sweater and make any necessary adjustments for the perfect fit.
Step 8: Admire Your Handiwork
Congratulations! You’ve successfully created your very own traditional sweater. Take a moment to admire your handiwork and revel in the satisfaction of completing such a timeless project.
Now, it’s time to show off your creation to the world. Pair your traditional sweater with jeans for a casual look or dress it up with a skirt for a more sophisticated ensemble. No matter how you choose to style it, your sweater is sure to turn heads and spark conversations about the beauty of traditional designs.
Conclusion
Traditional sweater designs like Guernsey/Gansey-style garments and Norwegian fisherman’s sweaters are experiencing a resurgence in popularity for good reason. Their classic appeal, intricate patterns, and cozy warmth make them a must-have addition to any wardrobe.
By following the step-by-step instructions in this guide, you can create your very own traditional sweater masterpiece. Remember to choose the right yarn, take accurate measurements, select a pattern, and follow the knitting process with care. With patience and dedication, you’ll soon be sporting a stunning sweater that showcases your knitting skills and love for timeless fashion.


