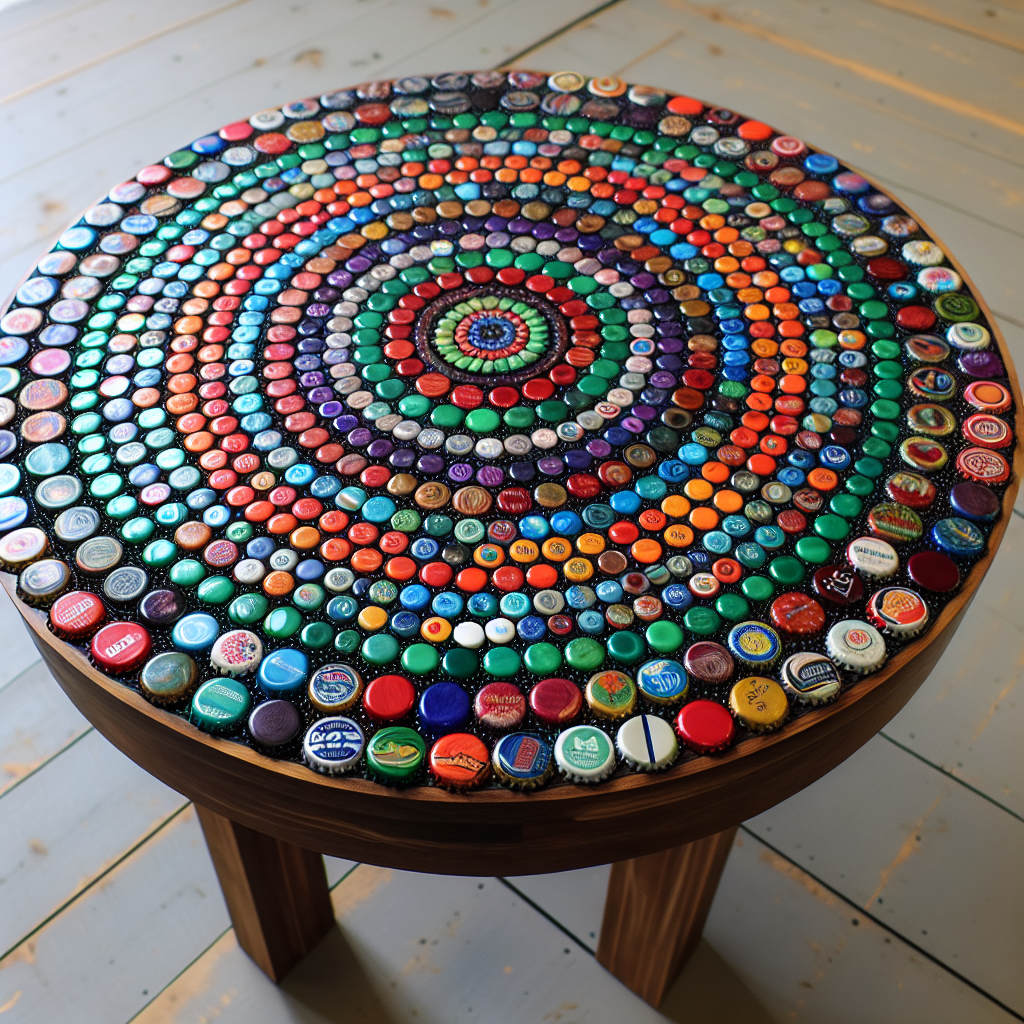
How to Create an Upcycled Bottle Cap Mosaic Table
Are you looking for a creative and eco-friendly way to spruce up your living space? Look no further than an upcycled bottle cap mosaic table. This unique and eye-catching piece of furniture not only adds a touch of personality to any room, but it also helps reduce waste by repurposing materials that would otherwise end up in a landfill. In this article, we will guide you through the process of creating your very own upcycled bottle cap mosaic table.
First and foremost, you will need to gather the necessary materials. Start by collecting a variety of bottle caps in different colors and sizes. You can ask friends and family to save their bottle caps for you or visit local bars and restaurants that may be willing to donate them. Next, you will need a sturdy table base. This can be an old table that you no longer use or a second-hand find from a thrift store. Make sure the table is clean and free from any debris before you begin.
Once you have all your materials ready, it’s time to start the creative process. Begin by arranging the bottle caps on the table in a pattern or design of your choice. This is where your imagination can truly shine. You can create a mosaic of flowers, geometric shapes, or even a landscape scene. The possibilities are endless. Take your time with this step, as it will determine the overall look of your table.
Once you are satisfied with the arrangement, it’s time to secure the bottle caps to the table. You can use a strong adhesive, such as epoxy resin or industrial-strength glue, to ensure that the caps stay in place. Apply the adhesive to the back of each cap and press firmly onto the table. Be sure to follow the manufacturer’s instructions for the adhesive you choose, as drying times may vary.
After all the bottle caps are securely attached, allow the table to dry completely. This may take several hours or even overnight, depending on the adhesive used. Once the table is dry, you can add a protective sealant to ensure the longevity of your creation. A clear epoxy resin or polyurethane coating works well for this purpose. Apply the sealant according to the manufacturer’s instructions and allow it to dry completely before using the table.
Now that your upcycled bottle cap mosaic table is complete, it’s time to find the perfect spot for it in your home. Whether it’s in the living room, dining room, or even on the patio, this unique piece of furniture is sure to be a conversation starter. Not only does it add a pop of color and personality to your space, but it also serves as a reminder of the importance of repurposing and reducing waste.
In conclusion, creating an upcycled bottle cap mosaic table is a fun and rewarding DIY project that allows you to unleash your creativity while also making a positive impact on the environment. By repurposing materials that would otherwise be discarded, you are not only reducing waste but also adding a unique and personalized touch to your living space. So why not give it a try? Gather your bottle caps, find a table base, and let your imagination run wild. The end result will be a one-of-a-kind piece of furniture that you can be proud of.


