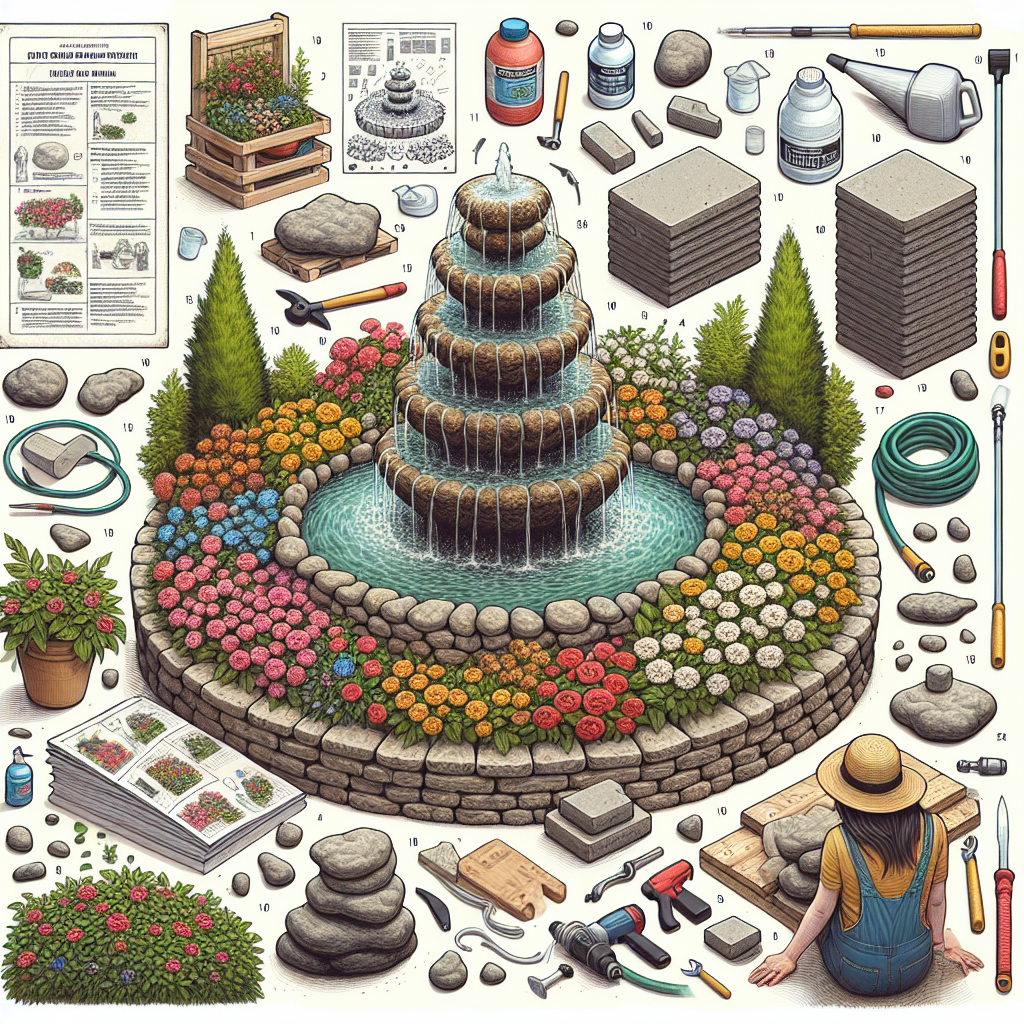
DIY Garden Fountain: An Easy Weekend Project
Are you looking to add a touch of elegance and tranquility to your garden? A garden fountain is the perfect addition to create a peaceful and serene atmosphere. Not only does it provide a soothing sound of flowing water, but it also adds visual appeal to your outdoor space. In this step-by-step guide, we will show you how to create your very own DIY garden fountain. With just a few materials and a couple of hours, you can transform your garden into a relaxing oasis.
Materials Needed
- Large planter or basin
- Water pump
- Flexible tubing
- Decorative stones or pebbles
- Waterproof sealant
- Drill
- Marker
- Level
- Measuring tape
- Scissors
Step 1: Choose the Perfect Location
The first step in creating your DIY garden fountain is to choose the perfect location. Look for an area in your garden that is level and easily accessible. Consider the size of your fountain and make sure it fits well in the chosen spot. Keep in mind that you will need access to a power source for the water pump.
Step 2: Select the Right Planter or Basin
Next, you’ll need to select a large planter or basin that will serve as the base of your garden fountain. Choose a material that is durable and weather-resistant, such as ceramic or stone. Make sure the planter or basin has a drainage hole at the bottom to allow water to flow freely.
Step 3: Mark and Drill the Hole
Using a marker, mark the location where the water will flow out of the planter or basin. This is where you will drill a hole for the tubing. Use a drill with a bit that is slightly smaller than the diameter of the tubing. Carefully drill the hole, making sure to keep the drill straight and steady.
Step 4: Attach the Tubing
Measure the distance from the hole in the planter or basin to the water pump. Cut a piece of flexible tubing to this length using scissors. Attach one end of the tubing to the hole in the planter or basin, ensuring a tight fit. Attach the other end of the tubing to the water pump.
Step 5: Secure the Water Pump
Place the water pump inside the planter or basin, making sure it is positioned securely. Use decorative stones or pebbles to hold the pump in place and create a visually appealing display. Make sure the pump is fully submerged in water to prevent damage.
Step 6: Add Water and Test
Fill the planter or basin with water, making sure to cover the water pump completely. Plug in the pump and test the flow of water. Adjust the flow rate if necessary by adjusting the settings on the pump. Listen to the sound of the flowing water and make sure it is to your liking.
Step 7: Seal the Gaps
Once you are satisfied with the placement and flow of water, use waterproof sealant to seal any gaps or holes in the planter or basin. This will prevent any leaks and ensure that your garden fountain functions properly.
Step 8: Add the Finishing Touches
Finally, add the finishing touches to your DIY garden fountain. Arrange decorative stones or pebbles around the base of the fountain to create a natural and polished look. You can also add plants or flowers around the fountain to enhance its beauty and blend it seamlessly into your garden.
Estimated Time and Final Thoughts
Creating your own DIY garden fountain is a fun and rewarding project that can be completed in just a weekend. The estimated time for this project is approximately 2-3 hours, depending on your level of experience and the size of your fountain. Remember to take your time and follow the instructions carefully to ensure the best results.
Once your DIY garden fountain is complete, sit back, relax, and enjoy the peaceful ambiance it brings to your outdoor space. The sound of flowing water and the beauty of the fountain will surely impress your friends and family. So why wait? Start your weekend project today and transform your garden into a tranquil oasis.


