DIY Garden Pond: A Complete Guide
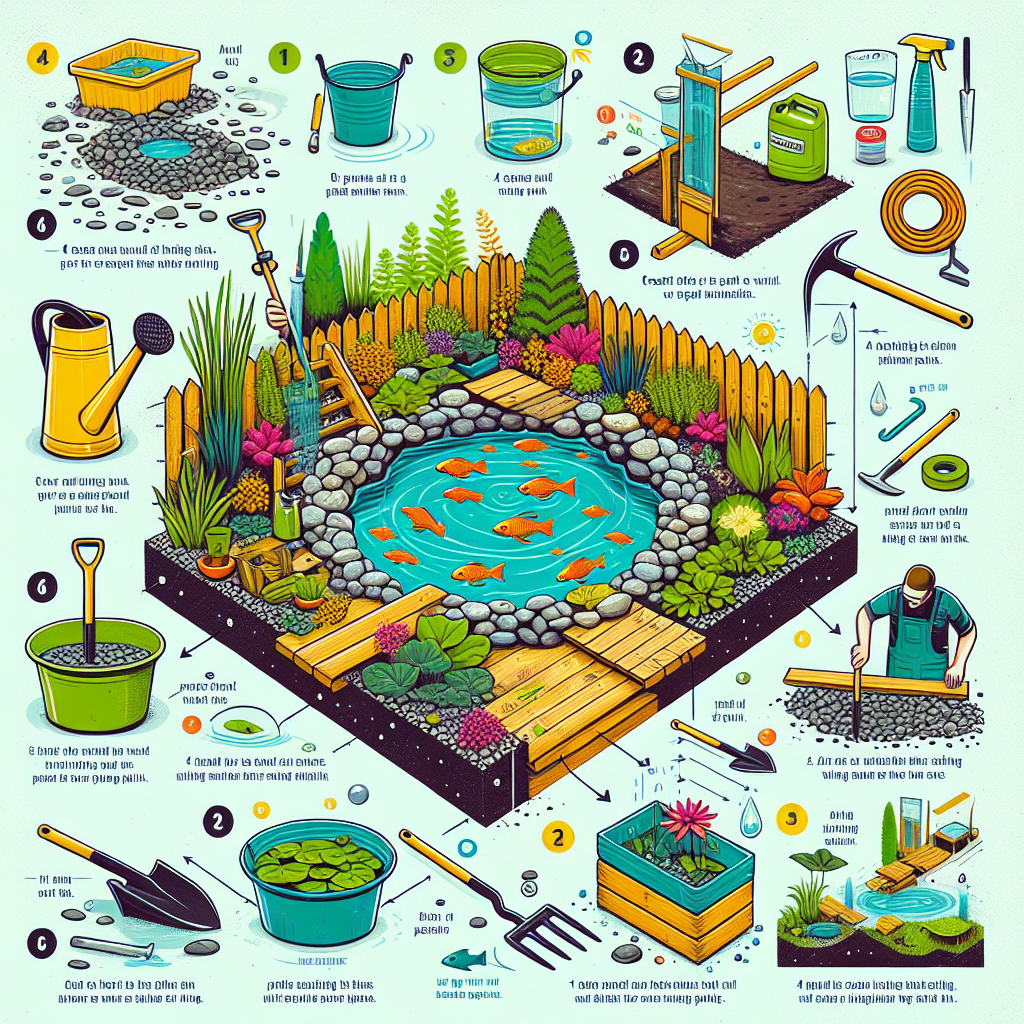
Creating a beautiful garden pond can transform your outdoor space into a tranquil oasis. Whether you’re a seasoned DIY enthusiast or a beginner looking to take on a new project, this complete guide will provide you with all the information you need to create your own stunning garden pond. From planning and design to construction and maintenance, we’ll walk you through each step of the process. So grab your tools and let’s get started!
Step 1: Planning and Design
Before you begin digging, it’s important to carefully plan and design your garden pond. Consider the following factors:
- Location: Choose a spot in your garden that receives a good amount of sunlight but is also partially shaded to prevent excessive algae growth.
- Size and Shape: Determine the size and shape of your pond based on the available space and your personal preferences. Keep in mind that larger ponds require more maintenance.
- Depth: Decide on the depth of your pond, keeping in mind the needs of the plants and fish you plan to include.
- Materials: Research different pond liner options and choose one that suits your budget and preferences.
Once you have a clear plan in mind, it’s time to move on to the next step.
Step 2: Gathering Materials
Now that you have a design in place, it’s time to gather all the necessary materials for your DIY garden pond. Here’s a list of items you’ll need:
- Pond liner
- Shovel or excavator
- Sand or underlay material
- Rocks or stones
- Water pump and filter
- Aquatic plants
- Fish (optional)
- Decorative elements (optional)
Make sure to gather all the materials before you start digging to avoid any delays in the construction process.
Step 3: Digging the Pond
Now it’s time to get your hands dirty and start digging your garden pond. Follow these steps:
- Mark the outline of your pond using stakes and string.
- Start digging from the center and work your way outwards, gradually creating the desired shape and depth.
- Remove any rocks, roots, or debris from the excavation area.
- Smooth out the bottom of the pond using a shovel or rake.
Take your time during this step to ensure that the pond is properly shaped and leveled.
Step 4: Installing the Pond Liner
Once the excavation is complete, it’s time to install the pond liner. Follow these instructions:
- Spread a layer of sand or underlay material at the bottom of the pond to protect the liner.
- Unroll the pond liner and carefully place it inside the excavation, ensuring that it covers the entire area.
- Smooth out any wrinkles or folds in the liner to create a seamless surface.
- Secure the edges of the liner using rocks or stones to prevent it from shifting.
Make sure the liner is properly positioned and secured before moving on to the next step.
Step 5: Adding Water and Decorations
Now that the pond liner is in place, it’s time to add water and start bringing your garden pond to life. Follow these steps:
- Fill the pond with water, ensuring that it reaches the desired depth.
- Install a water pump and filter to keep the water clean and circulating.
- Add aquatic plants to provide oxygen and create a natural habitat for fish.
- If desired, add fish and other aquatic creatures to enhance the ecosystem of your pond.
- Consider adding decorative elements such as rocks, statues, or a fountain to enhance the visual appeal of your pond.
Take your time during this step to create a visually stunning and functional garden pond.
Step 6: Maintenance and Care
Once your garden pond is complete, it’s important to maintain and care for it to ensure its longevity. Follow these maintenance tips:
- Regularly check the water quality and pH levels to ensure a healthy environment for plants and fish.
- Remove any debris or fallen leaves from the surface of the pond using a net or skimmer.
- Trim and prune aquatic plants to prevent overgrowth and maintain a balanced ecosystem.
- Clean the water pump and filter regularly to prevent clogging and ensure proper circulation.
- Monitor the health of fish and other aquatic creatures, and provide appropriate food and care.
By following these maintenance practices, you can enjoy a thriving and beautiful garden pond for years to come.
Conclusion
Creating a DIY garden pond is a rewarding project that can add beauty and serenity to your outdoor space. By following the steps outlined in this complete guide, you’ll be able to design, construct, and maintain your own stunning garden pond. Remember to plan and gather all the necessary materials, carefully dig and install the pond liner, and add water, plants, and decorations to bring your pond to life. With regular maintenance and care, your garden pond will become a peaceful retreat for both you and nature.


