Easy DIY Birdhouses and Feeders
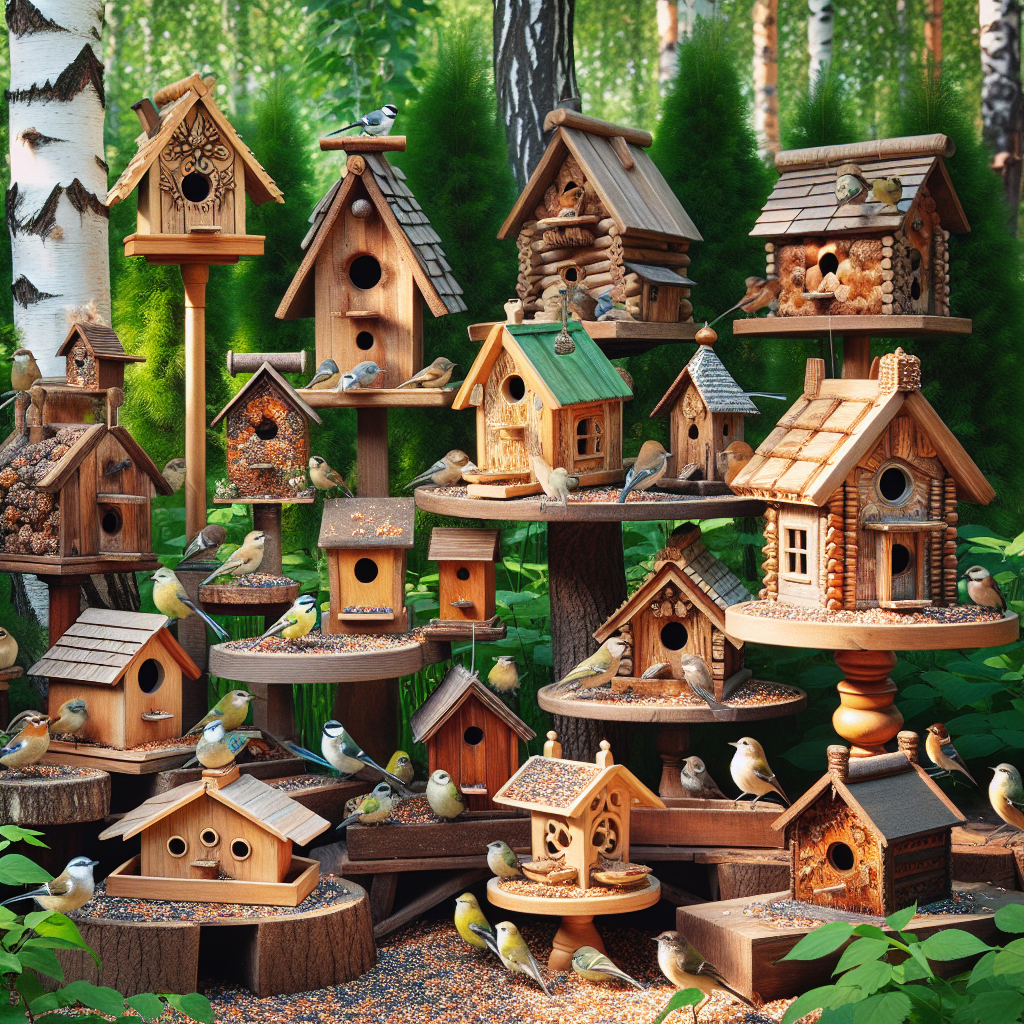
Welcome to this comprehensive guide on how to create your own birdhouses and feeders! In this article, we will provide you with step-by-step instructions, detailed insights, and inspiring images to help you complete this fun and rewarding project. By the end, you’ll have beautiful birdhouses and feeders that will attract a variety of feathered friends to your garden.
Materials Needed
Before we dive into the instructions, let’s gather all the materials you’ll need for this project:
- Wooden boards (preferably untreated cedar or pine)
- Screws or nails
- Drill
- Saw
- Measuring tape
- Sandpaper
- Paint or wood stain (optional)
- Paintbrushes
- Wire or string
- Birdseed
Step 1: Planning and Design
The first step in creating your DIY birdhouses and feeders is to plan and design your structures. Consider the types of birds you want to attract and their specific needs. Research different birdhouse designs and choose one that suits your preferences and the birds you want to attract.
Once you have a design in mind, sketch it out on paper and make note of the dimensions. This will serve as your blueprint throughout the project.
Step 2: Gathering and Preparing the Wood
Now it’s time to gather your wooden boards and prepare them for construction. Measure and mark the dimensions of each piece according to your design. Use a saw to carefully cut the boards to the desired lengths.
After cutting, use sandpaper to smooth any rough edges or surfaces. This will prevent splinters and create a more polished final product.
Step 3: Assembly
With your prepared wood pieces, it’s time to start assembling your birdhouses and feeders. Follow these steps:
- Begin by constructing the base of the birdhouse or feeder. Attach the bottom piece to the sides using screws or nails. Make sure everything is aligned properly.
- Next, attach the front and back pieces to the base and sides. Again, use screws or nails to secure them in place.
- If your design includes a roof, attach it to the top of the structure. This will provide protection from the elements.
- Drill a small hole near the top of the birdhouse or feeder. This will serve as the entrance for the birds.
- Finally, add any additional features or decorations to personalize your birdhouses and feeders. This could include perches, paint, or other creative elements.
Step 4: Finishing Touches
Once your birdhouses and feeders are assembled, it’s time to add the finishing touches. If desired, you can paint or stain the wood to enhance its appearance and protect it from weathering. Choose colors that blend well with your garden or outdoor space.
Allow the paint or stain to dry completely before moving on to the next step.
Step 5: Installation
Now that your birdhouses and feeders are complete, it’s time to find the perfect spot to install them. Consider the needs of the birds you want to attract. Some prefer higher locations, while others prefer lower or more secluded areas.
Use wire or string to securely hang your birdhouses and feeders from trees, posts, or other structures. Make sure they are stable and won’t easily be knocked down by wind or other factors.
Step 6: Attracting Birds
With your birdhouses and feeders in place, it’s time to attract some feathered visitors! Fill the feeders with birdseed or other appropriate food for the birds you want to attract. Research the specific dietary needs of the birds you’re targeting to ensure you’re providing the right types of food.
Keep the feeders well-stocked and clean them regularly to maintain a healthy environment for the birds.
Step 7: Enjoying the Results
Now that you’ve completed your DIY birdhouses and feeders, sit back and enjoy the beauty and activity they bring to your garden. Take some time to observe the different bird species that visit and appreciate the role you’re playing in providing them with a safe and comfortable habitat.
Remember to document your bird sightings and share your experiences with others. You may even inspire them to create their own birdhouses and feeders!
Conclusion
Congratulations on completing your DIY birdhouses and feeders! By following the step-by-step instructions in this article, you’ve created a welcoming space for birds in your garden. Enjoy the sights and sounds of these beautiful creatures as they visit your homemade structures. Remember to maintain and clean your birdhouses and feeders regularly to ensure the health and safety of the birds. Happy birdwatching!

