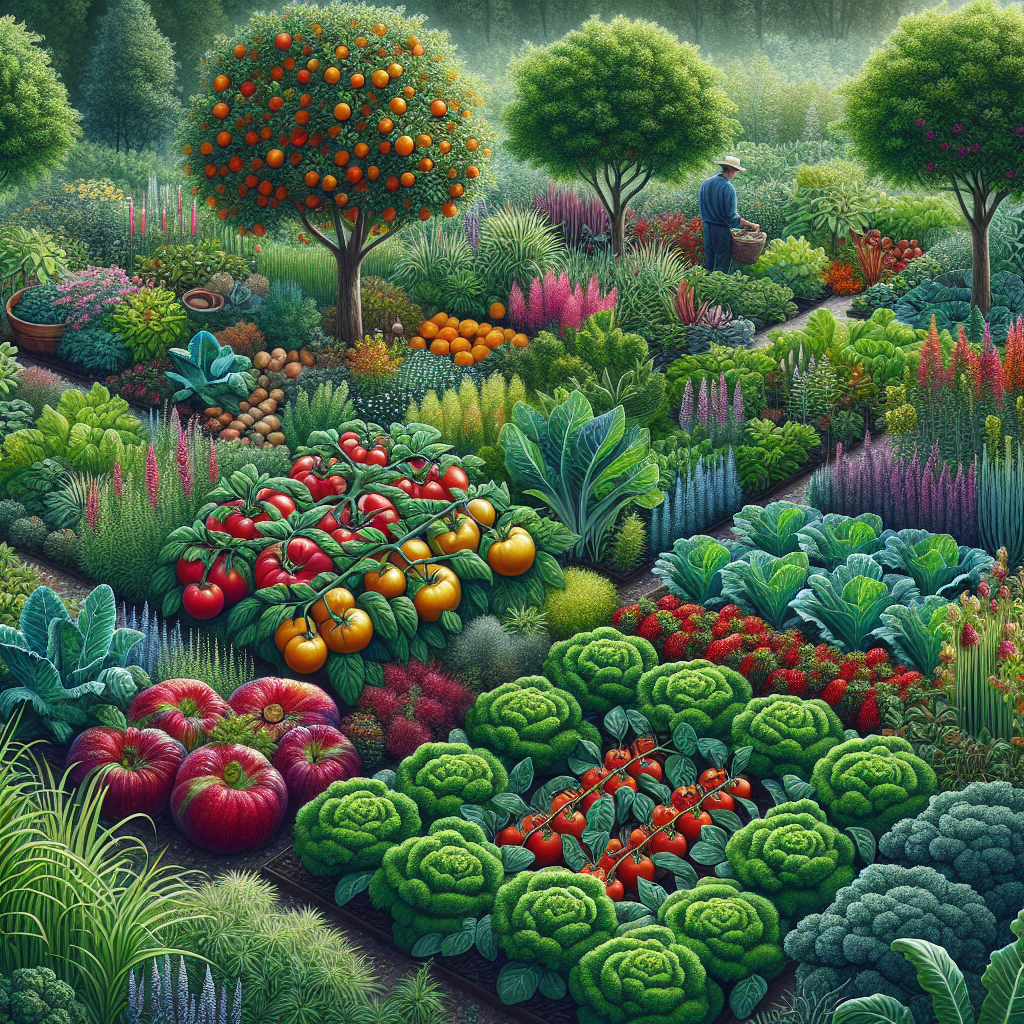
Edible Landscaping: Growing Your Own Food
Are you tired of relying on grocery stores for your fresh produce? Do you dream of having a beautiful garden that not only enhances the aesthetics of your home but also provides you with delicious, homegrown food? If so, then edible landscaping is the perfect solution for you! In this comprehensive guide, we will walk you through the step-by-step process of creating your own edible landscape, from planning and design to planting and maintenance. Get ready to transform your outdoor space into a bountiful paradise!
Benefits of Edible Landscaping
Before we dive into the nitty-gritty details, let’s take a moment to explore the numerous benefits of edible landscaping. By incorporating food-producing plants into your landscape, you can:
- Enjoy fresh, organic produce right from your backyard
- Save money on grocery bills
- Reduce your carbon footprint by minimizing transportation and packaging
- Create a sustainable and self-sufficient lifestyle
- Enhance the beauty and functionality of your outdoor space
- Teach your children about the importance of growing their own food
Now that you’re aware of the incredible advantages, let’s get started on your edible landscaping journey!
Step 1: Planning and Design
Before you start digging and planting, it’s crucial to have a well-thought-out plan for your edible landscape. Follow these steps to ensure a successful and harmonious design:
1. Assess Your Space
Take a good look at your outdoor area and evaluate its size, sunlight exposure, soil quality, and drainage. This information will help you determine which plants are suitable for your specific conditions.
2. Set Your Goals
Decide what you want to achieve with your edible landscape. Are you primarily focused on growing vegetables, fruits, or herbs? Do you want to create a visually stunning garden or prioritize functionality? Understanding your goals will guide your plant selection and layout.
3. Create a Design Plan
Sketch out a rough design of your edible landscape, considering factors such as plant placement, pathways, and focal points. Aim for a balance between aesthetics and practicality, ensuring easy access to your plants and efficient use of space.
4. Research Plant Varieties
Look for plant varieties that thrive in your climate and suit your preferences. Consider factors such as growth habit, yield, disease resistance, and flavor. Aim for a diverse selection to ensure a continuous harvest throughout the year.
Step 2: Preparing Your Soil
Healthy soil is the foundation of a successful edible landscape. Follow these steps to prepare your soil for optimal plant growth:
1. Test Your Soil
Use a soil testing kit to determine the pH level and nutrient content of your soil. This information will help you make any necessary amendments to create a fertile environment for your plants.
2. Amend the Soil
Based on the results of your soil test, add organic matter such as compost, aged manure, or peat moss to improve the soil structure and fertility. Mix the amendments thoroughly into the top few inches of soil.
3. Mulch Your Beds
Apply a layer of organic mulch, such as straw or wood chips, to your planting beds. Mulch helps retain moisture, suppress weeds, and regulate soil temperature, creating an ideal growing environment for your plants.
Step 3: Planting Your Edible Landscape
Now that your soil is ready, it’s time to bring your edible landscape to life! Follow these steps to ensure successful planting:
1. Start with Perennials
Begin by planting perennial food crops, such as fruit trees, berry bushes, and perennial herbs. These plants will provide a long-term yield and form the backbone of your edible landscape.
2. Add Annuals and Vegetables
Once your perennials are established, it’s time to introduce annual crops and vegetables. Consider factors such as companion planting, crop rotation, and succession planting to maximize your harvest and promote plant health.
3. Provide Adequate Spacing
Ensure that you give each plant enough space to grow and thrive. Overcrowding can lead to poor air circulation, increased disease susceptibility, and reduced yields. Refer to plant tags or online resources for specific spacing recommendations.
4. Water and Fertilize
After planting, water your plants thoroughly and provide regular irrigation as needed. Use organic fertilizers, such as compost tea or fish emulsion, to nourish your plants and promote healthy growth.
Step 4: Maintenance and Care
Creating an edible landscape is an ongoing process that requires regular maintenance and care. Follow these guidelines to ensure the health and productivity of your plants:
1. Weed Regularly
Keep your planting beds weed-free to minimize competition for nutrients and water. Regularly inspect your garden and remove any weeds by hand or with the help of gardening tools.
2. Monitor Pests and Diseases
Stay vigilant for signs of pests and diseases in your edible landscape. Identify common garden pests and diseases in your area and take appropriate measures, such as using organic pest control methods or introducing beneficial insects.
3. Prune and Train
Prune your fruit trees and berry bushes annually to maintain their shape, remove dead or diseased branches, and promote optimal fruit production. Train vining plants, such as tomatoes or cucumbers, to trellises or stakes for better airflow and easier harvesting.
4. Harvest and Enjoy
Finally, the most rewarding part of edible landscaping is harvesting and enjoying the fruits of your labor! Regularly harvest ripe produce to encourage continuous growth and savor the delicious flavors of your homegrown food.
Conclusion
By following the steps outlined in this guide, you are well on your way to creating a thriving edible landscape that will provide you with an abundance of fresh, homegrown food. Remember to plan and design your space, prepare your soil, plant strategically, and maintain your garden with care. With patience and dedication, you can transform your outdoor space into a beautiful and productive oasis. So, roll up your sleeves, grab your gardening tools, and embark on this exciting journey of growing your own food!


