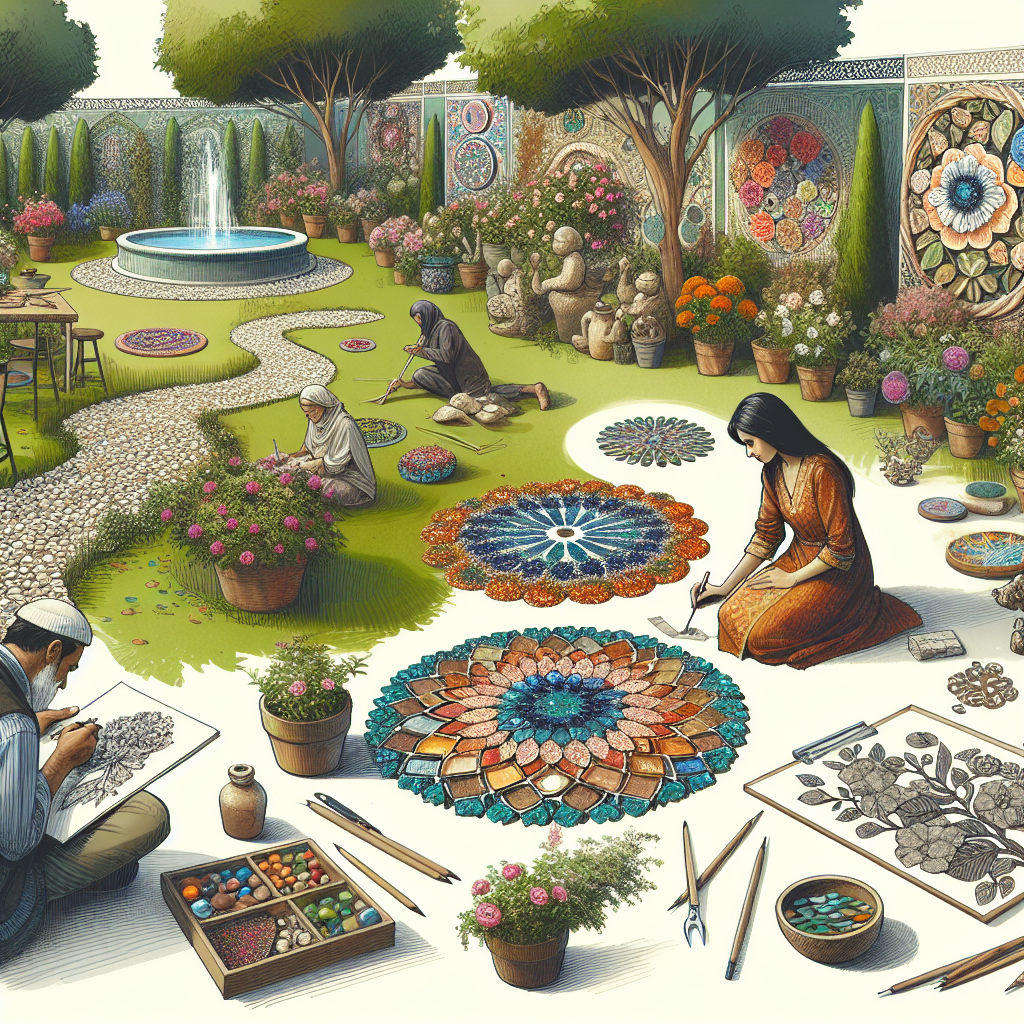
Garden Art Projects for Creative Spaces
Are you looking to add a touch of creativity and beauty to your garden? Look no further! In this article, we will explore a variety of garden art projects that will transform your outdoor space into a work of art. Whether you have a green thumb or not, these projects are perfect for anyone looking to add a personal touch to their garden. So grab your tools and let’s get started!
Materials Needed
- Paintbrushes
- Acrylic paint
- Wooden pallets
- Scrap metal
- Garden stones
- Wire
- Drill
- Hammer
- Nails
- Glue
- Scissors
- Outdoor varnish
Time Required
The time required for each project will vary depending on its complexity. However, most projects can be completed within a day or two. Allow yourself some extra time for drying and finishing touches.
Project 1: Painted Wooden Pallet Planter
Step 1: Find a wooden pallet that is in good condition. Make sure it is clean and free from any nails or splinters.
Step 2: Sand the pallet to create a smooth surface for painting. Use a medium-grit sandpaper and sand in the direction of the wood grain.
Step 3: Choose your desired colors and paint the pallet using acrylic paint. You can create a pattern or simply paint it a solid color. Let the paint dry completely.
Step 4: Once the paint is dry, apply a coat of outdoor varnish to protect the wood from the elements. Let it dry according to the instructions on the varnish bottle.
Step 5: Attach small pots or planters to the pallet using wire or nails. Fill them with your favorite plants or flowers.
Step 6: Hang the pallet planter on a wall or fence in your garden. Make sure it is securely fastened and enjoy your new vertical garden!
Project 2: Scrap Metal Sculptures
Step 1: Collect various pieces of scrap metal such as old tools, car parts, or discarded household items. Make sure they are clean and free from any sharp edges.
Step 2: Sketch out your desired sculpture on a piece of paper. This will serve as your guide during the assembly process.
Step 3: Use a drill and screws to attach the metal pieces together. You may need to use pliers or a hammer to bend or shape the metal as needed.
Step 4: Once the sculpture is assembled, paint it using acrylic paint. Choose colors that complement your garden and let the paint dry completely.
Step 5: Apply a coat of outdoor varnish to protect the metal from rust and corrosion. Let it dry according to the instructions on the varnish bottle.
Step 6: Find a suitable spot in your garden to display your scrap metal sculpture. It could be nestled among plants or placed as a focal point in an open area.
Project 3: Decorative Garden Stones
Step 1: Purchase or gather smooth stones of various sizes. Make sure they are clean and free from any dirt or debris.
Step 2: Sketch out your desired designs on the stones using a pencil. You can create patterns, write inspirational quotes, or even paint small pictures.
Step 3: Use acrylic paint and small paintbrushes to fill in the designs on the stones. Take your time and be patient, as the stones can be a bit tricky to paint on.
Step 4: Let the paint dry completely before applying a coat of outdoor varnish. This will protect the paint from chipping or fading over time.
Step 5: Once the varnish is dry, place the decorative garden stones throughout your garden. They can be scattered among plants, used as stepping stones, or even placed in a decorative bowl.
Project 4: Wire Garden Sculptures
Step 1: Gather thick wire and wire cutters. Make sure the wire is pliable enough to bend and shape without breaking.
Step 2: Sketch out your desired sculpture on a piece of paper. This will serve as your guide during the assembly process.
Step 3: Use the wire cutters to cut the wire into the desired lengths. Bend and shape the wire according to your sketch, using pliers if necessary.
Step 4: Once the sculpture is assembled, use glue or wire to secure any loose ends or connections. This will ensure that your sculpture is sturdy and will withstand outdoor conditions.
Step 5: Paint the wire sculpture using acrylic paint. Choose colors that will make your sculpture stand out in the garden. Let the paint dry completely.
Step 6: Apply a coat of outdoor varnish to protect the wire from rust and corrosion. Let it dry according to the instructions on the varnish bottle.
Step 7: Find a suitable spot in your garden to display your wire sculpture. It could be placed among plants, hung from a tree branch, or even mounted on a stake.
Conclusion
By following these step-by-step instructions, you can create stunning garden art projects that will add a touch of creativity and beauty to your outdoor space. Whether you choose to paint a wooden pallet planter, assemble scrap metal sculptures, decorate garden stones, or create wire garden sculptures, the possibilities are endless. So unleash your creativity and let your garden become a canvas for your artistic expression. Get started on these projects today and watch as your garden transforms into a work of art!


