Installing a DIY Irrigation System: A Step-by-Step Guide
Are you tired of spending hours watering your garden manually? Do you want to ensure that your plants receive the right amount of water at the right time? If so, installing a DIY irrigation system is the perfect solution for you. In this comprehensive guide, we will walk you through the step-by-step process of setting up your own irrigation system, saving you time, effort, and water in the long run.
Benefits of Installing a DIY Irrigation System
Before we dive into the installation process, let’s take a moment to understand why installing a DIY irrigation system is a great idea:
- Efficiency: An irrigation system delivers water directly to the roots of your plants, minimizing water waste and ensuring optimal hydration.
- Time-saving: Once installed, your irrigation system will do the watering for you, freeing up your time for other gardening tasks or leisure activities.
- Consistency: With a programmable timer, you can set your irrigation system to water your plants at specific times and durations, ensuring consistent watering even when you’re away.
- Plant health: Proper irrigation promotes healthier plants by preventing overwatering or underwatering, reducing the risk of diseases and promoting robust growth.
- Water conservation: By using an irrigation system, you can significantly reduce water consumption compared to manual watering methods, helping to conserve this precious resource.
Materials and Tools You’ll Need
Before you begin the installation process, gather the following materials and tools:
- PVC pipes
- PVC connectors (elbows, tees, couplings)
- PVC glue
- PVC cutter or hacksaw
- Drip emitters
- Micro-sprinklers
- Pressure regulator
- Filter
- Backflow preventer
- Timer/controller
- Valves
- Teflon tape
- Shovel
- Trenching tool
- Measuring tape
- Marker
- Wire cutters
- Wire connectors
- Plastic stakes
- Plastic mulch
Step 1: Planning and Design
Before you start digging trenches and laying pipes, it’s crucial to plan and design your irrigation system. Here’s how:
- Assess your garden: Take note of the size, shape, and layout of your garden. Identify areas that require irrigation and determine the water requirements of different plants.
- Create a layout: Using a measuring tape and marker, sketch out a layout of your garden on paper. Mark the locations of plants, pathways, and any existing water sources.
- Determine water source: Identify the water source for your irrigation system. It could be a tap, rainwater tank, or well. Ensure that the water source has sufficient pressure and flow rate to meet your irrigation needs.
- Choose irrigation method: Decide whether you want to use drip irrigation, micro-sprinklers, or a combination of both. Consider the water requirements of your plants and the specific needs of your garden.
- Calculate water flow: Determine the water flow rate required for each irrigation zone based on the number and type of emitters you plan to use. This will help you select the appropriate pipe size and ensure adequate water distribution.
- Create a zone plan: Divide your garden into irrigation zones based on plant water requirements and sun exposure. This will allow you to customize watering schedules for different areas.
Step 2: Gathering Permits and Checking Regulations
Before you proceed with the installation, it’s important to check local regulations and obtain any necessary permits. Some areas may have specific rules regarding irrigation systems, especially if you plan to connect to the main water supply. Contact your local water authority or municipality to ensure compliance with regulations.
Step 3: Digging Trenches
Now that you have a plan in place and the necessary permits, it’s time to start digging trenches for your irrigation system. Follow these steps:
- Mark the trench lines: Use a marker to indicate where the trenches will be dug. Ensure that the trenches are wide enough to accommodate the pipes and deep enough to prevent damage from foot traffic or gardening activities.
- Use a trenching tool: A trenching tool will make the digging process easier and more efficient. Start digging along the marked lines, removing the soil and setting it aside for later use.
- Check trench depth: As you dig, periodically check the depth of the trench using a measuring tape. Adjust the depth as needed to ensure proper pipe placement.
- Smooth the trench bottom: Once the trench is dug, use a shovel to smooth the bottom, removing any rocks or debris that could interfere with the pipes.
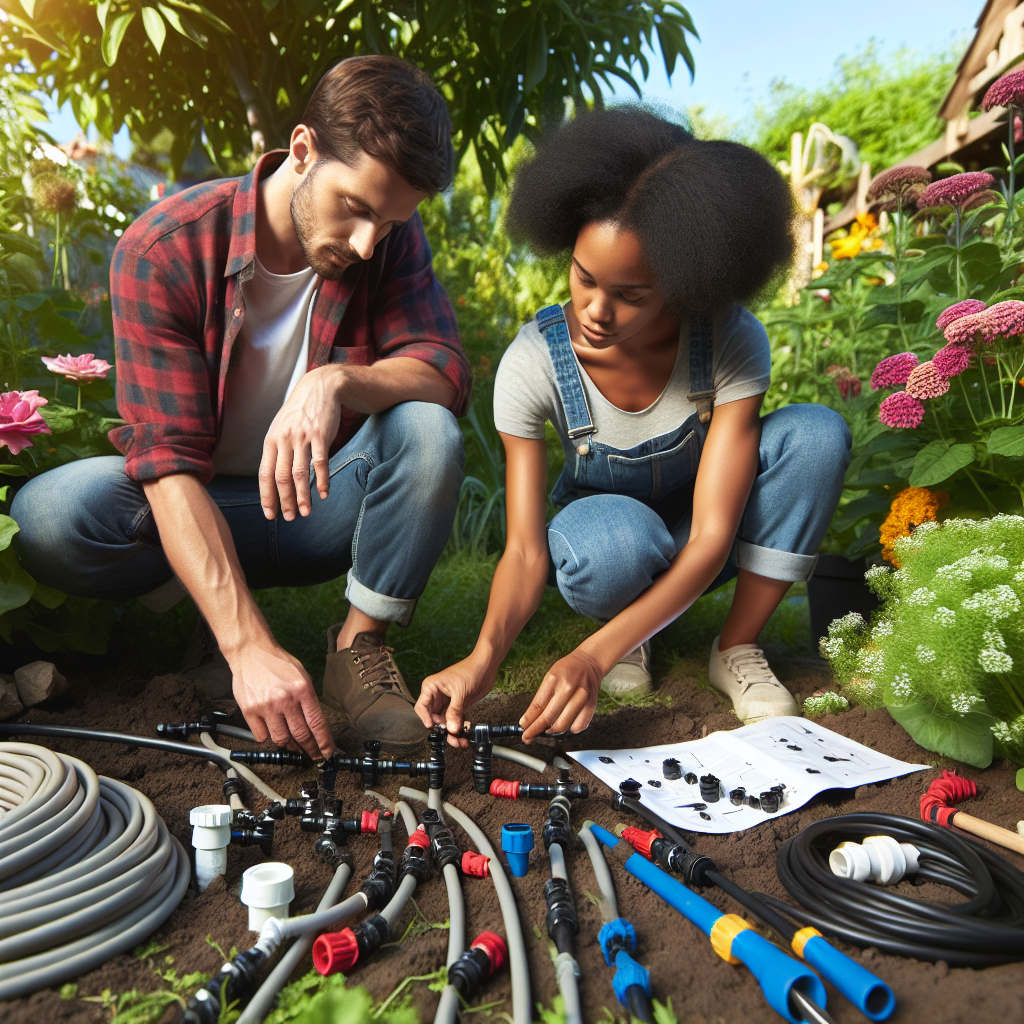
Step 4: Installing Pipes and Fittings
With the trenches ready, it’s time to lay the pipes and fittings for your irrigation system. Follow these steps:
- Measure and cut the pipes: Using a PVC cutter or hacksaw, measure and cut the PVC pipes according to your layout plan. Ensure that the cuts are clean and straight for proper fitting.
- Assemble the fittings: Apply PVC glue to the inside of the fittings and the outside of the pipes. Insert the pipes into the fittings, twisting slightly to ensure a secure connection. Wipe off any excess glue.
- Connect the pipes: Lay the pipes in the trenches, connecting them with elbows, tees, and couplings as needed. Use Teflon tape to secure the threaded connections.
- Install valves and backflow preventer: Install valves at strategic points in your irrigation system to control water flow. Ensure that the backflow preventer is installed near the water source to prevent contamination.
- Attach pressure regulator and filter: Connect the pressure regulator and filter to the main line to ensure consistent water pressure and remove any debris that could clog the emitters.
Step 5: Installing Emitters and Micro-Sprinklers
Now that the main pipes and fittings are in place, it’s time to install the emitters and micro


