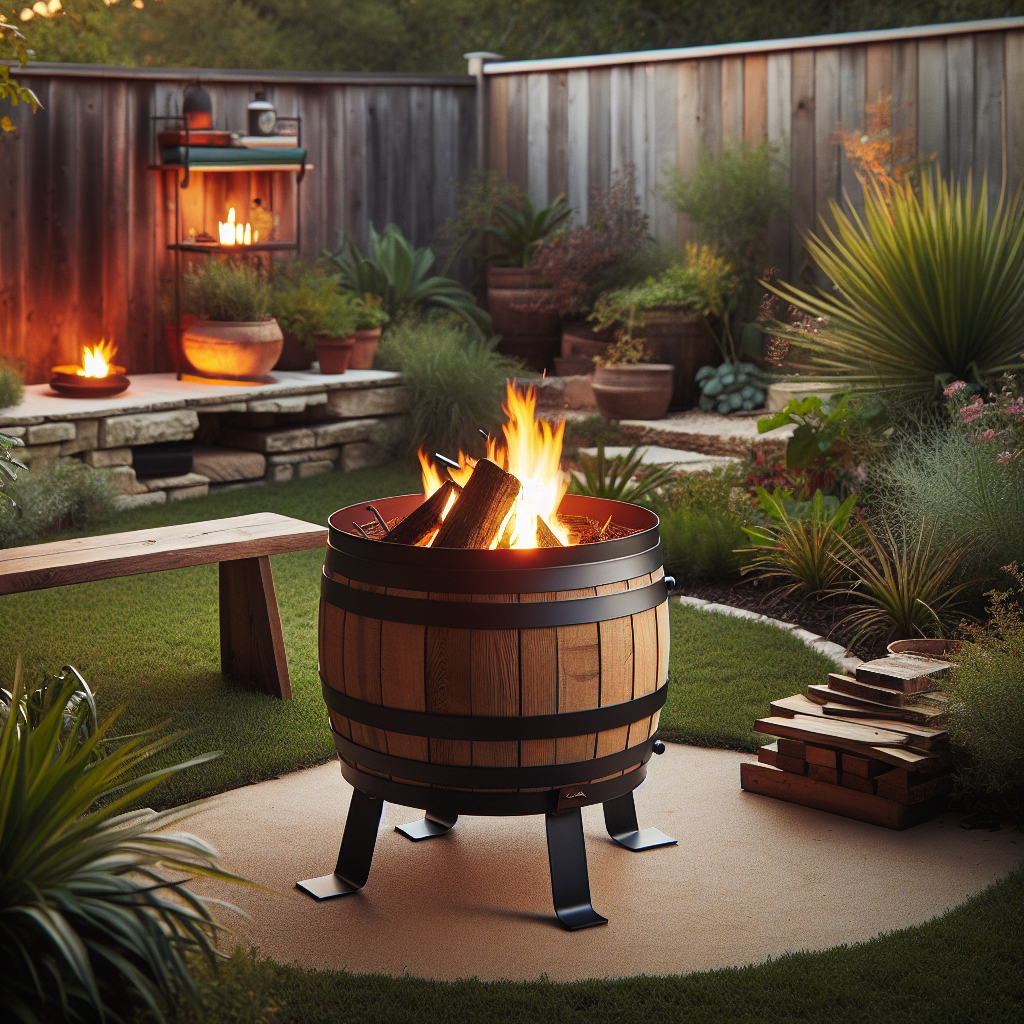
How to Build a Portable Barrel Backyard Fire Pit
Are you looking to add a touch of warmth and ambiance to your backyard? A portable barrel fire pit is the perfect DIY project for you! Not only will it provide a cozy gathering spot for friends and family, but it will also add a unique and rustic element to your outdoor space. In this step-by-step guide, we will walk you through the process of building your very own portable barrel backyard fire pit. So grab your tools and let’s get started!
Materials Needed
- 55-gallon metal barrel
- Angle grinder
- Drill
- 1-inch drill bit
- Fire-resistant paint
- High-temperature sealant
- Fire bricks
- Grill grate
- Firewood
Step 1: Prepare the Barrel
The first step in building your portable barrel fire pit is to prepare the barrel. Start by cleaning the barrel thoroughly to remove any dirt or debris. Once clean, use an angle grinder to cut a large opening on one side of the barrel. This will serve as the fire pit’s access point.
Step 2: Drill Ventilation Holes
Next, you’ll need to drill ventilation holes in the bottom of the barrel to allow for proper airflow. Use a 1-inch drill bit to create several evenly spaced holes. These holes will ensure that your fire gets enough oxygen to burn efficiently.
Step 3: Paint the Barrel
Now it’s time to add some color to your fire pit! Choose a fire-resistant paint in a color of your choice and apply it to the exterior of the barrel. This will not only protect the metal from rust but also add a decorative touch to your backyard.
Step 4: Apply High-Temperature Sealant
To ensure the longevity of your fire pit, it’s important to apply a high-temperature sealant to the interior of the barrel. This will protect the metal from the intense heat of the fire. Follow the manufacturer’s instructions to apply the sealant evenly and allow it to dry completely.
Step 5: Add Fire Bricks
Now it’s time to line the interior of the barrel with fire bricks. These bricks will help retain heat and protect the metal from direct contact with the fire. Arrange the bricks in a circular pattern, leaving a small gap in the center for airflow.
Step 6: Install the Grill Grate
If you plan on using your fire pit for cooking, it’s essential to install a grill grate. Measure the diameter of the barrel and purchase a grill grate that fits snugly inside. Place the grate on top of the fire bricks, ensuring it is secure and level.
Step 7: Test Your Fire Pit
Before you start enjoying your new fire pit, it’s important to test it out to ensure everything is working correctly. Build a small fire using firewood and observe how it burns. Make any necessary adjustments to the ventilation holes or fire brick placement to optimize the fire’s performance.
Step 8: Enjoy Your Portable Barrel Backyard Fire Pit
Congratulations! You have successfully built your very own portable barrel backyard fire pit. Now it’s time to gather your friends and family, grab some marshmallows, and enjoy the warmth and ambiance of your new outdoor oasis.
Summary
Building a portable barrel backyard fire pit is a rewarding and enjoyable DIY project. By following these step-by-step instructions, you can create a unique and functional fire pit that will enhance your outdoor space. Remember to gather all the necessary materials, prepare the barrel, drill ventilation holes, paint and seal the barrel, add fire bricks, install a grill grate, and test your fire pit before use. With a little time and effort, you’ll have a beautiful fire pit that will provide countless hours of enjoyment for years to come.


