Sunken Seating Area Backyard Fire Pit: A Step-by-Step Guide
Welcome to this comprehensive guide on how to create a stunning sunken seating area with a backyard fire pit. In this article, we will provide you with detailed instructions and valuable insights to help you complete this exciting DIY project. By following our step-by-step guide, you’ll be able to transform your outdoor space into a cozy and inviting area where you can gather with friends and family around a warm fire. Let’s get started!
Materials and Tools
Before we dive into the instructions, let’s gather all the necessary materials and tools you’ll need for this project:
- Shovel
- Tape measure
- String or rope
- Stakes
- Level
- Gravel
- Sand
- Bricks or pavers
- Fire pit kit
- Fire-resistant blocks or stones
- Firewood
- Outdoor seating
- Cushions
- Outdoor lighting
Make sure you have all these items ready before you begin the project. Now, let’s move on to the step-by-step instructions.
Step 1: Planning and Preparation
The first step in creating your sunken seating area with a backyard fire pit is to plan and prepare the area where you want to build it. Follow these steps:
- Choose a suitable location in your backyard for the sunken seating area. Consider factors such as proximity to your house, wind direction, and any local regulations or restrictions.
- Measure the dimensions of the seating area you want to create. Use a tape measure and mark the corners with stakes.
- Use string or rope to connect the stakes and create an outline of the seating area. Make sure the lines are straight and level.
- Clear the area of any grass, plants, or debris. Use a shovel to remove the top layer of soil.
Step 2: Excavation
Now that you have prepared the area, it’s time to start excavating. Follow these steps:
- Begin digging within the outlined area. Dig down to a depth of about 1 foot, or as desired for your sunken seating area.
- Use a level to ensure that the floor of the seating area is even and flat.
- Remove any rocks or roots that may interfere with the seating area.
- Once the excavation is complete, use a rake to smooth out the floor of the seating area.
Step 3: Adding Gravel and Sand
Now that the excavation is done, it’s time to add a layer of gravel and sand to create a stable base for your seating area. Follow these steps:
- Spread a layer of gravel evenly over the floor of the seating area. Use a rake to level it.
- Add a layer of sand on top of the gravel. Again, use a rake to level it.
- Compact the gravel and sand layers using a tamper or a plate compactor. This will ensure a solid and stable base for your seating area.
Step 4: Building the Fire Pit
Now it’s time to build the fire pit in your sunken seating area. Follow these steps:
- Choose a fire pit kit that suits your style and needs. There are various options available, including pre-made fire pit inserts or DIY fire pit kits.
- Follow the manufacturer’s instructions to assemble the fire pit kit. This may involve stacking bricks or pavers in a specific pattern.
- Place the fire pit kit in the center of your seating area, making sure it is level and stable.
- Surround the fire pit with fire-resistant blocks or stones to create a protective barrier.
Step 5: Finishing Touches
With the fire pit in place, it’s time to add some finishing touches to complete your sunken seating area. Follow these steps:
- Arrange outdoor seating around the fire pit. Choose comfortable chairs or benches that fit the style of your outdoor space.
- Add cushions to the seating for extra comfort and style.
- Install outdoor lighting to create a cozy ambiance in the evening. This can include string lights, lanterns, or even built-in lighting.
- Finally, gather some firewood and store it nearby, so you’re always ready for a cozy fire.
Summary
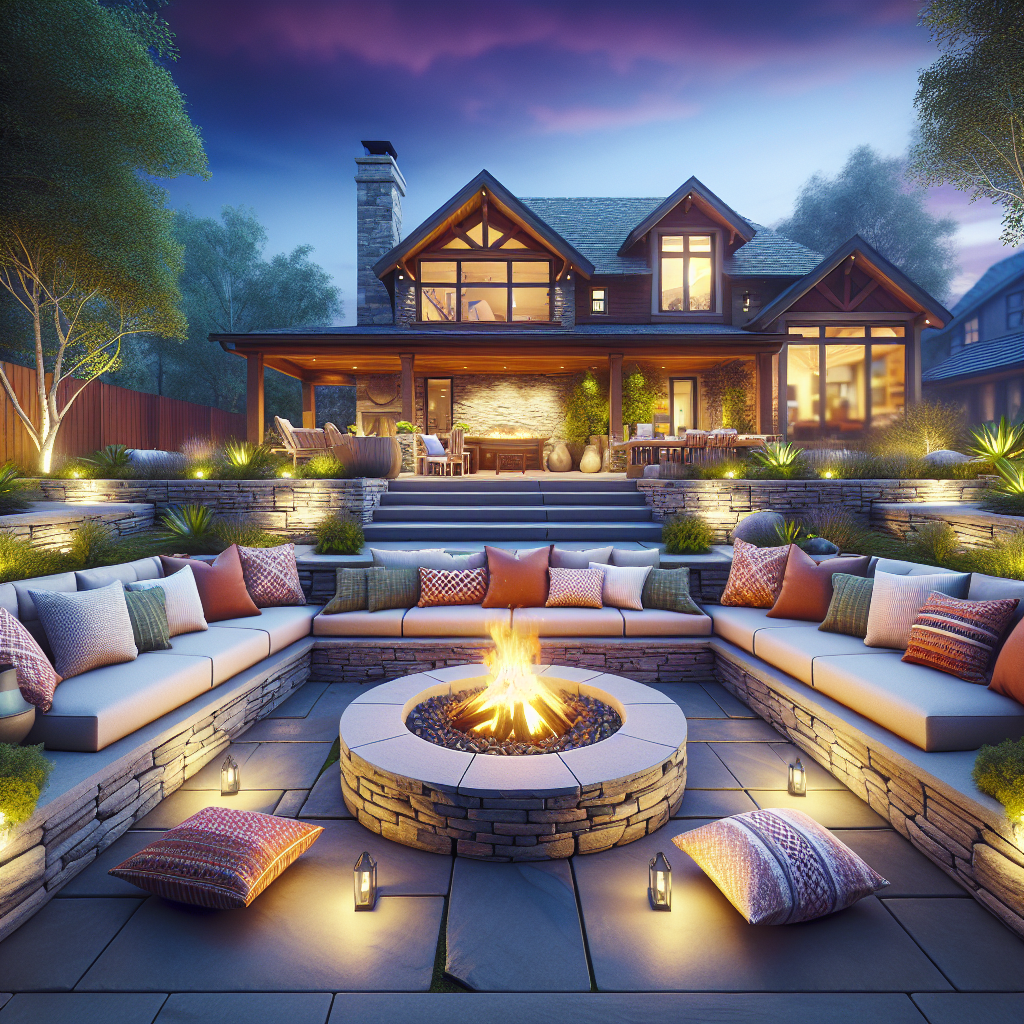
Congratulations! You have successfully created a sunken seating area with a backyard fire pit. By following our step-by-step guide, you have transformed your outdoor space into a cozy and inviting area where you can relax and enjoy the warmth of a fire. Remember to always prioritize safety when using the fire pit and follow any local regulations or restrictions. Now, gather your loved ones, sit back, and enjoy the beauty of your new outdoor oasis!


